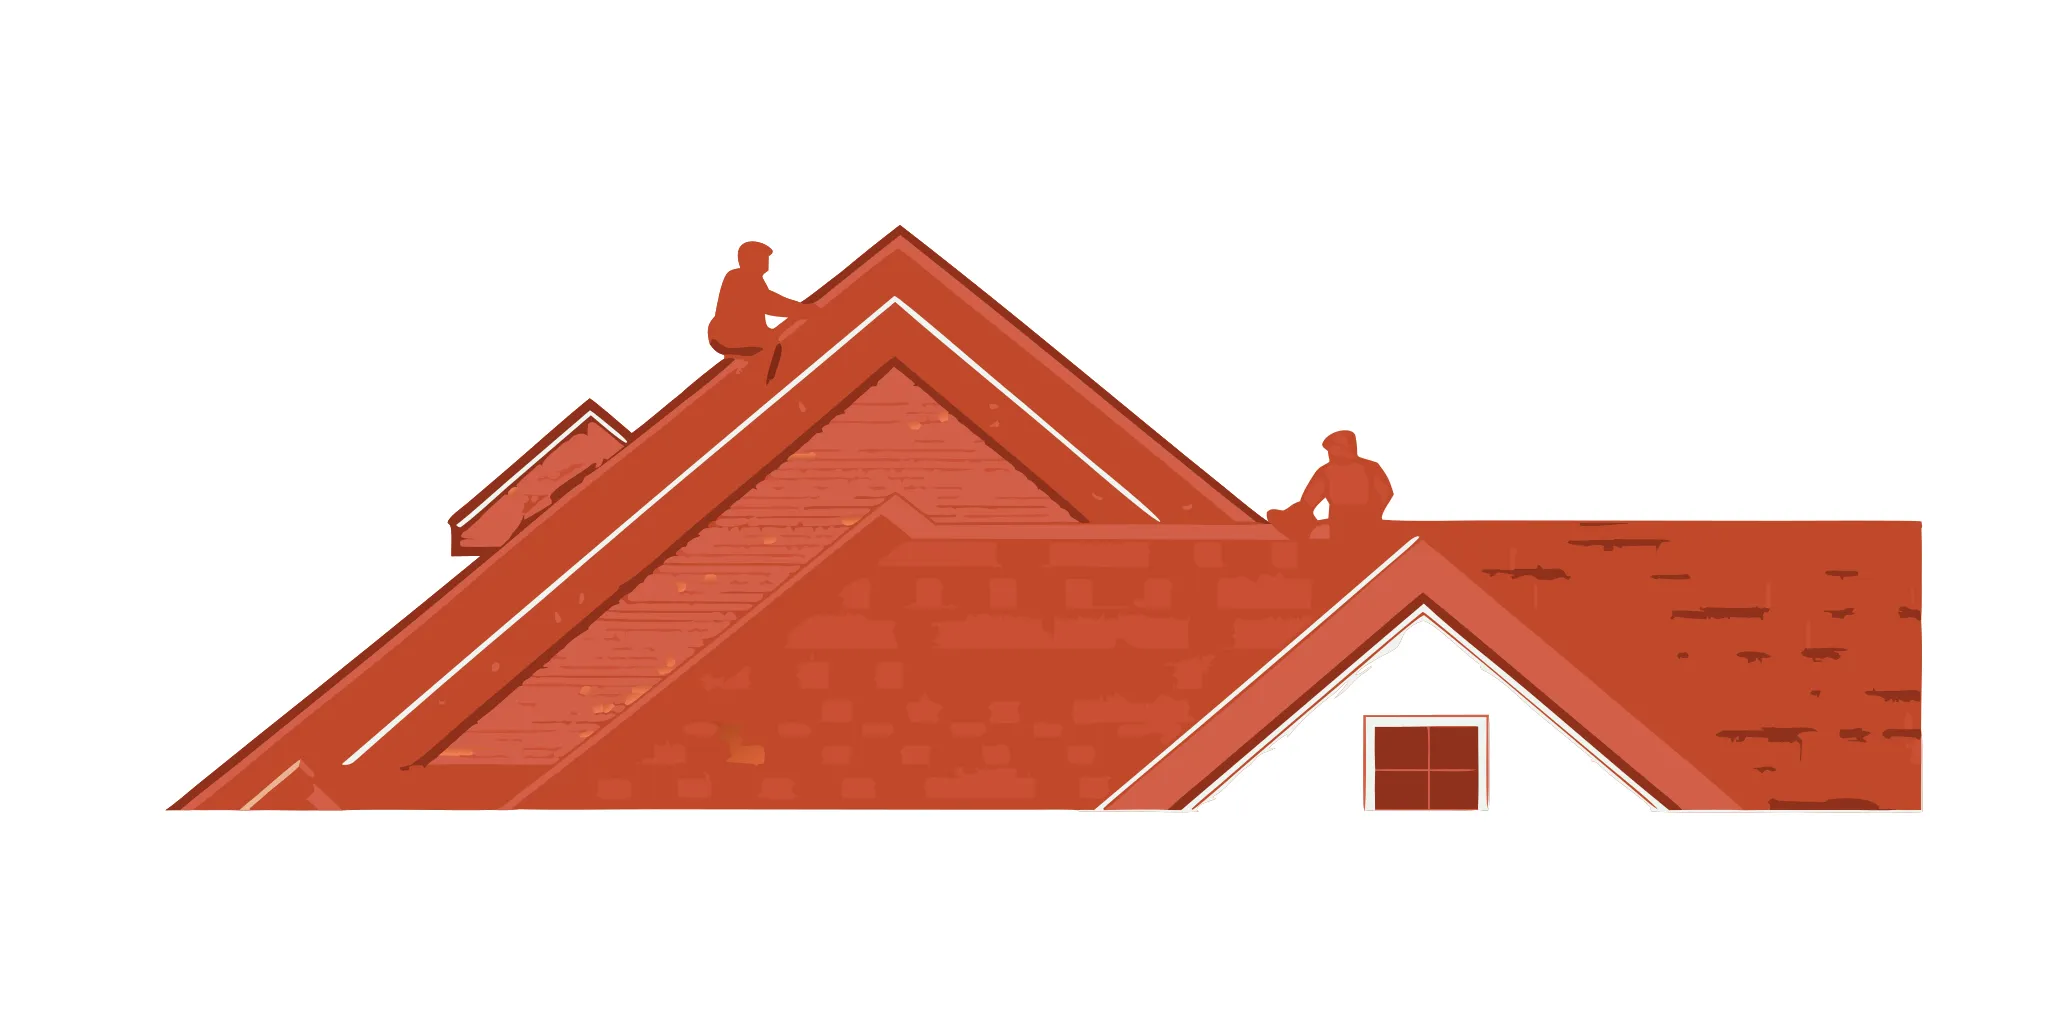
Nothing is more frustrating than a brand-new roof that leaks during the first major rainstorm. Unfortunately, this happens more often than you’d think, and it’s almost always due to small, avoidable installation errors. From improper nailing to misaligned shingles, these mistakes can compromise the integrity of your entire roof. This guide is focused on showing you how to do it right. We will walk through the complete asphalt shingle roof installation process, pointing out the common pitfalls and explaining the correct techniques to ensure a watertight, durable finish that will stand up to the weather for years to come.
Key Takeaways
- Preparation is the Foundation: A successful roofing project begins long before the first shingle is laid. A thoroughly inspected and repaired roof deck, combined with having all your materials ready, creates the stable base needed for a durable, long-lasting roof.
- Precision Prevents Problems: The details of the installation are what make a roof truly weatherproof. Pay close attention to proper nailing techniques, correct shingle alignment, and meticulous flashing around vents and chimneys to avoid common causes of leaks and wind damage.
- Safety is Not Optional: Working at heights is inherently risky. Always use the right safety equipment, like a harness and high-grip boots, and be realistic about your own limits. If a roof is too steep or the job feels unsafe, hiring a professional is the smartest choice.
What Are Asphalt Shingles?
If you look at most homes across North America, you’ll likely see an asphalt shingle roof. There’s a good reason for their popularity: they hit the sweet spot of affordability, durability, and style. Made from a fiberglass base mat coated in waterproof asphalt and topped with ceramic granules, these shingles are designed to protect your home from the elements. They are widely available and relatively straightforward to install, which makes them a go-to choice for professional roofing contractors and a practical option for homeowners.
A Look at Different Shingle Types
Asphalt shingles come in three main categories, and knowing the difference will help you pick the right one for your home’s style and budget. The most basic option is the strip shingle (or 3-tab shingle), which has a flat, uniform look. A step up from that are dimensional shingles, often called architectural shingles. These are thicker, with multiple layers fused together to create a richer, more varied texture that can mimic the look of wood shake. Finally, luxury shingles are the premium option, designed to replicate high-end materials like natural slate or cedar. Our team specializes in helping you select the perfect roofing material for your home.
Why Homeowners Choose Asphalt
Beyond their accessibility, homeowners choose asphalt shingles for a few key reasons. First is their versatility. They come in a huge range of colors and styles, so you can easily find an option that complements your home’s exterior. They are also built to last. A quality asphalt shingle roof can withstand severe weather and high winds while carrying a Class A fire rating—the highest available. With proper installation, a good architectural shingle roof can provide reliable protection for 25 to 30 years, making it a smart, long-term investment for your home.
Gathering Your Materials and Tools
A successful roofing project starts long before you climb the ladder. It begins with having every material and tool ready to go. Taking the time to organize everything you need will make the installation process smoother, safer, and much more efficient. Think of it as setting up your kitchen before you start cooking a big meal—good prep work is the secret ingredient.
Before you begin, lay out a tarp to protect your landscaping and catch any debris. This simple step will save you a major headache during cleanup. With everything organized, you can focus on the task at hand without making constant trips to the hardware store.
Your Complete Materials Checklist
Having all your materials on-site is non-negotiable for a seamless installation. A mid-project run for more supplies can throw off your whole schedule, especially if you’re trying to beat the weather. Here’s a rundown of what you’ll need to have on hand:
- Asphalt Shingles: The star of the show. Make sure you’ve calculated the right amount for your roof, plus a little extra for mistakes or future repairs.
- Roofing Nails: Use the right type and length to properly secure the shingles to the roof deck.
- Underlayment: This is a crucial layer of protection that sits between the shingles and the roof deck, guarding against water intrusion.
- Drip Edge: This metal flashing goes along the eaves and rakes to direct water into the gutters and away from your fascia.
- Flashing: You’ll need this for valleys, chimneys, and vents to create a watertight seal in vulnerable areas.
- Roofing Cement: An adhesive used for sealing down shingle tabs and securing flashing.
- Chalk Line: Essential for snapping straight, accurate guidelines for your shingle courses.
The Tools You’ll Need
The right tools not only make the job easier but also safer. You don’t need a truck full of expensive equipment, but a few key items are essential for a professional-quality job. Before you start, double-check that you have these tools ready:
- Safety Gear: This is your top priority. Always have a helmet, safety glasses, gloves, and a safety harness if you’re working on a steep pitch.
- Measuring Tape: For accurate measurements of your roof, shingles, and flashing.
- Roofing Hammer or Nail Gun: A roofing hammer is great for control, while a nail gun can speed up the process significantly.
- Utility Knife: A sharp knife with plenty of extra blades is necessary for cutting shingles, underlayment, and other materials.
- Pry Bar: For removing old shingles and nails.
- Caulking Gun: To apply roofing cement or sealant.
Choosing Quality Materials for a Lasting Roof
When it comes to your home’s exterior, the quality of your materials matters just as much as the quality of the installation. Asphalt shingles are the most popular roofing material for a reason—they offer a fantastic balance of durability, affordability, and style. They come in a huge variety of colors and textures, so you can easily find an option that complements your home’s aesthetic.
Investing in high-quality shingles and underlayment from a reputable brand will pay off in the long run. A better-grade shingle will stand up to harsh weather, resist algae growth, and maintain its color for years to come. It’s a small upfront investment that protects your home and gives you peace of mind.
How to Prep Your Roof for New Shingles
A great-looking, long-lasting roof starts long before the first shingle is nailed down. Proper preparation is the most critical part of the job, creating a solid foundation for your new roof to protect your home for years to come. Skipping these steps can lead to leaks, damage, and a much shorter lifespan for your shingles. Think of it as setting the stage—if the stage isn’t stable, the performance is bound to have problems.
Before you get started, you need to make sure the surface is clean, sound, and ready for what’s next. This involves carefully inspecting the underlying structure, installing protective barriers against water, and choosing the right time to do the work. Each step builds on the last to create a complete system that keeps your home safe and dry. Taking the time to do this prep work correctly is the best investment you can make in your new roof.
Inspect and Repair the Roof Deck
Once the old shingles are removed, you’ll have a clear view of the roof deck—the wooden sheathing that covers your rafters. This is your roof’s foundation, and it needs to be in excellent condition. Walk carefully over the entire surface, feeling for any soft, spongy, or bouncy spots, which can indicate rot or water damage. You’ll also want to look for any holes, gaps, or delaminated plywood.
Any damaged sections must be cut out and replaced with new sheathing of the same thickness. The goal is a surface that is completely smooth, dry, and securely fastened. A flat, solid deck ensures your new shingles will lie flat and look uniform, preventing premature wear and giving you that clean, professional finish. This is a step where a professional roofing inspection can be invaluable for catching issues that aren’t obvious to the untrained eye.
Install Underlayment and Drip Edge
With a solid deck in place, the next step is to add layers of water protection. First comes the drip edge, a metal flashing installed along the lower edges (the eaves) of the roof. This simple piece of metal does a big job: it directs water away from the fascia and into the gutters, preventing it from seeping back under the edge of your new shingles.
Next, you’ll roll out the underlayment. This is a water-resistant barrier, typically made of asphalt-saturated felt or a modern synthetic material, that covers the entire roof deck. It acts as a secondary line of defense against wind-driven rain and ice dams. Skipping the underlayment might save a little money upfront, but it leaves your home vulnerable to costly leaks down the road.
Pick the Right Day to Work
Planning is everything when it comes to roofing. You’ll need a clear forecast with no rain and minimal wind. A wet roof is incredibly slippery and dangerous, and high winds can make handling large shingles and materials hazardous. It’s also important to consider the temperature, as shingles can become brittle in the cold or too soft in extreme heat.
Beyond the weather, you need to plan for permits, material delivery, tool rentals, and a strategy for waste disposal. Roofing is a demanding and dangerous job that’s often best left to trained professionals who understand local building codes and safety protocols. If you feel unsure at any point, it’s always smarter to contact a professional who has the right equipment and experience to get the job done safely and correctly.
How to Install Asphalt Shingles: A Step-by-Step Guide
Once your roof deck is prepped and ready, it’s time for the main event: laying the shingles. This is where your roof really starts to take shape and look like a finished product. The process is methodical, moving from the bottom edge of the roof straight up to the peak. While it might look complicated from the ground, it’s really just a series of repeating steps. The key is to be precise with your measurements and consistent with your technique from start to finish. A well-installed shingle roof not only looks great but also provides decades of reliable protection for your home.
We’ll walk through the four core stages of the installation process. First, you’ll lay a special starter course that serves as the foundation for everything else. Next, you’ll focus on the single most important detail: nailing the shingles correctly to ensure they hold up against wind and weather. From there, you’ll install the main courses, working your way up the roof in an overlapping pattern. Finally, you’ll learn how to make precise cuts to fit shingles around obstacles like vents and chimneys. Taking your time on each of these steps is crucial for a professional-quality, leak-free roofing job.
Laying the Starter Course
Think of the starter course as the foundation of your shingle installation. This first layer isn’t the same as the rest of your shingles; it’s a special starter strip installed at the bottom edge of the roof. Its main job is to provide a solid, sealed base for the first row of visible shingles to adhere to. This protects the joints and prevents wind-driven rain from getting underneath. To install it, you’ll lay the strip directly over your underlayment and drip edge, with the factory-applied adhesive strip facing up and positioned near the edge. This adhesive will bond with the first course of shingles, creating a strong, continuous seal along the eaves. Getting this first step right is essential for the long-term performance of your entire roof.
Nailing Your Shingles Correctly
How you nail your shingles is one of the most critical parts of the entire installation. Improper nailing is a leading cause of roof failure, leading to shingles blowing off in a storm and potential leaks. Every shingle manufacturer provides specific instructions on where to place the nails, and following these guidelines is essential for wind resistance and keeping your warranty valid. Most shingles have a designated nailing strip—a reinforced area where you should drive your nails. Use about four nails per shingle, placing them correctly along this strip. Make sure each nail is driven straight and sits flush with the shingle’s surface. If a nail is underdriven, it can tear through the shingle above it. If it’s overdriven, it can cut right into the shingle, weakening it.
Installing the Main Shingle Courses
With your starter course in place, you can begin laying the main shingles. The process is straightforward: you’ll start at the bottom and work your way up and across the roof. Each new row, or course, will overlap the one below it, covering the nails and creating the classic staggered pattern that defines an asphalt roof. This overlap is carefully measured to ensure the right amount of the shingle, known as the “exposure,” is visible. To create the staggered pattern, you’ll typically start the first course with a full shingle, the second with a shingle that has been trimmed slightly, and so on. This ensures the seams between shingles don’t line up vertically, which is crucial for shedding water effectively and preventing leaks.
Cutting Shingles for Vents and Chimneys
Your roof isn’t a flat, uninterrupted surface. You’ll have to work around obstacles like plumbing vents, exhaust fans, skylights, and chimneys. This requires carefully cutting your shingles to fit snugly around these protrusions. Use a sharp utility knife and a hook blade for clean, precise cuts. Measure twice and cut once, ensuring the shingle fits tightly without buckling. These areas are the most vulnerable to leaks, which is why proper flashing is so important. While you’ll install flashing before the shingles in some spots (like around a chimney), you’ll shingle right up to and around other things, like vents. Proper resurfacing and sealing around masonry like chimneys is especially critical for a watertight finish.
How to Install Flashing and Ridge Caps
With your main shingles in place, it’s time to focus on the details that make your roof truly weatherproof. Flashing and ridge caps are your roof’s best defense against leaks, directing water away from the most vulnerable areas. These finishing steps are what separate a good roofing job from a great one, ensuring your home stays dry and protected for years to come. Getting these elements right requires precision, but it’s a crucial part of a successful installation.
Applying Flashing to Valleys and Vents
Think of flashing as a protective barrier. It’s a thin material, usually metal, that you install in areas where leaks are most likely to occur. This includes the valleys where two roof slopes meet, around plumbing vents and chimneys, and anywhere the roof meets a vertical wall. For valleys, using an “open metal valley” technique, where a metal liner is installed and shingles are trimmed back, offers excellent water shedding. For walls, “step flashing”—L-shaped pieces of metal layered with the shingles—is the way to go. Because these areas are so critical, a flawless installation is essential for a durable roofing system that will protect your home for decades.
How to Install the Ridge Cap
The final step in shingling is to cover the hips and ridges of your roof. You’ll use special ridge cap shingles designed for this purpose. When installing them on the ridges, start at the end of the roof that gets the least amount of wind and work your way across. For the hips, you’ll start at the bottom and work your way up to the ridge. Because these shingles are layered over existing ones, you’ll need to use longer nails to ensure they penetrate all the layers and securely fasten to the roof deck. It’s a simple process that gives your roof a clean, finished look and provides the final layer of protection.
Sealing and Weatherproofing Your Work
Proper sealing is what makes your hard work last. The most important part of weatherproofing is making sure every nail is correctly placed and driven flush with the shingle surface. This is your roof’s primary defense against wind uplift. Any nail heads that are left exposed, especially on the final ridge cap shingle, must be sealed. Apply a dab of asphalt roof cement over each one to prevent water from seeping in. Taking a few extra minutes to double-check your work and seal every potential entry point for water will save you from dealing with costly repairs down the road. This final attention to detail is what ensures a truly weatherproof installation.
How to Stay Safe on the Roof
Before you lay the first shingle, let’s talk about the most important part of any roofing project: your safety. Working at heights comes with obvious risks, and a successful project is one where everyone gets down safely. This means having the right gear, using your ladder correctly, and watching the weather.
Cutting corners on safety can have serious consequences. If you ever feel unsure or the job seems too risky, remember that professional roofing services are always an option. Your well-being is worth more than any DIY project.
Gear Up: Your Safety Equipment Checklist
Working on a roof requires more than just work clothes. Your safety gear is your first line of defense. Before setting up a ladder, make sure you have a fall-protection kit, which includes a safety harness, rope, and anchor. It might feel cumbersome, but it’s designed to save your life. You’ll also need a pair of soft-soled, high-grip boots to prevent slipping. Don’t forget safety glasses to shield your eyes from debris and gloves to protect your hands from rough shingles and stray nails.
Practice Ladder and Fall Safety
Your ladder is your bridge to the roof, so proper setup is critical. Place it on a firm, level surface and ensure it extends at least three feet above the roofline for a safe transition. As you climb, maintain three points of contact at all times. Once on the roof, move deliberately and be aware of your footing. For a steep pitch, install roof jacks and a plank to create a stable platform. Following established ladder safety guidelines isn’t just a suggestion; it’s a fundamental part of the job.
Watch Out for Weather Hazards
The weather is your most unpredictable worksite partner. A sunny forecast can turn in an instant, creating dangerous conditions. Never work on a wet roof; even a light morning dew can make shingles incredibly slick. High winds are another major hazard, as a strong gust can throw you off balance or turn a loose shingle into a projectile. Avoid working in extreme heat, which can lead to exhaustion. Always check the forecast before you start and be prepared to call it a day if conditions change. Your project can wait for clear skies.
Common Shingle Installation Mistakes to Avoid
Even with the best materials, a few small installation mistakes can lead to big headaches down the road, like leaks, wind damage, and a shorter lifespan for your roof. Getting the details right is what separates a DIY job from a professional one. A properly installed roof should protect your home for decades, and that means paying close attention to the common slip-ups that can compromise your hard work. It’s easy to get focused on the big picture and rush through the repetitive steps, but that’s where errors often happen. A single misplaced nail or a slightly crooked row of shingles might not seem like a big deal at the moment, but these issues compound over time, creating weak spots that nature will eventually find.
Knowing what to watch for is half the battle. From how you drive the nails to how you space the shingles and even how you manage airflow, every step matters. A tiny error repeated across an entire roof can add up to a significant problem that could have easily been prevented. Let’s walk through the most frequent installation mistakes so you can be sure to avoid them and get the durable, long-lasting roof your home deserves.
Avoiding Common Nailing Mistakes
How you nail your shingles is one of the most critical parts of the entire installation. It’s not just about fastening them; it’s about doing it correctly to ensure they can withstand wind and weather. A common error is driving the nails in at an angle, which can cut into the shingle and create a potential entry point for water. Under-driven nails that don’t sit flush can tear through the shingle above, while over-driven nails can break the shingle’s seal. The placement is just as important—nails must be placed on the designated nailing line. Improperly placed nails can seriously compromise the roof’s wind performance and allow water to seep underneath.
Getting Shingle Alignment and Spacing Right
Properly aligning your shingles is essential for both function and appearance. Each course of shingles needs to be straight, and the vertical cutouts (or slots) must be correctly offset from the course below. This pattern isn’t just for looks; it ensures that water is properly shed down the roof without finding any seams to sneak through. When shingles are misaligned or improperly spaced, it can create gaps where water can penetrate. It can also lead to issues like blistering, which happens when moisture gets trapped within the shingle itself. Taking the time to snap chalk lines and measure carefully will pay off in a watertight and visually appealing finish.
Preventing Ventilation and Temperature Errors
A roof is more than just shingles; it’s a complete system that needs to breathe. One of the most overlooked aspects of a roofing project is ensuring proper ventilation. Without a balanced system of intake and exhaust vents, heat and moisture get trapped in your attic. In the summer, this can bake your shingles from below, causing them to curl and age prematurely. In the winter, it can lead to condensation and ice dams. A poorly ventilated roof is susceptible to a host of problems, including water infiltration and premature aging. Ensuring your attic has adequate airflow is a non-negotiable step for a healthy, long-lasting roofing system.
How to Finish the Job and Ensure Proper Ventilation
You’re almost at the finish line, but the last few steps of a roofing project are some of the most important. This is where you transition from simply installing shingles to ensuring you’ve created a complete, functional roofing system that will protect your home for decades. Proper ventilation and a meticulous final inspection are what separate an average job from a professional one. Taking the time to get these details right prevents major headaches down the road, like moisture damage, ice dams, and premature aging of your new roof. Think of this as the final quality control check that guarantees your hard work pays off.
Balancing Intake and Exhaust Vents
A roof needs to breathe, and that’s where ventilation comes in. Proper attic ventilation regulates the temperature and moisture levels in your attic, which is essential for the health of your entire home. The goal is to create a steady, continuous flow of air. Cool, dry air enters through intake vents (located at the lowest part of the roof, like the soffits), and warm, moist air escapes through exhaust vents (located at the highest point, like the ridge).
For this system to work, it needs to be balanced. Having the right ratio of intake to exhaust prevents issues like mold growth in the winter and reduces strain on your air conditioner in the summer. A well-ventilated attic is a key part of a healthy roofing system that lasts.
Your Final Inspection Checklist
Before you pack up your tools, it’s time for one last walkthrough. A careful final inspection helps you catch any small mistakes that could turn into big problems. Grab your ladder and go over every inch of your new roof, looking for anything that seems out of place.
Here’s a quick checklist to guide you:
- Shingle Placement: Are all shingles lying flat and aligned correctly? Check for consistent spacing and proper overlap.
- Nailing: Look closely for any exposed nail heads, also known as “shiners.” Every nail should be covered by the shingle above it to prevent rust and leaks.
- Flashing and Seals: Double-check the flashing around chimneys, vents, and skylights. Ensure it’s secure and properly sealed to keep water out.
- Cleanliness: Make sure the roof surface and your gutters are completely clear of leftover nails, shingle scraps, and other debris.
This final check is your best insurance against future issues. If you want to see what the pros look for, a professional roof inspection guide can give you even more detail.
Know When to Call a Professional
While the satisfaction of a DIY project is undeniable, roofing is one job that often demands a professional touch. It’s a complex and high-stakes task where small mistakes can lead to big problems. Knowing when to step back and call for help is key to protecting your home and yourself.
Safety is the number one reason to leave roofing to the pros. Working at heights carries significant risks, and trained professionals have the right equipment and knowledge of safety protocols to handle the job securely. Beyond the danger, improper shingle installation can cause serious issues like chronic leaks, wind damage, and premature aging of your roof. If your roof has a steep pitch, multiple layers of old shingles that need to be torn off, or you’ve noticed soft spots indicating rot in the roof deck, it’s time to call a contractor. A professional will ensure the work is done correctly and meets all local building codes, giving you peace of mind.
How to Choose the Right Roofing Contractor
Finding the right contractor is just as important as choosing quality materials. Start by searching for local companies that are licensed and fully insured in New Jersey—this is non-negotiable for protecting yourself and your property. Look at online reviews and ask for a list of recent references you can contact. A company with a strong, positive reputation is a great indicator of quality work. Because asphalt is such a common material, most experienced roofing contractors can install it expertly. Get written estimates from a few different companies, and choose the team that communicates clearly and makes you feel confident about their plan for your roofing project.
Related Articles
Frequently Asked Questions
Which type of asphalt shingle is right for my home? This really comes down to your budget and the look you want to achieve. Dimensional shingles are the most popular choice because they offer a great balance of durability and style, giving your roof a textured look for a reasonable price. If you’re on a tighter budget, 3-tab shingles are a solid, functional option with a flatter appearance. For a high-end look that mimics natural slate or wood, luxury shingles are the way to go, though they come with a higher price tag.
Can I just install new shingles over my old ones? While it might seem like a tempting shortcut, roofing over an existing layer of shingles is rarely a good idea. A complete tear-off is the only way to properly inspect the underlying roof deck for rot or damage. Covering up problems will only lead to more expensive repairs later. Plus, a fresh, flat surface ensures your new shingles will lie correctly and last as long as they’re supposed to.
How long will my new asphalt shingle roof actually last? A professionally installed roof using quality architectural shingles should protect your home for 25 to 30 years. The final lifespan depends on a few key factors: the quality of the shingles you choose, the skill of the installation, and whether your attic has proper ventilation. A well-ventilated roof stays cooler and drier, which helps the shingles last much longer.
What’s the best time of year to install a new roof? The ideal time for a roofing project is during periods of mild, dry weather, which usually means spring or fall. Shingles need warmth for their adhesive strips to seal properly, but extreme summer heat can make them too soft to work with. Likewise, cold winter temperatures can make shingles brittle and difficult to cut and nail correctly, which can compromise the installation.
How important is the manufacturer’s warranty? The warranty is incredibly important, but it’s only valid if the shingles are installed exactly according to the manufacturer’s instructions. This is one of the biggest reasons to consider a professional installation. Common DIY mistakes, like placing nails just a fraction of an inch off the designated nailing line, can void the warranty entirely, leaving you without coverage if a problem arises.