When you see cracks and spalling on your concrete stairs, it’s easy to jump to the conclusion that you need a full, costly replacement. That process involves demolition, debris, and days of disruption. But what if you could get a brand-new look for a fraction of the cost and hassle? Concrete stair resurfacing is a practical solution that addresses cosmetic damage by applying a durable new layer over your existing steps. It’s a cost-effective way to fix surface-level issues, improve safety, and dramatically enhance your home’s entrance. This article will walk you through the process, helping you decide if this is the right project for your home.
Key Takeaways
- Assess the damage to choose the right fix: Resurfacing is the perfect solution for cosmetic problems like fine cracks and discoloration. However, for deep structural issues like crumbling or shifting concrete, a full replacement is the only safe option.
- Proper prep and sealing are non-negotiable: For a durable finish, the existing concrete must be thoroughly cleaned so the new material can bond correctly. Applying a protective sealer after the new surface cures is just as important to guard against future moisture and damage.
- Know when to DIY and when to call a pro: A DIY approach can work for minor, surface-level repairs if you have the right tools and patience. For extensive damage or to guarantee a flawless, long-lasting result, investing in a professional is the best path forward.
Why Resurface Your Concrete Stairs?
Your front steps are one of the first things guests see, but over time, concrete can start to look a little worse for wear. Exposure to New Jersey’s changing seasons, foot traffic, and de-icing salts can cause cracks, chips, and discoloration. While you might think your only option is a costly and disruptive tear-out, there’s often a much better solution: resurfacing.
Resurfacing gives your stairs a complete facelift without the headache of a full replacement. It involves applying a new, durable coating over the existing concrete, which not only restores its appearance but also adds a protective layer against future damage. It’s an effective way to improve your home’s curb appeal and ensure your steps are safe for your family and visitors. Let’s walk through the signs that your stairs are ready for an update and help you decide if resurfacing is the right move for your home.
Signs Your Stairs Need an Update
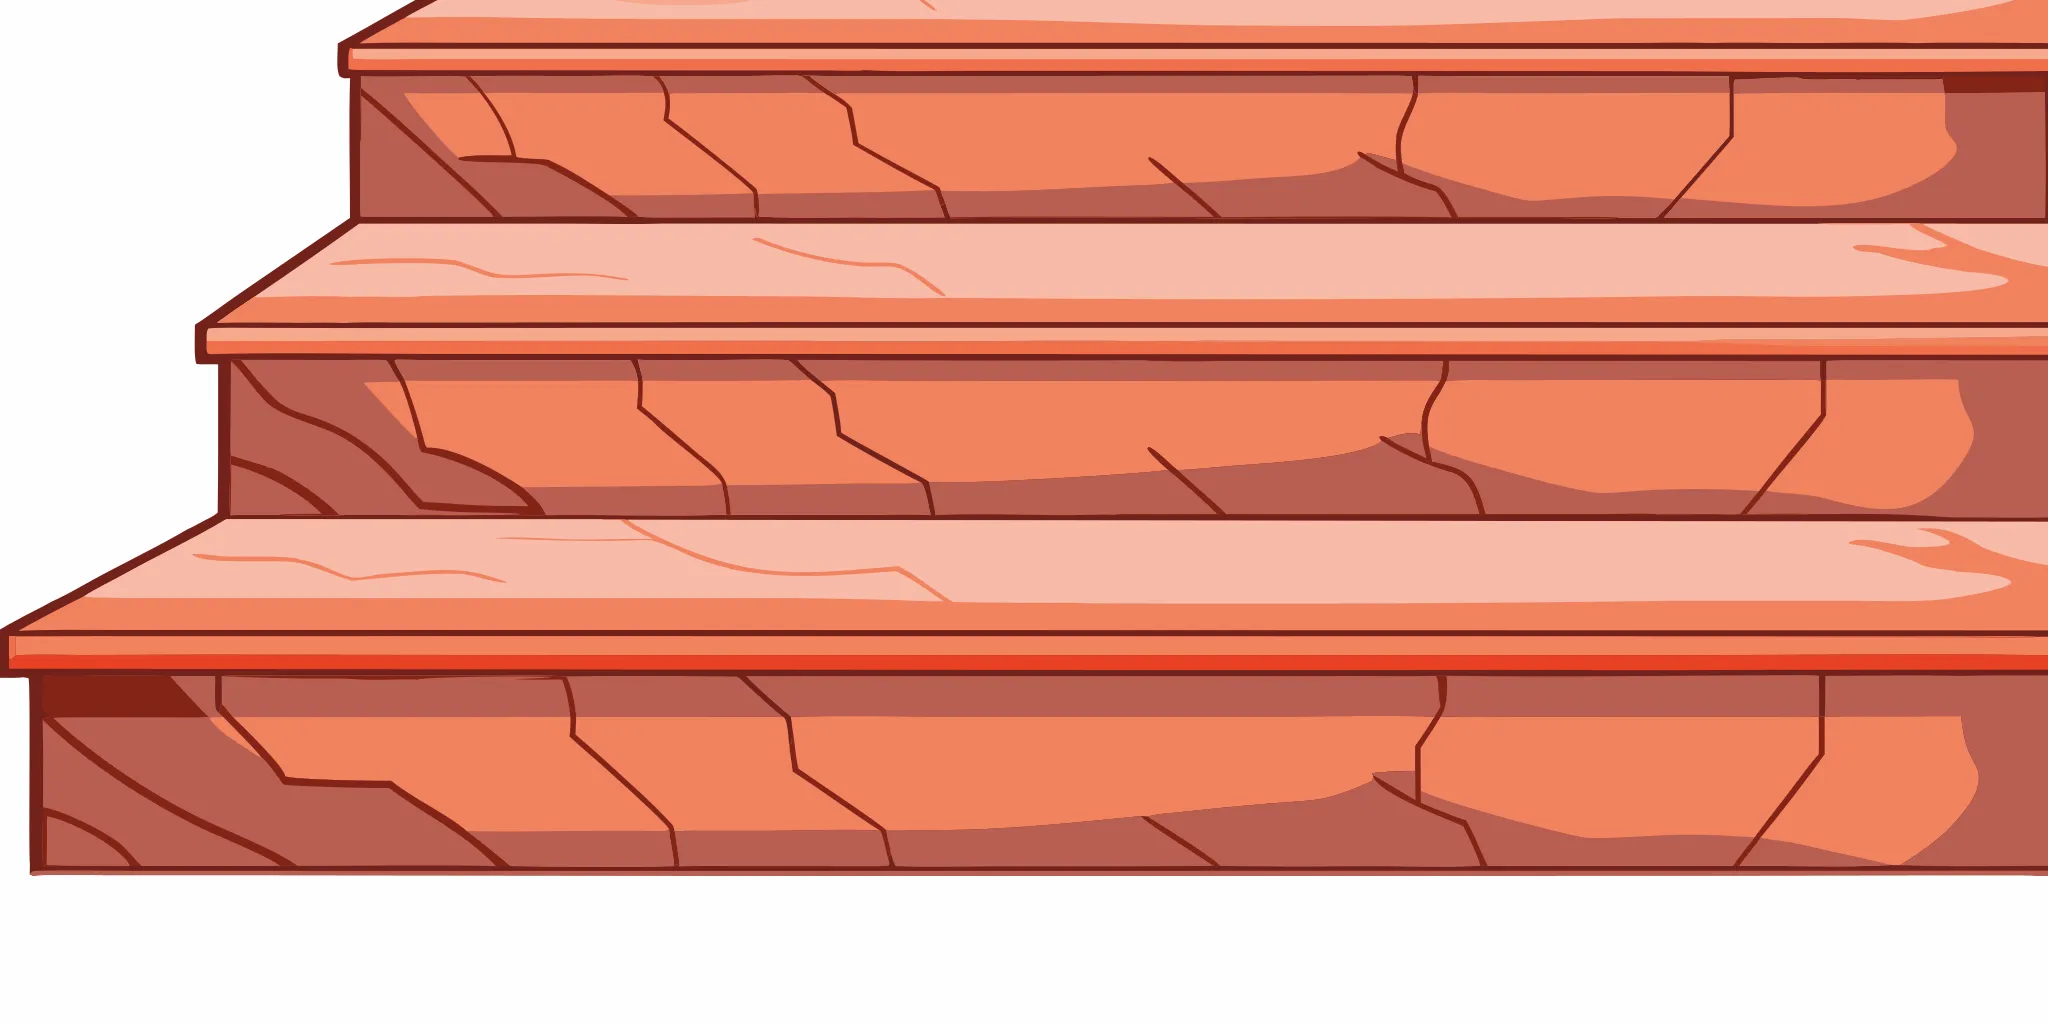
Not sure if your stairs are just showing a little character or crying out for help? There are a few clear signs to look for. The most obvious are surface-level issues like a web of fine cracks, pitting, or spalling, where small flakes and chips of concrete have broken away. You might also notice discoloration from stains, moss, or mildew that regular power washing just can’t fix. These cosmetic flaws can make your entire entryway look tired and neglected. More importantly, uneven surfaces or crumbling edges aren’t just an eyesore; they can become serious tripping hazards. If your steps look worn and feel unsafe underfoot, it’s definitely time to consider giving them an update.
Resurface vs. Replace: Making the Right Choice
When you’re faced with worn-out concrete stairs, your two main options are resurfacing or a full replacement. A total replacement is a major undertaking. It involves demolishing the old stairs, hauling away the debris, building new forms, and pouring fresh concrete, a process that can take days and comes with a significant price tag. On the other hand, professional resurfacing is a much simpler and more cost-effective solution. As long as your stairs are structurally sound, a new layer can be applied directly over the old concrete. This saves you from the mess and expense of demolition while delivering a fresh, durable, and beautiful finish in a fraction of the time.
Is Resurfacing the Best Option for You?
Resurfacing is a fantastic solution for many homeowners, but it’s not suitable for every situation. The key is the underlying condition of your stairs. If the problems are mostly cosmetic, like surface cracks, spalling, and stains, then you are the perfect candidate for resurfacing. However, if your stairs have deep, structural cracks (the kind that go all the way through the concrete), are severely crumbling, or seem to be sinking or shifting, these are signs of a deeper issue. In those cases, a full replacement might be necessary to ensure safety and stability. To determine whether your concrete is viable, take a close look at the damage. If you’re unsure, having an expert assess the situation is always the best path forward.
Your Guide to Resurfacing Materials and Tools
Getting a great result on your concrete stairs comes down to using the right products and tools for the job. If you’re tackling this as a DIY project, gathering your supplies beforehand will make the process much smoother. If you’re working with a professional, it’s still helpful to know what materials they’re using and why. From the resurfacing compound itself to the final protective sealant, each component plays a key role in creating a durable and beautiful finish that lasts.
Choosing the Right Resurfacing Compounds
The heart of any stair project is the resurfacing compound. You want a product that does more than just cover up old concrete; it needs to bond tightly and hold up against weather and foot traffic. Look for compounds that are specifically designed for strong adhesion and flexibility. Some of the best products create a molecular bond with the old concrete and can stretch slightly, which helps prevent new cracks from forming as the stairs settle or face temperature changes. As long as your stairs are structurally sound, a quality resurfacing is a fantastic, cost-effective alternative to a full replacement.
Essential Tools for a Flawless Finish
Proper preparation is the secret to a professional-looking finish. Before you even think about mixing your compound, you need to get the stairs completely clean. A pressure washer or a stiff wire brush is perfect for scrubbing away dirt, grime, and any loose concrete bits. This step is critical because the new material won’t stick properly to a dirty surface. Once your stairs are clean and dry, you can mix your resurfacing material. You’re aiming for a thick, paste-like consistency that’s easy to spread. When you apply it, try to keep the layer thin and even, usually no more than 1/8 inch thick, to ensure it cures correctly and looks smooth.
Protective Sealers and Non-Slip Coatings
Once your new surface has cured, don’t skip the final step: sealing. Applying a protective sealer is one of the best things you can do to safeguard the new surface from moisture, stains, and general wear. While it adds a small amount to the overall project cost, this investment pays off by extending the life of your resurfaced stairs for years to come. For outdoor stairs, it’s also a great idea to add a non-slip coating. This adds a bit of texture to the surface, providing better grip and making the steps much safer, especially when they’re wet from rain or morning dew.
How Much Does Concrete Stair Resurfacing Cost?
Figuring out the budget for your stair resurfacing project is a great first step. The final cost can vary quite a bit based on the materials you choose, the condition of your current stairs, and whether you decide to do it yourself or hire a professional. Let’s break down the numbers so you can get a clearer picture of what to expect.
A Breakdown of Material Costs
For a straightforward resurfacing project, you can expect material costs to run between $3 and $10 per square foot. This typically covers a standard concrete overlay that restores the surface to a clean, uniform look. If you’re interested in more decorative finishes, like stamped patterns that mimic stone or custom color staining, the price for materials can climb to around $25 per square foot. These custom options are a fantastic way to match your stairs to your home’s overall aesthetic, but they do require a larger investment in materials.
DIY vs. Professional: A Price Comparison
Tackling the project yourself can certainly cut down on costs, especially when it comes to labor. Some DIY resurfacing kits can bring the material cost down significantly, sometimes to less than $1 per square foot. However, hiring a professional ensures the job is done right the first time. While you pay for labor, you’re also paying for expertise, proper surface preparation, and a finish that lasts. This professional touch can prevent costly future repairs and give you peace of mind knowing your stairs are both beautiful and durable.
Factors That Influence the Total Cost
Beyond the basic choice between DIY and professional installation, a few other elements will shape your final quote. The total square footage of your stairs is the most direct factor; more steps simply require more materials and time. The current state of your concrete also matters a lot. Stairs with minor surface cracks will be less expensive to prep than those with deep spalling or significant damage that requires extensive masonry work. Finally, the complexity of the finish plays a big role. A simple broom finish is the most budget-friendly option, while custom colors or intricate textures will increase the price.
DIY or Hire a Pro: What’s the Best Approach?
Deciding whether to tackle a home project yourself or bring in a professional is a classic homeowner’s dilemma. Resurfacing concrete stairs falls right into that tricky middle ground. On one hand, it seems manageable enough, and the satisfaction of a job well done is hard to beat. On the other hand, your front steps are the first thing guests see, and a botched job can be a real eyesore, not to mention a safety hazard.
The right choice depends on your skills, your budget, and the condition of your stairs. If you’re dealing with minor cracks and wear, a DIY approach can be a great weekend project. However, for stairs with significant damage or if you’re aiming for a flawless, long-lasting finish, calling in an expert is often the smarter investment. Let’s break down what you need to consider before you start mixing any concrete.
Skills You’ll Need for a DIY Project
If you’re thinking about resurfacing your stairs yourself, the good news is that it’s an achievable project for a handy homeowner. You don’t need to be a master mason, but you do need patience and a good eye for detail. The basic process involves cleaning the surface, patching any cracks, and applying a thin layer of
Safety Risks to Consider
Whenever you’re working with concrete and chemical compounds, safety should be your top priority. The materials used for resurfacing can irritate your skin and eyes, so it’s essential to protect yourself. At a minimum, you should always wear heavy-duty gloves and safety glasses. You’ll also be doing a fair bit of cleaning, scraping, and mixing, which can kick up dust and debris. If you’re sensitive to dust, a respirator mask is a good idea. Remember to work in a well-ventilated area and keep kids and pets away from the workspace until the surface is fully cured and safe to walk on.
When It’s Time to Call an Expert
While DIY can be rewarding, there are clear signs that a project is better left to the pros. If your stairs have deep, structural cracks, are crumbling, or feel unstable, these could be symptoms of a bigger problem that a simple resurfacing job won’t fix. A professional can assess the underlying issue and ensure the repair is not just cosmetic but also structurally sound. Experts have the experience and specialized equipment to deliver a perfect finish that lasts much longer than a quick patch-up. For a truly durable and polished look, professional resurfacing is the way to go.
How to Resurface Concrete Stairs: A Step-by-Step Guide
Ready to give your concrete stairs a fresh start? Resurfacing can completely transform their look and fix minor damage, making them safe and attractive again. Following the right steps is key to getting a durable, professional-looking finish. This guide breaks down the process into four manageable stages, from preparation to the final seal. Whether you’re tackling this yourself or just want to understand the process, here’s what you need to know to get the job done right.
Step 1: Prepare and Clean the Surface
A clean surface is the foundation of a successful resurfacing project. Any dirt, grime, or loose concrete will prevent the new material from bonding correctly, leading to cracks and peeling down the road. Start by thoroughly sweeping the stairs. Then, use a wire brush or a pressure washer to remove any stubborn debris, flaking concrete, or old paint. For poured concrete, you may need to use a muriatic acid solution to etch the surface, which helps the resurfacer adhere. If you do, be sure to follow all safety precautions and rinse the area completely to neutralize the acid. The goal is to have a clean, sound, and slightly porous surface ready for the next step.
Step 2: Mix and Apply the Resurfacing Material
With your stairs clean and prepped, it’s time to mix your resurfacing compound. It’s important to follow the manufacturer’s instructions precisely, as the right consistency is crucial. Generally, you’re aiming for a thick, paste-like mixture that’s easy to spread but not runny. You can mix it in a bucket with a paddle mixer attached to a drill. Once it’s ready, apply a thin layer to the stairs using a trowel. Work the material into any small cracks or pits, ensuring full coverage. Focus on creating a smooth, even layer across both the treads and risers. Work efficiently, as most resurfacing products begin to set relatively quickly.
Step 3: Add Finishing Touches for Durability and Safety
After applying the initial layer, the finishing touches will determine the final look and function of your stairs. For a safe, non-slip surface, you can gently pull a stiff-bristled broom or brush across the wet resurfacer. This creates a light texture that provides extra grip, which is especially important for outdoor stairs that get wet. For the edges, use a specialized edging trowel to create clean, rounded corners that are less likely to chip. These small details not only improve safety but also give your stairs a polished, professional appearance. Proper resurfacing techniques ensure the final product is both beautiful and built to last.
Step 4: Cure and Seal Your New Stairs
Patience is key during this final step. The resurfacing material needs time to cure, or harden, properly. Curing time can vary from a few hours to a full day, depending on the product, temperature, and humidity, so always check the product label for specific instructions. Avoid walking on the stairs until they are fully cured. Once hardened, applying a quality concrete sealer is a great final touch. A sealer will protect your newly resurfaced stairs from moisture, stains, and salt damage, extending their life and keeping them looking great for years to come. This protective layer is your best defense against the elements.
Related Articles
Frequently Asked Questions
How long will a resurfaced staircase last? A professionally applied resurfacing job can last for many years, often a decade or more. The key factors are thorough surface preparation and the quality of the materials used, especially the final sealer. A good sealer protects the surface from moisture and wear, which is essential for longevity, particularly with New Jersey’s variable weather.
Can I change the color or look of my stairs with resurfacing? Absolutely. Resurfacing is a great opportunity to update the look of your stairs. Many resurfacing compounds can be tinted to a variety of colors. You can also opt for more decorative finishes, like stamped patterns that mimic the appearance of stone or brick, giving you a custom look that complements your home’s exterior.
What’s the difference between a small crack and a serious structural one? A small, cosmetic crack is usually very thin, like a spiderweb, and only on the surface. These are perfect candidates for resurfacing. A structural crack is much more serious; it’s typically wider, runs deep through the concrete, and may even cause parts of the stairs to shift or feel unstable. If you see a crack like that, it’s best to have a professional assess the foundation before considering any surface-level work.
How long does the resurfacing process usually take from start to finish? For a standard set of stairs, the entire process can often be completed in two to three days. The first day usually involves cleaning and preparing the surface. The second day is for applying the resurfacing material and finishing touches. After that, you just need to allow for curing time, which can take another 24 to 48 hours before the stairs are ready for regular foot traffic.
Is there a best time of year to resurface my outdoor stairs? Yes, weather plays a big role. The ideal time to resurface concrete is during a period of mild, dry weather. Most resurfacing products require temperatures to stay above 50°F (10°C) throughout the application and curing process. Extreme heat, direct sunlight, or rain can interfere with how the material sets, so spring and fall are often the perfect seasons for this project.