There’s something incredibly satisfying about a home improvement project that delivers a major visual impact. A proper stone veneer installation is one of those projects. It can take a plain, uninspired wall and turn it into a stunning focal point, adding texture, character, and significant value to your home. While the end result looks complex and expensive, the process itself is surprisingly manageable when you break it down. This guide is designed to be your roadmap, whether you’re a seasoned DIYer or just starting out. We’ll cover everything from preparing your surface correctly to avoiding common mistakes, ensuring your new stone feature looks flawless for years to come.
- Start with a solid, clean surface: Your project’s success depends on what’s underneath, so ensure your wall is clean and sound. For exterior work, a two-layer moisture barrier is crucial to prevent future water issues.
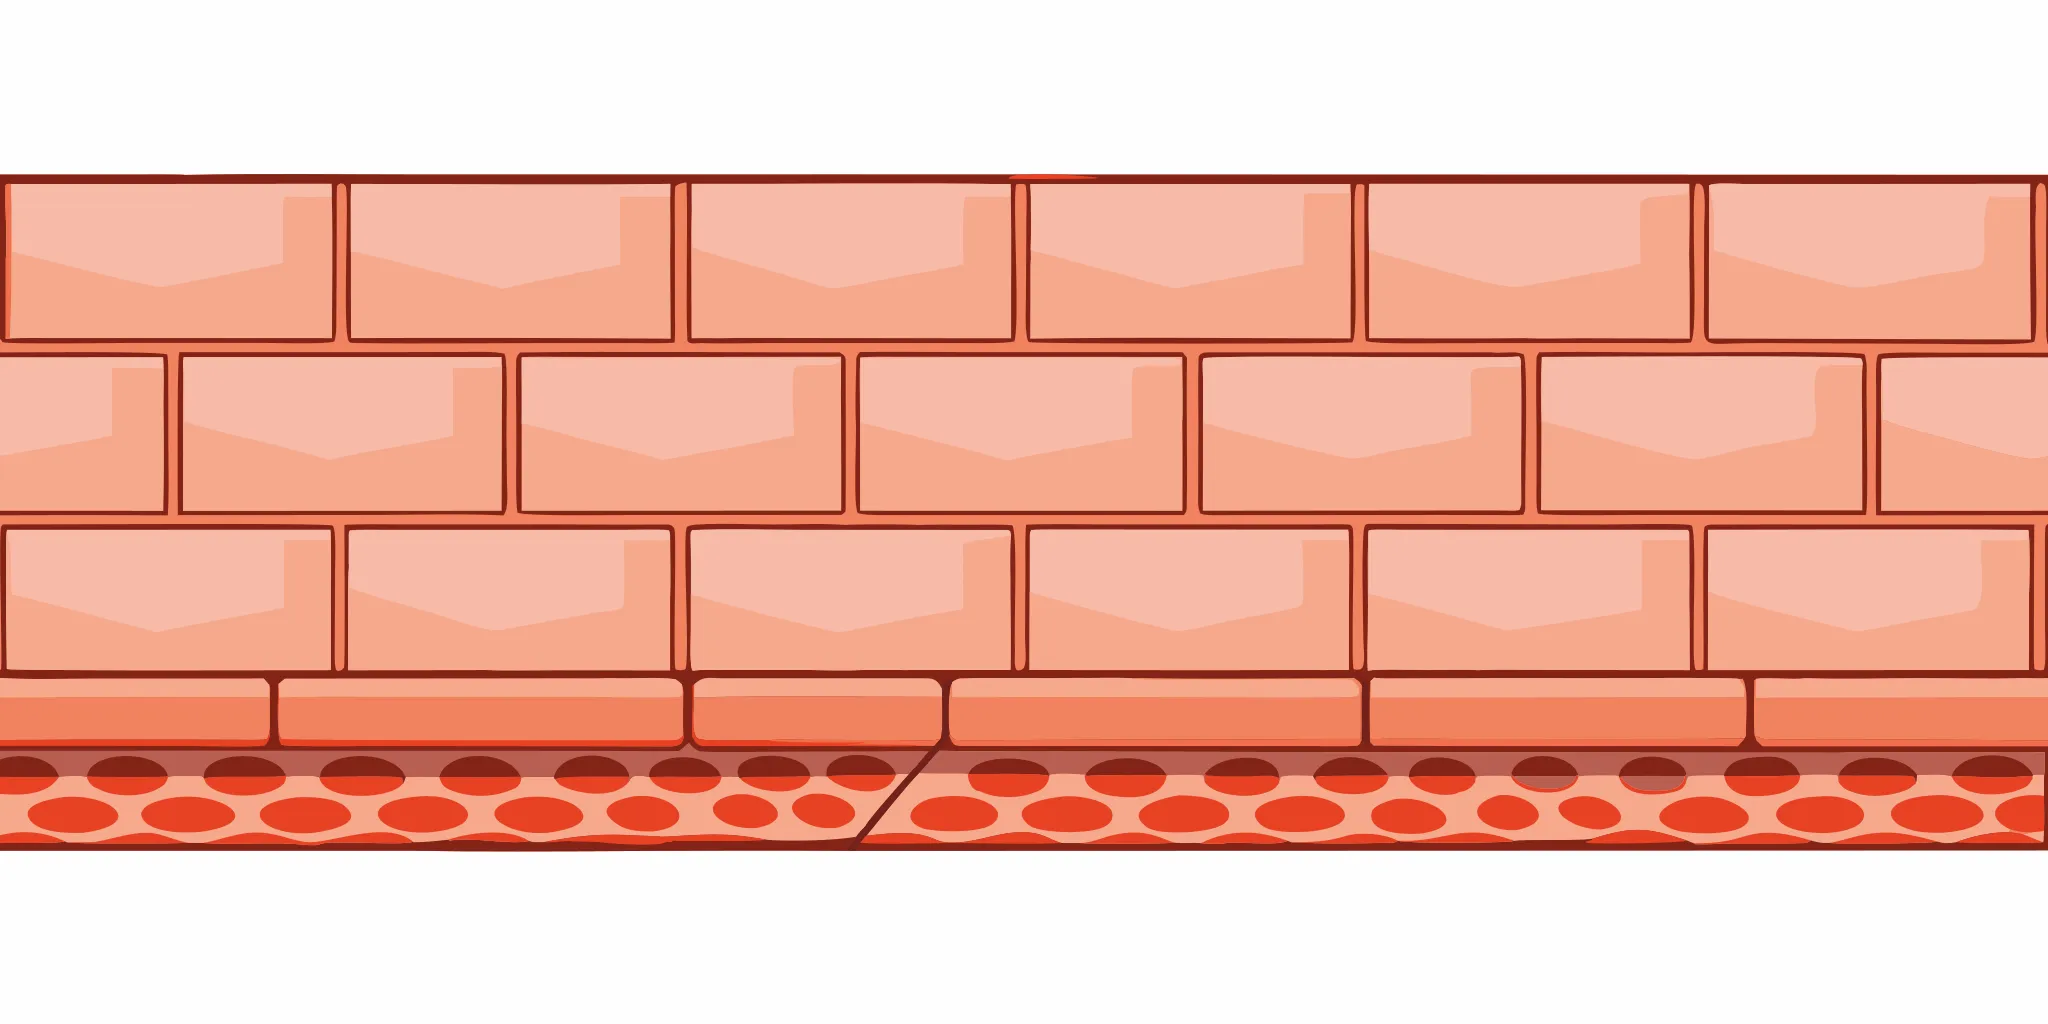
- Install stones methodically for a natural look: Begin with corner pieces to set your guide, then work from the bottom up. Apply a half-inch layer of mortar to the back of each stone and press it firmly to the wall with a slight wiggle to create a strong bond.
- Protect your work with proper finishing and care: After the stones are set, carefully fill the joints with grout and clean off any excess mortar once it dries. Simple, regular cleaning and seasonal inspections will keep your stone looking its best for years.
If you love the classic, rugged look of a stone house but aren’t so keen on the cost and complexity of traditional masonry, stone veneer is your answer. Think of it as a thin layer of stone that’s applied to the exterior or interior of your home. It gives you that beautiful, textured appearance of solid stone without the immense weight and structural requirements. It’s a smart way to get a high-end look, whether you’re updating your home’s entire facade, creating a stunning fireplace surround, or adding an accent wall.
There are two main paths you can take when choosing a stone veneer. You can go with natural stone or manufactured stone. Each has its own unique character and set of benefits, and the right one for you really comes down to your budget and the specific aesthetic you’re hoping to achieve. Understanding the difference is the first step in making a choice you’ll be happy with for years to come.
Natural vs. Manufactured Stone
Natural stone veneer is exactly what it sounds like: real stone that has been quarried from the earth and sliced into thin, lightweight pieces. Because it’s a natural product, no two pieces are ever identical. You get authentic variations in color, texture, and shape that create a truly one-of-a-kind finish. This option is perfect if you want an organic, timeless look that’s full of character and has a story to tell.
Manufactured stone veneer, on the other hand, is a man-made product crafted from a concrete mixture that’s poured into molds and colored to look like real stone. The quality of manufactured stone is incredible, and it often mimics natural stone so well it’s hard to tell the difference. It offers a more consistent and uniform appearance, which can be a plus for certain design styles.
Key Benefits and Cost Breakdown
When it comes to making a decision, your budget and design goals are the two biggest factors. Natural stone veneer delivers an unmatched authenticity and elegance that can significantly enhance your home’s curb appeal. However, this premium quality comes at a higher price point due to the costs of quarrying and transportation. It’s an investment in a unique, natural material.
Manufactured stone is the more budget-friendly option, making a stone look accessible for a wider range of projects. It’s also incredibly versatile, available in a huge array of styles and colors that might not be found in nature. While it may not have the unique fingerprint of natural stone, it’s a durable and beautiful siding choice that provides a fantastic return on investment.
Gather Your Materials and Tools
Before you can start transforming your space, you need to get all your ducks in a row. Having the right materials and tools on hand makes the entire installation process smoother and more enjoyable. A little preparation goes a long way in ensuring your project looks professional and lasts for years. Think of it as setting the stage for a successful performance. Let’s walk through exactly what you’ll need to get started.
Your Essential Materials Checklist
First things first, let’s talk materials. The star of the show is, of course, the stone veneer itself. Make sure you order enough flat pieces to cover your square footage, plus corner pieces if you’re wrapping around any edges. You’ll also need a quality adhesive, like a Type 1 mastic, to secure the stones to the wall. The surface you’re working with matters, too. Stone veneer can be applied to various surfaces, including primed drywall, concrete, brick, and cement board. Just be sure to prep the surface properly, like lightly sanding any glossy paint or brushing loose debris off brick before you begin.
The Right Tools for the Job
Having the right tools makes any job easier, and this one is no exception. You don’t need a massive workshop, but a few key items are non-negotiable. Grab a square notched trowel for applying the adhesive evenly, a drill with a mixing paddle if your mortar isn’t pre-mixed, and a few 5-gallon buckets for mixing and water. You’ll also want waterproof gloves to protect your hands, painter’s tape for clean lines, and a plastic drop cloth or rosin paper to protect your floors. Finally, keep plenty of grout sponges and a bag of stone mortar handy for the finishing steps.
How to Choose the Perfect Stone
Selecting the right stone is about more than just color; it’s about matching the character of your home. Think about the overall look you want to achieve. Are you aiming for a rustic, cozy feel? A rugged, fieldstone style might be perfect. For a more modern and sleek design, you might prefer a stacked stone with clean lines. Consider your home’s existing architectural style and the scale of the project. The right stone veneer should complement your home’s features, not overwhelm them. Take your time with this step, as your choice will define the final aesthetic.
Prepare the Installation Surface
Before you start placing stones, you need to do some prep work. Think of it like painting a room; you wouldn’t just slap a new color on a dirty wall. Proper surface preparation is the most important factor for ensuring your new stone veneer looks incredible and lasts for decades. This step prevents major headaches down the road and gives your mortar the best possible surface to bond to.
Clean and Assess the Wall
First, your wall needs to be perfectly clean. Any dirt, dust, or grime will prevent the mortar from adhering properly. If you’re working with a surface like concrete, brick, or stucco, you can often apply the stone directly. The key is that the surface must be unpainted and structurally sound. If there’s a layer of paint, it has to go; sandblasting or wire brushing are effective methods. If your wall has cracks or damage, it might need professional attention. A proper resurfacing can create the ideal canvas for your project. Don’t forget to give the stones a quick rinse if they’re dusty.
Install a Moisture Barrier
For any exterior project, installing a moisture barrier is a step you cannot skip. It might be tempting to cut this corner, but moisture infiltration can cause serious, expensive damage to your home’s structure over time. To do it right, you need to apply two layers of a weather-resistant barrier (WRB). This barrier, typically a building paper or wrap, goes between your home’s sheathing and the metal lath you’ll install next. This two-layer system ensures that any water that gets behind the stone can escape without touching the underlying wall. It’s your best defense against rot and mold.
Plan Your Layout and Dry Fit the Stones
Before you mix any mortar, take time to play with your stones. Lay out a large section on a tarp, arranging them just as you would on the wall. This “dry fit” is like putting together a puzzle. It helps you create a natural-looking pattern by mixing different sizes, shapes, and colors. You can also identify which pieces will need to be cut to fit around corners, outlets, or windows. Planning your layout ahead of time makes the actual installation process much faster and more efficient. It’s a simple step that makes a huge difference in the final look of your siding.
Install Your Stone Veneer: A Step-by-Step Guide
Alright, you’ve prepped your surface and planned your layout. Now it’s time for the most rewarding part: seeing your stone veneer wall come to life. This is where your vision starts to take shape, piece by piece. The process requires patience and attention to detail, but breaking it down into simple steps makes it completely manageable. We’ll walk through exactly how to mix your mortar, apply it correctly, and set each stone for a secure, beautiful finish that lasts for years.
Remember to work at a steady pace and enjoy the process. Each stone you place is a step closer to a stunning new look for your home. Think of it like putting together a puzzle, where every piece adds to the final masterpiece. It’s important to follow these steps in order to ensure the structural integrity and appearance of your new wall. From starting with the corners to minding the weather, each detail plays a role. And if at any point you feel like the project is more than you want to handle, don’t hesitate to call in the pros. A professional stone veneer installation guarantees a perfect result without the stress, ensuring every detail is handled with expert care. But if you’re ready to tackle it yourself, let’s get started.
Start with the Corners and Work Up
The best way to begin is by installing your corner pieces first. Think of them as the frame for your project. Placing the corners establishes the boundaries of your wall and ensures everything that follows will be straight and level. Starting at the bottom and working your way up, alternate the long and short legs of the corner stones as you go. This technique creates a natural, staggered look that mimics traditional masonry. Once your corners are in place, you’ll have a clear guide for filling in the flat sections, making the rest of the installation much smoother and more organized. This foundational step sets the tone for a professional-looking finish.
Mix and Apply Mortar Correctly
Your mortar is the glue that holds everything together, so getting it right is essential. You’ll want to use a pre-mixed mortar specifically designed for stone veneer (often labeled as SVM). Follow the mixing instructions on the bag carefully to achieve a smooth, peanut-butter-like consistency. Once it’s ready, apply a solid 1/2 to 1-inch layer to the back of a stone, a technique known as “buttering.” Spread the mortar evenly, then create a small ridge around the outer edge. This ridge helps create a tight seal when you press the stone against the wall, ensuring a strong, lasting bond for your new exterior.
Set and Adjust Each Stone
With a stone buttered with mortar, it’s time to place it on the wall. Press the stone firmly against the prepared surface with a slight wiggling motion. This little wiggle is important, as it helps the mortar spread out and properly adhere to both the stone and the wall, squeezing out any trapped air. You should see a bit of mortar ooze out around the edges, which is a good sign of a solid bond. Use a trowel to scrape off any excess mortar before it dries. Take a step back after placing a few stones to make sure your pattern looks balanced and natural.
Keep an Eye on the Weather
Believe it or not, the weather plays a huge role in a successful stone veneer installation. Mortar is sensitive to temperature, so plan your project for a mild day. You should avoid installing stone when it’s colder than 40°F or hotter than 90°F. In the cold, the mortar won’t cure correctly, leading to a weak bond that can fail over time. In extreme heat, the mortar will dry out too quickly before it has a chance to properly set, which also compromises its strength. Checking the forecast is a simple step that protects the quality and longevity of your hard work.
Add the Finishing Touches
You’re on the home stretch! The stones are on the wall, and your project is starting to look incredible. Now it’s time for the finishing touches that will give your stone veneer a professional, polished appearance and ensure it lasts for years to come. These final steps are just as important as setting the stones correctly, as they involve filling the gaps, cleaning up the surface, and adding a final layer of protection. Taking your time here will make all the difference in the final result, transforming a good installation into a great one. Whether you’ve chosen a rustic, wide-joint look or a tight, dry-stacked style, paying close attention to these details will ensure your new feature wall or home exterior looks flawless.
Grout the Gaps and Clean the Surface
With your stones in place, the next step is to fill the joints between them with mortar, a process known as grouting. For this, you’ll want to use a pre-mixed Type S mortar and a grout bag, which works much like a pastry bag. Simply cut a 1/2-inch hole in the tip, fill the bag about halfway, and carefully squeeze the mortar into all the gaps between the stones. Once all the joints are filled, you need to wait for the mortar to set slightly before finishing it. The timing here is key. You’ll know the grout is ready when you can brush it with a whisk broom and it crumbles like sand. If it smears, it’s still too wet, so give it a little more time before you try again.
Inspect Your Work and Make Touch-Ups
After the grout has had time to dry, take a step back and carefully inspect your work. Look for any spots you might have missed or areas that need a little extra attention. It’s common to get a bit of mortar on the face of the stones during installation, but don’t panic. The best way to handle this is to let the mortar dry completely before gently brushing it off with a dry, stiff brush. Trying to wipe it away while it’s still wet can cause it to smear, leading to unsightly stains that are difficult to remove later. A careful final inspection ensures your beautiful new stone veneer looks clean and professional.
Apply a Sealant for Long-Term Protection
To give your stone veneer maximum protection against the elements, consider applying a high-quality sealant. This step is especially important for exterior projects that will be exposed to rain, snow, and sun. A good sealant will help prevent moisture from getting behind the stones and protect them from weathering over time. Look for a breathable, penetrating sealant, such as one made from silane or siloxane, which won’t trap moisture. While applying a sealant is ultimately up to the homeowner, it’s a highly recommended step to ensure the longevity and beauty of your installation. Proper sealing is a key part of any professional siding project.
Common Installation Mistakes to Avoid
Installing stone veneer can completely transform a space, but a few common missteps can turn a dream project into a costly repair job. Even with the best materials, small errors during the installation process can lead to an uneven finish, poor adhesion, or long-term moisture damage. Taking the time to get these details right is what separates a DIY look from a professional-grade result that lasts for decades.
Many of these mistakes happen before the first stone even touches the wall. From inadequate surface preparation to mixing mortar incorrectly, these are the kinds of details that professionals have perfected through years of experience. Understanding these potential pitfalls is the first step to avoiding them. Whether you’re tackling this project yourself or just want to know what to look for in a quality installation, here are the most critical mistakes to steer clear of. A successful project is all about patience and precision, ensuring your beautiful new stone veneer stands the test of time.
Skipping Proper Surface Prep
Think of your wall as the canvas for your stone veneer. If the canvas isn’t clean and properly prepped, the final masterpiece won’t hold up. Proper surface preparation is the most critical step for a stone veneer installation that looks great and lasts. Before you even think about mixing mortar, the wall must be clean, dry, and structurally sound. Any lingering dust, grease, or old paint will prevent the mortar from bonding correctly. It’s also essential to install a moisture barrier according to the manufacturer’s guidelines. This protects your home’s structure from water damage, which is a risk you don’t want to take.
Ignoring Mortar and Temperature Guidelines
Mortar is the glue that holds your entire project together, but it can be finicky. Temperature plays a huge role in how it cures. You should avoid installing stone veneer in extreme weather, so try not to work when it’s colder than 40°F or hotter than 90°F. In the cold, mortar won’t set correctly, and in intense heat, it dries out too quickly, creating a weak bond. You also need to use the right kind of mortar. For most manufactured stone veneer, a Type S mortar is the standard recommendation because it offers superior strength and moisture resistance, which is crucial for any exterior resurfacing project.
Forgetting to Plan Your Layout
It’s tempting to just grab a stone and start sticking it on the wall, but that’s a recipe for an unnatural-looking finish. Before you apply any mortar, take the time to plan your layout. Think of it like putting together a puzzle. Lay your stones out on the ground to get a feel for how the different shapes, sizes, and colors will fit together. This allows you to create a balanced, organic pattern and identify any stones that might need to be cut before you’re on a ladder. A few minutes of planning can save you hours of frustration and ensure your final wall looks like it was crafted by nature, not just assembled.
Maintain Your New Stone Veneer
Once your beautiful stone veneer is installed, the final step is learning how to care for it. Don’t worry, this part is much easier than the installation. A little bit of regular maintenance goes a long way in keeping your stone looking fantastic for years and protecting your investment. Think of it as a simple routine, like tidying up your house. By staying on top of cleaning and performing a few seasonal checks, you can prevent small issues from turning into bigger headaches. It’s all about being proactive.
The key is to keep the stone clean, manage moisture, and know what to look for during your inspections. Most of the time, you can handle the upkeep yourself with just a few basic tools. But it’s also important to recognize when a problem needs a professional touch. We’ll walk through exactly what you need to do to keep your stone veneer in pristine condition, from simple dusting to seasonal inspections that will ensure its durability and appeal.
Clean and Inspect It Regularly
Keeping your stone veneer clean is one of the simplest ways to maintain its beauty. For interior walls, all you need to do is periodically vacuum with a brush attachment or wipe the surface with a damp cloth to remove dust. It’s that easy. For exterior projects, you can gently hose the stone off with plain water to wash away dirt and pollen. If you notice more stubborn grime, scrub the area gently with a soft-bristled brush and a solution of mild dish soap and water. Just be sure to rinse it thoroughly afterward. Avoid using harsh chemicals or power washers, as they can damage the stone’s surface and the mortar.
Perform Seasonal Upkeep
A couple of times a year, ideally in the spring and fall, take a few minutes to give your stone veneer a closer look. The changing seasons in New Jersey can be tough on home exteriors, so managing moisture is critical for long-term success. Check for any cracks in the mortar joints or the stones themselves. Look for any signs of water staining or efflorescence, which is a white, powdery residue that can indicate moisture is getting behind the veneer. Also, inspect the surrounding areas. Make sure your gutters are clean and that flashing is properly directing water away from the wall. Catching these things early prevents costly mistakes down the road.
Know When to Call for Help
While most maintenance is simple, some issues require an expert eye. If you notice several stones are loose, see large or growing cracks, or have persistent moisture problems that don’t go away, it’s time to call a professional. Trying to fix major structural issues yourself can often lead to more damage. A professional can identify the root cause of the problem, whether it’s improper flashing or a settling foundation, and ensure the repair is done correctly. They have the right tools and experience to handle unexpected problems easily, ensuring a lasting and seamless resurfacing that protects your home’s integrity and value.
Related Articles
Frequently Asked Questions
Is natural stone veneer better than manufactured stone? One isn’t necessarily “better” than the other; it really depends on your priorities. Natural stone offers a unique, authentic beauty since no two pieces are exactly alike, but it comes with a higher price tag. Manufactured stone is more budget-friendly and provides a consistent, uniform look with a vast range of styles. Both are incredibly durable and long-lasting when installed correctly, so the best choice comes down to the specific aesthetic and budget you have for your project.
Can I install stone veneer over my existing siding? This depends on what kind of siding you have. Stone veneer can often be applied directly over clean, unpainted brick or concrete surfaces. However, if you have wood or vinyl siding, it typically needs to be removed first. A proper installation requires a solid base with a moisture barrier and metal lath, which can’t be properly secured over an existing layer of siding.
How long will stone veneer last? When installed correctly, a stone veneer system is built to last for decades. With proper surface preparation, moisture management, and the right mortar, you can expect your stone veneer to last 50 years or even longer. It’s a durable material that holds up well against the elements, making it a fantastic long-term investment for your home.
Is sealing my stone veneer absolutely necessary? While it’s not always required, sealing your stone veneer is a step we highly recommend, especially for any exterior walls. A quality sealant provides an extra layer of protection against moisture, stains, and weathering. This helps preserve the stone’s color and integrity over time, making maintenance easier and extending the life of your installation.
What’s the biggest mistake people make when installing stone veneer themselves? The most common and costly mistake is improper surface preparation. Rushing this step or skipping the moisture barrier can lead to major problems, including poor adhesion and water damage to your home’s structure. Taking the time to ensure the wall is perfectly clean, sound, and protected is the single most important factor for a successful and long-lasting result.