How to Install Furring Strips for Board and Batten
Think of your new board and batten siding as the skin of your home’s exterior. For that skin to look smooth and perform correctly, it needs a strong skeleton underneath. That skeleton is your furring strip system. Attaching siding directly to the wall sheathing is a recipe for a wavy finish and moisture problems. By creating a rigid, level grid, furring strips provide the structural support needed for a perfectly straight installation and long-term durability. We’ll show you how to build this crucial foundation and get the most out of your furring strips for board and batten installation.
Key Takeaways
- Prioritize moisture management with an air gap: The main purpose of furring strips is to create a rainscreen. This space allows water to drain and air to circulate, which is the best way to protect your home from rot and mold.
- Match materials and size to your project: For exterior siding, always use pressure-treated wood to resist moisture. Choose strips that are thick enough to stay flat and space them properly, typically 16 to 24 inches apart, to give your siding a secure and even base.
- Get the installation details right: A professional finish depends on a solid foundation. This means installing a moisture barrier first, fastening strips directly into wall studs for strength, and using a level to ensure everything is perfectly straight before the siding goes on.
What Are Furring Strips?
If you’ve ever admired a home with beautiful, perfectly straight siding, you can probably thank furring strips for the flawless finish. Think of them as the unsung heroes of a siding project. Furring strips are thin strips of material, usually wood or metal, that are attached to the wall before the siding goes on. Their main job is to create a flat, stable, and even surface for the new siding to be fastened to. This is especially important because most walls have subtle imperfections, dips, or bows that would be magnified by new siding.
By creating a consistent framework, furring strips ensure your final siding installation looks professional and performs correctly. They are a foundational element for many types of exteriors, from classic board and batten to modern stone veneer. Without them, you risk a wavy, uneven appearance and a less secure attachment, which can lead to problems down the road. They also play a critical role in moisture management, giving your home an essential line of defense against water damage. Essentially, these simple strips are a small but mighty component of a durable and attractive exterior.
How They Support Board and Batten Siding
When it comes to board and batten siding, furring strips are non-negotiable. They provide the solid anchor point needed to attach both the wide boards and the narrower battens that cover the seams. Because the strips are installed directly into the wall studs, they create a much stronger connection than fastening siding directly to the sheathing. This structural support ensures the boards and battens remain straight and secure, preventing them from warping or pulling away from the wall over time. This stability is what gives board and batten its clean, crisp lines and long-lasting integrity.
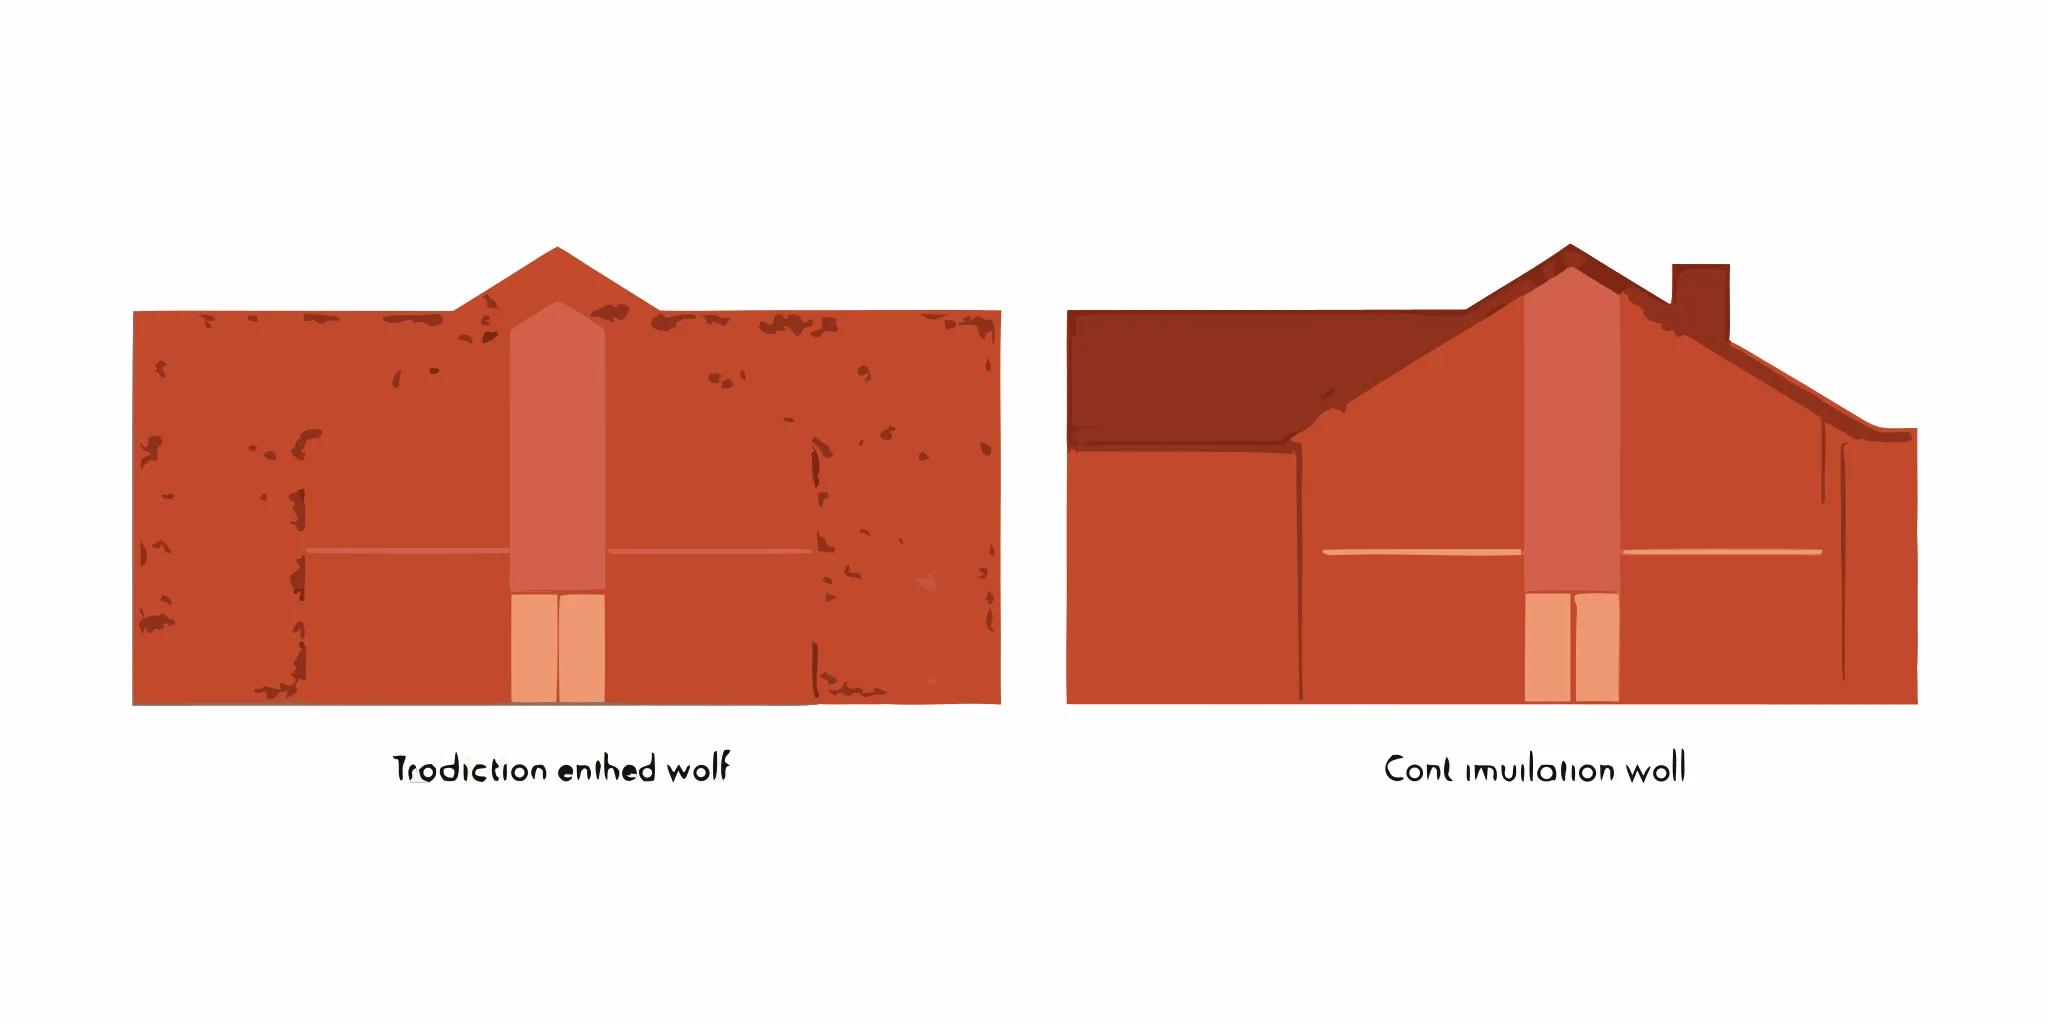
The Air Gap Advantage: Ventilation and Moisture Control
One of the most important benefits of using furring strips is the air gap they create between your home’s wall and the new siding. This small space is a game-changer for moisture management. No matter how well siding is installed, some water can find its way behind it. The air gap allows that moisture to drain away safely instead of getting trapped against your wall, which could lead to rot, mold, and structural damage. This feature, often called a rainscreen, also allows air to circulate, helping the entire wall assembly to dry out. Proper ventilation is key to protecting your investment and ensuring your siding lasts for decades.
Choose the Right Furring Strip Material
Picking the right material for your furring strips is a critical step that directly impacts the durability and success of your project. Your choice depends on where you’re installing the siding (inside or out) and the specific conditions of your home. Each material has its own set of pros and cons, so let’s walk through the most common options to find the perfect fit for your board and batten installation.
Wood: The Go-To for Interiors
For interior projects, like a feature wall in your living room, standard wooden furring strips are a popular and reliable choice. They are simple to cut and install, and you can easily paint them to match your wall color before you put up your siding. Wood also offers a bit of extra insulation. However, keep in mind that untreated wood is vulnerable to moisture, which can lead to rot and attract insects. That’s why it’s best reserved for dry, indoor applications where it won’t be exposed to the elements.
Pressure-Treated Wood: A Must for Exteriors
When you’re working on your home’s exterior, you have to use pressure-treated wood. This type of wood has been chemically treated to resist moisture and pests, making it the standard for any outdoor construction. For exterior siding, using pressure-treated furring strips is non-negotiable for a long-lasting result. Some professionals even recommend using thicker strips, like 2x4s, because they are less likely to bend and help keep the siding perfectly flat, especially when installed over softer insulation materials. This is a key step in protecting your home from water damage.
Metal: For Strength and Durability
If you’re looking for the strongest and most durable option, metal furring strips are the answer. Often made from steel, these strips are completely resistant to rot, insects, and fire. They won’t warp or bend due to weather changes, making them an excellent choice for ensuring your siding stays straight and secure for decades. While metal is the most expensive material on the list, its longevity can make it a worthwhile investment, especially in areas with harsh weather. It’s a top-tier material that provides ultimate peace of mind.
Plastic and Composite: Lightweight and Moisture-Proof
A newer option on the market is plastic or composite furring strips. These are often made from recycled materials, making them a more environmentally friendly choice. They are lightweight, easy to handle, and completely waterproof, so you never have to worry about rot or moisture damage. While they are a great low-maintenance alternative, they generally aren’t as strong as wood or metal. They are best suited for projects where structural strength isn’t the primary concern but moisture resistance is a top priority.
What Size Furring Strips Do You Need?
Choosing the right size furring strips is one of those small details that makes a huge difference in your final project. It’s not just about grabbing any piece of wood from the lumber aisle. The thickness, width, and spacing of your strips all play a critical role in how your board and batten siding will look and perform for years to come. A proper setup ensures your siding lays flat and has a strong, stable surface to attach to. More importantly, it creates that essential air gap for ventilation, which is your best defense against moisture damage.
Getting the size right prevents a lot of potential headaches. If the strips are too thin, they might bend or warp, creating a wavy look on your finished wall. If they’re spaced too far apart, the siding can sag over time. Think of it as creating a strong skeleton for your home’s new “skin.” The goal is to create a solid, reliable grid that supports your siding and protects the structure of your home from the inside out. It’s a foundational step that pays off with a professional-looking finish and long-term durability. Let’s break down the specifics so you can feel confident you’re picking the perfect size for your project.
Consider Thickness and Width
When you’re at the hardware store, you’ll see furring strips in a few standard sizes. For many interior projects or areas with mild weather, 3/4-inch thick plywood or pine strips work just fine. They’re easy to handle and provide enough of a gap for basic applications. However, if you want to guarantee a perfectly flat surface and add extra durability, it’s a good idea to go thicker. Using 2x4s as furring strips, for example, gives you a much more rigid frame. This added thickness is great for preventing any bending and ensuring your board and batten siding remains straight and secure, especially over large walls.
How Far Apart Should Furring Strips Be?
Spacing is just as important as the size of the strips themselves. If you place them too far apart, you won’t have enough support for the siding panels, which can lead to sagging or bowing between attachment points. A good rule of thumb is to keep the span between each furring strip to a maximum of three feet. For board and batten siding, you’ll often see them installed 16 or 24 inches on center to align with the wall studs, which provides excellent support. Always check the siding manufacturer’s recommendations, but keeping your furring strips close is a safe bet for a strong, long-lasting installation.
Match the Strip Size to Your Siding
Furring strips have two main jobs: creating a flat surface for installation and providing an air gap for ventilation. The right size helps them do both jobs well. The type of siding you choose will influence the ideal furring strip dimensions. Heavier materials, like certain types of fiber cement or thick wood planks, may require thicker, stronger strips to support their weight. Lighter materials might not need as much reinforcement. The key is to ensure the strips are substantial enough to hold the siding securely while also creating a sufficient gap for proper airflow. This ventilation is what helps prevent moisture from getting trapped and causing mold or rot behind your beautiful new exterior.
Interior vs. Exterior: Key Differences
Where you install your board and batten completely changes the game. An interior accent wall has very different needs than exterior siding, and your furring strip strategy must reflect that. While the basic concept is the same, installing furring strips outside involves a much more rigorous approach to protect your home from the elements. Forgetting these key differences can lead to moisture damage, warping, and costly repairs down the road. Let’s break down what you need to know for a successful installation, whether it’s inside or out.
Exterior Use: Prioritize Moisture Resistance
When you’re working on your home’s exterior, your number one priority is managing moisture. Rain, snow, and humidity are relentless, and trapping water behind your siding is a recipe for rot and mold. This is where furring strips become essential. They create a stable surface for your siding and, more importantly, an air gap that allows for ventilation. This space lets any moisture that gets behind the siding to dry out and drain away, preventing serious damage. Think of it as giving your walls room to breathe. This step is non-negotiable for a durable, long-lasting exterior finish that protects your home.
Account for Weather and Expansion
Your home’s exterior is constantly exposed to changing weather, from scorching summer sun to freezing winter nights. These temperature swings cause building materials to expand and contract. Your furring strip system needs to be strong enough to handle this movement without warping or buckling. For this reason, using thicker furring strips is often recommended for exterior work. They provide a more rigid and stable foundation that keeps your board and batten siding flat and secure over time. This structural integrity is crucial for maintaining the beautiful, clean lines of your siding and ensuring it can stand up to whatever the New Jersey weather throws at it.
Interior Use: More Flexibility in Your Choices
Compared to exterior projects, installing an interior board and batten wall is much more forgiving. Since you aren’t battling the elements, you have a lot more flexibility. You can often do this project yourself on a budget, as you don’t need expensive, pressure-treated materials. Standard pine furring strips usually work just fine. Your main goal indoors is to create a level and secure surface for attaching your boards, especially if your walls are uneven. This makes it a fantastic way to add character and custom detail to a room without the structural demands of an exterior job.
Prep Your Wall for Installation
Before you can attach a single furring strip, you need to get your wall ready. Proper preparation is the difference between a project that looks professional and lasts for years, and one that causes headaches down the road. Taking the time to inspect, clean, and prepare the surface ensures your board and batten siding will be smooth, secure, and protected from the elements. Think of it as creating the perfect canvas for your new siding.
Inspect and Clean the Surface
A successful installation starts with a clean slate. Begin by thoroughly inspecting the wall and clearing away any dirt, cobwebs, or peeling paint. For exterior projects, a pressure washer can make quick work of this step. The goal is to have a solid, sound surface for the furring strips. If your walls are already smooth, you’re in good shape. However, if the surface is rough or uneven, you may need to smooth it out with plaster or install a layer of thin plywood first. A properly prepared wall is essential for any exterior finish, whether it’s siding or a new coat of stucco. This ensures the final product looks great and adheres correctly.
Find and Mark Your Studs
Your furring strips need to be anchored securely to the wall studs to support the weight of the board and batten siding. Use a stud finder to locate each stud and mark its position with a pencil. For a perfectly straight installation, run a chalk line or use string lines to mark the stud locations from top to bottom. This gives you a clear guide when you start attaching the strips. Taking a few extra minutes for this step guarantees your furring strips will be installed flat and even, preventing any unwanted waves or bows in your finished siding. It’s a small detail that makes a huge difference in the final look.
Install a Moisture Barrier
For any exterior project, protecting your home from water is a top priority. Before installing furring strips, you should apply a moisture barrier, also known as a house wrap. This layer sheds any water that gets behind the siding, directing it down and away from your home’s structure. Some modern insulation products are hydrophobic, meaning they repel water and can act as a built-in moisture barrier. These materials create a “capillary break,” which stops water from wicking through. Whether you use a traditional wrap or advanced insulation, ensuring a continuous barrier is key to preventing rot and mold. Proper water management, from your gutters down to your foundation, is crucial for a healthy home.
Gather Your Tools and Materials
Getting all your tools and materials ready before you begin will make the installation process much smoother. You’ll need a measuring tape, level, pencil, and safety glasses. For cutting the strips, a miter saw provides the cleanest and most accurate cuts. To attach them, a nail gun and air compressor will save you a lot of time and effort. You’ll also want to have paintable caulk and a caulk gun on hand for sealing gaps. While you can certainly complete this project with a hand saw and hammer, be prepared for it to take quite a bit longer. If this tool list feels overwhelming, remember that our team at Garden State Brickface and Siding has everything needed to get the job done right.
How to Install Furring Strips: A Step-by-Step Guide
Okay, you’ve prepped your wall and you’re ready to get those furring strips up. This is where your project really starts to take shape! Installing furring strips correctly is the foundation for beautiful, long-lasting board and batten siding. It’s not just about attaching wood to a wall; it’s about creating a perfectly flat and durable base for your new
Step 1: Measure and Cut Your Strips
You’ve heard it before, but it’s the golden rule of any project: measure twice, cut once. Start by carefully measuring the area where you’ll be placing the strips. This will help you calculate exactly how much material you need to buy, saving you from extra trips to the hardware store. Once you have your measurements, cut the strips to the correct length. A miter saw will give you clean, straight cuts on wood strips, but a standard circular or hand saw works too. If you’re using metal or plastic strips, you can typically cut them with shears or a utility knife. Remember to wear your safety glasses!
Step 2: Attach Strips to the Wall Studs
Your furring strips need a strong anchor, and that means attaching them directly to the wall studs. Use your stud finder to locate and mark each stud where the strips will be installed. This is the most critical part for ensuring your siding is secure. For attaching the strips, flat head self-drilling screws are a great choice because they make the job faster and sit flush against the wood. You want to drive the fastener so it goes through the furring strip, the sheathing, and sinks firmly into the stud. A secure attachment here prevents the siding from shifting or pulling away from the wall over time.
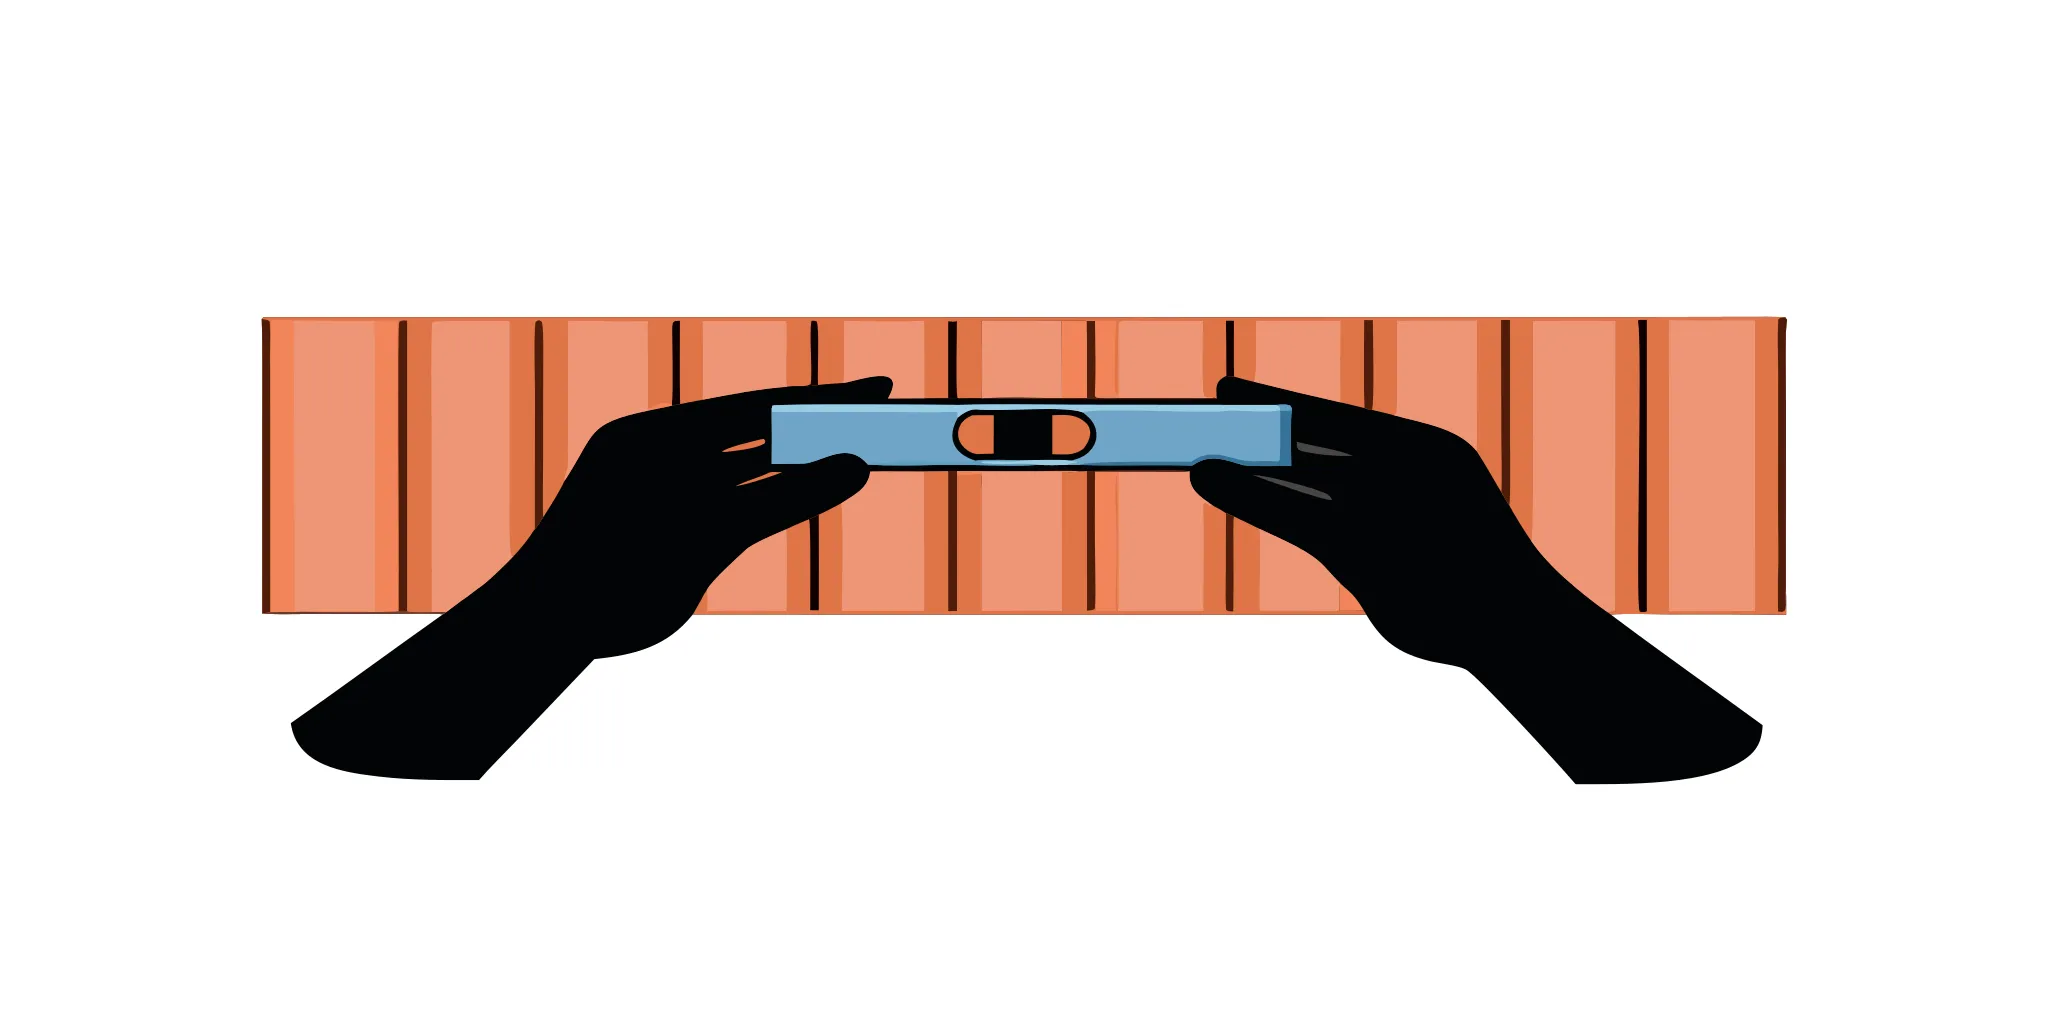
Step 3: Check for Level and Plumb
To avoid a wavy, unprofessional finish, every strip must be perfectly aligned. Use a 4-foot level to check that each horizontal strip is level and each vertical strip is plumb (perfectly straight up and down). For covering a large wall, running string lines from one end to the other is a great way to create a visual guide. This ensures all your strips are on the same plane, even if the wall behind them has slight imperfections. This step is especially important for older homes where walls are rarely perfectly flat. Taking the extra time here makes all the difference.
Step 4: Use the Right Fasteners
The type of fastener you use is just as important as where you place it. For most wood furring strips, ring shank nails are a popular choice because their ridges provide excellent holding power. However, screws are also a fantastic option, as they can be easily removed if you need to make an adjustment. The most important thing is to choose a fastener that is rated for exterior use and made from a corrosion-resistant material like stainless steel or hot-dip galvanized steel. This prevents rust from forming and staining your beautiful new siding down the road.
Step 5: Ensure Proper Drainage and Ventilation
Remember, the main reason we use furring strips is to create an air gap. This gap, often called a rainscreen, is essential for the health of your home. It allows any water that gets behind the siding to drain away harmlessly and promotes airflow that dries out residual moisture. As you install the strips, keep this goal in mind. You’ll need to leave a gap at the bottom and top of the wall to allow air to enter and exit. Installing a screened vent at these openings is a smart move to keep insects out while still allowing your walls to breathe. This simple feature is key to preventing mold, mildew, and rot.
How to Get Proper Drainage and Airflow
When you install furring strips, your main goal is to create an air gap between your siding and the wall. This little bit of space is a game-changer. It gives any water that sneaks behind the siding not only looks great but also effectively protects your home for years to come.
Vertical vs. Horizontal Installation
The direction you install your furring strips depends on the orientation of your siding. For horizontal siding, you’d run the furring strips vertically. This is pretty straightforward, as it creates natural channels for water to drain down and out. But with vertical siding like board and batten, you need horizontal furring strips to attach the boards. This is where things get tricky. Horizontal strips can act like tiny dams, trapping water behind your siding. So, while you need them for support, you have to be smart about how you install them to avoid moisture problems down the line.
Try the Double Furring Method
For a truly robust system, especially with vertical siding, consider the double furring method. It might sound like extra work, but it’s a professional technique that offers superior protection. Here’s how it works: you first install a layer of vertical furring strips directly onto the wall. These create unobstructed channels for water to drain away. Then, you install your horizontal furring strips on top of the vertical ones. This horizontal layer provides the necessary attachment points for your board and batten siding. You get the best of both worlds: the vertical drainage you need and the horizontal support your siding requires in a proper rainscreen system.
Use a Rainscreen Drainage Mat
Another fantastic solution for managing moisture is a rainscreen drainage mat. Think of it as a specialized, textured mat that goes between your weather barrier and your siding. These mats are designed to create a consistent air gap and have built-in channels to direct water away. They are a highly effective, modern way to build a rainscreen system. Using a drainage mat is a great way to ensure that no matter what, you have a buffer zone that keeps your wall assembly dry. This method works beautifully for all types of cladding, from board and batten to stone veneer.
Create Gaps for Water Runoff
If you’re using a single layer of horizontal furring strips, a few small details can make a huge difference in performance. First, don’t install the strips as one long, continuous piece. Instead, leave small gaps between the ends of the strips. This breaks up the “dam” effect and allows water to find a path downward. You can also drill several holes along the bottom edge of the horizontal strips. These act as weep holes, giving any trapped water an easy escape route. It’s a simple step that provides a bit of insurance against moisture buildup.
Common Furring Strip Mistakes to Avoid
Installing furring strips might seem like a simple preliminary step, but getting it wrong can cause major headaches down the road. Even small mistakes can compromise the integrity and appearance of your beautiful new board and batten siding. A successful siding project is all about the details, and paying close attention here will ensure your home’s exterior looks great and lasts for years. Let’s walk through some of the most common missteps I’ve seen and, more importantly, how you can steer clear of them. By avoiding these pitfalls, you’re setting your project up for a professional-quality finish that protects your home from the elements.
Forgetting the Moisture Barrier
One of the biggest reasons to use furring strips is to create a rainscreen system. This means leaving an air gap behind your siding that allows any moisture that gets in to drain away and dry out. But this system only works if you have a proper moisture barrier, or house wrap, installed first. Skipping this step is a critical error. Without a barrier, you’re essentially inviting water to soak directly into your home’s sheathing, which can lead to rot, mold, and costly structural damage. Think of the moisture barrier as the raincoat for your walls, and the furring strips as the system that lets that raincoat breathe. Proper siding installation always starts with protecting what’s underneath.
Using Incorrect Strip Size or Spacing
When it comes to furring strips, size and spacing are everything. Using strips that are too thin or flimsy can cause them to bend or warp, which will translate into a wavy, uneven finish on your siding. While 3/4-inch strips can work in some cases, thicker materials are often a safer bet for keeping your siding perfectly flat. The spacing between your strips is just as important. If they are too far apart, they won’t provide enough support for the siding boards, which can lead to sagging or rattling. Always check the siding manufacturer’s recommendations, as different materials have different needs. A heavy finish like stone veneer requires a much more robust support system than lightweight vinyl, and the same principle applies here.
Choosing the Wrong Fasteners
The fasteners you use to attach your furring strips and siding are the unsung heroes of the project. Using the wrong type, size, or material can lead to a complete failure. Nails or screws that are too short won’t penetrate deep enough into the wall studs to create a secure hold, putting your siding at risk during a storm. It’s also crucial to use corrosion-resistant fasteners, especially for exterior work. Standard screws will rust when exposed to moisture, leading to ugly stains on your siding and eventual fastener failure. When that happens, you’re not just looking at a siding repair; you may need resurfacing work to fix the damage left behind. Always invest in the right fasteners for the job.
Forgetting to Flash, Caulk, and Ventilate
Furring strips don’t work in isolation; they are part of a complete wall system designed to manage water. Flashing is a critical component that directs water away from the most vulnerable areas, like the tops of windows and doors. Forgetting to install it properly is like leaving a window open in a rainstorm. Similarly, a bead of high-quality exterior caulk seals any small gaps where water might sneak in. Finally, for the air gap to work, it needs to ventilate. This means leaving small, screened openings at the bottom and top of the wall so air can circulate. Without proper ventilation, you’ll just be trapping moist air. This is especially important around new windows, where a seamless integration with the siding is key to preventing leaks.
Ignoring Building Codes and Proper Alignment
Before you start any project, it’s a good idea to check your local building codes. These rules aren’t just suggestions; they are in place to ensure your home is safe and structurally sound. Codes often specify requirements for materials, spacing, and fastening schedules for siding. Beyond the codes, taking the time to ensure your furring strips are perfectly aligned, level, and plumb is essential for a professional look. A crooked furring strip will lead to crooked siding, and this isn’t something you can easily fix later. Using a level and string lines will pay off in the final result. For complex finishes like brickface and stucco, precision is everything, and the same mindset should apply to your furring strip installation.
Know When to Call a Professional
I love a good DIY project as much as anyone. There’s a real satisfaction in stepping back and saying, “I did that.” But I’ve also learned that some jobs are best left to the people who do them every day. Knowing your limits isn’t about giving up; it’s about making a smart decision to protect your home and your investment. When it comes to installing furring strips and siding, a few key situations signal that it’s time to call for backup.
If your walls aren’t perfectly smooth and even, you’re starting the project on shaky ground. Rough surfaces or walls that aren’t plumb can make it nearly impossible to get a clean, professional look. If you find that your wall needs significant prep work, like plastering or other kinds of resurfacing, it’s a good time to pause and consider getting an expert opinion. A professional can assess the condition of your walls and ensure the foundation for your new siding is sound.
This is especially true for exterior projects. Installing furring strips and siding involves more than just nailing boards to a wall; it’s about creating a system that protects your home from water. If flashing and caulking aren’t done just right, you could be looking at serious water damage, rot, and mold down the road. A professional team understands how to manage water and ensure your home’s exterior is completely sealed. This isn’t a step where you want to guess and hope for the best.
Finally, getting that flawless, high-end finish takes practice. Are your baseboards thick enough for the battens to sit flush against? Are the furring strips perfectly level and evenly spaced to meet the siding manufacturer’s guidelines? These small details make a huge difference in the final result. A professional has the tools and experience to handle these nuances, ensuring your board and batten looks intentional and beautiful, not like a weekend project that went slightly wrong.
Related Articles
- Your Step-by-Step Vinyl Siding Installation Guide - Garden State Brickface and Siding
- What You Need To Know About Siding For Your Home - Garden State Brickface and Siding
- siding - Garden State Brickface and Siding
Frequently Asked Questions
Can I skip using furring strips to save time and money? I know it’s tempting to look for shortcuts, but this is one corner you really shouldn’t cut. Furring strips do two critical jobs: they create a perfectly flat plane for your siding and they provide an air gap for moisture to escape. Without them, any imperfections in your wall will show through, creating a wavy, unprofessional look. More importantly, you risk trapping water behind the siding, which can lead to rot and mold. Think of it as a small investment that protects the much larger investment you’re making in your home’s exterior.
Is pressure-treated wood really necessary for an exterior project? Yes, it absolutely is. For any project on the outside of your home, using pressure-treated wood for your furring strips is non-negotiable. Standard, untreated wood will absorb moisture, which leads to rot and attracts insects. Using the wrong material here could cause your entire siding system to fail in just a few years. The chemical treatment protects the wood from the elements, ensuring you have a strong, durable foundation for your siding that will last for decades.
What should I do if my walls aren’t perfectly flat? This is a very common issue, especially in older homes, and it’s one of the main reasons furring strips are so valuable. As you install the strips, you can use shims (thin, tapered pieces of wood) behind them in low spots to create a perfectly level and plumb grid. This process ensures your final siding installation will be straight, even if the wall behind it is not. If your walls are significantly uneven, however, it might be a good time to consult a professional to make sure there isn’t a larger structural issue that needs attention first.
With vertical siding, how do I prevent horizontal furring strips from trapping water? This is a fantastic question because it gets to the heart of proper installation. Since horizontal strips can act like tiny dams, you need to give water a way out. The best method is to install a double layer: first a layer of vertical strips to create drainage channels, then your horizontal strips on top of those. If you’re using a single horizontal layer, you can leave small gaps between the ends of the strips or drill weep holes along the bottom edge to allow water to escape.
Is installing furring strips a good DIY project for a beginner? It depends on the project. If you’re creating an interior accent wall, it can be a great weekend project to tackle yourself. The stakes are lower indoors since you aren’t worried about weatherproofing. For an exterior installation, I would be more cautious. The job involves creating a complete water management system with a moisture barrier and flashing. If you’re not completely confident in your ability to make your home watertight, it’s much safer to hire a professional.