How Long Does It Take to Repoint a Chimney? Answered
Your chimney stands guard over your home, bearing the brunt of New Jersey’s weather year after year. So when you see its mortar starting to fail, it’s a call to action. Repointing is about more than just aesthetics; it’s a fundamental structural repair that protects your entire home from water intrusion and decay. Ignoring it is like putting off fixing a leaky roof—the problem only gets bigger and more expensive. As you consider this essential maintenance, you need to plan for the work involved. Knowing how long does it take to repoint a chimney is a critical piece of that puzzle, helping you prepare your home and schedule for a smooth, successful project.
Key Takeaways
- Address mortar issues early to prevent major damage: Repointing is your first line of defense against water intrusion that can lead to costly structural repairs. View crumbling mortar not as a cosmetic flaw, but as a critical sign that your home’s integrity is at risk.
- Mortar is not a one-size-fits-all product: A successful repointing job requires matching the mortar type to your home’s original construction, especially for older houses. Using the wrong mix can cause the bricks to deteriorate, turning a simple repair into a much larger problem.
- Expect a multi-day project with a variable price tag: A typical repointing job takes one to three days, but the chimney’s size, condition, and accessibility can affect the final timeline and cost. Factors like scaffolding for hard-to-reach areas will add to the project’s scope and budget.
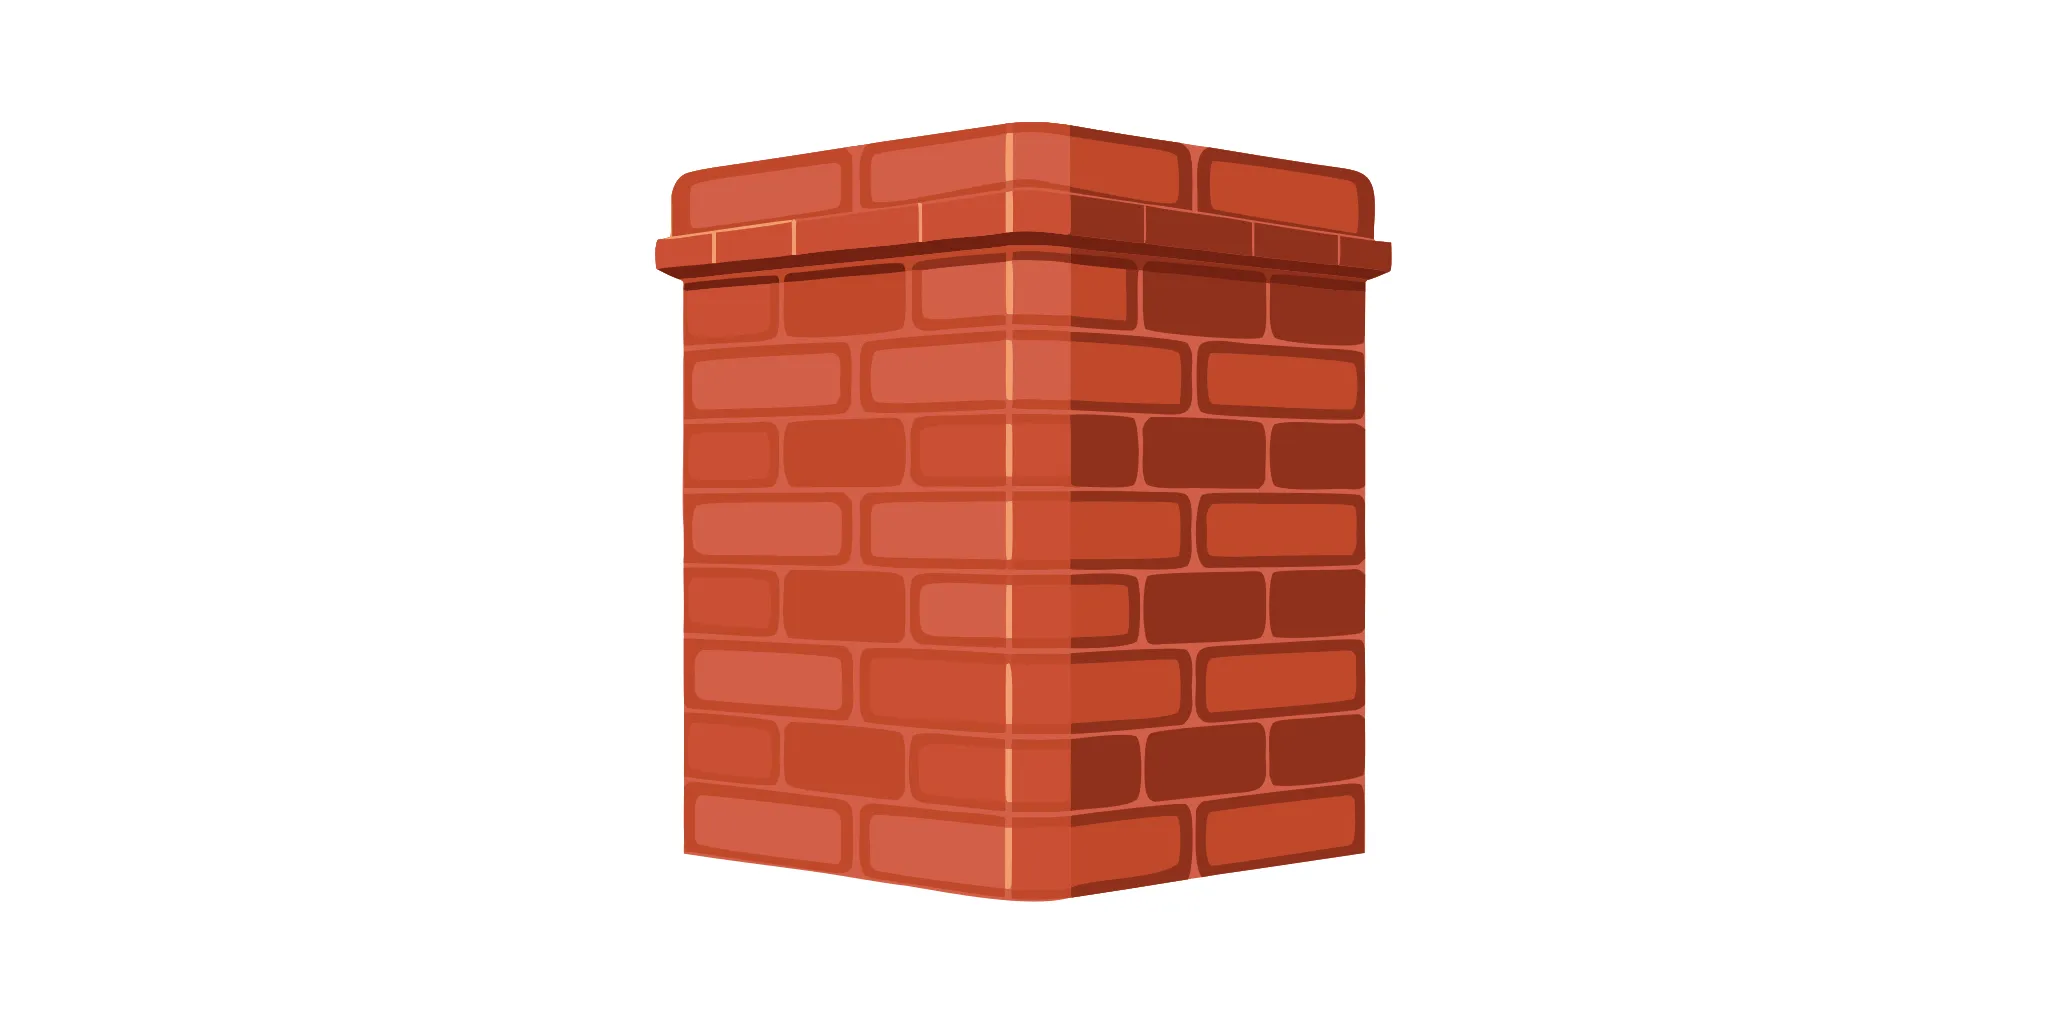
What Is Chimney Repointing?
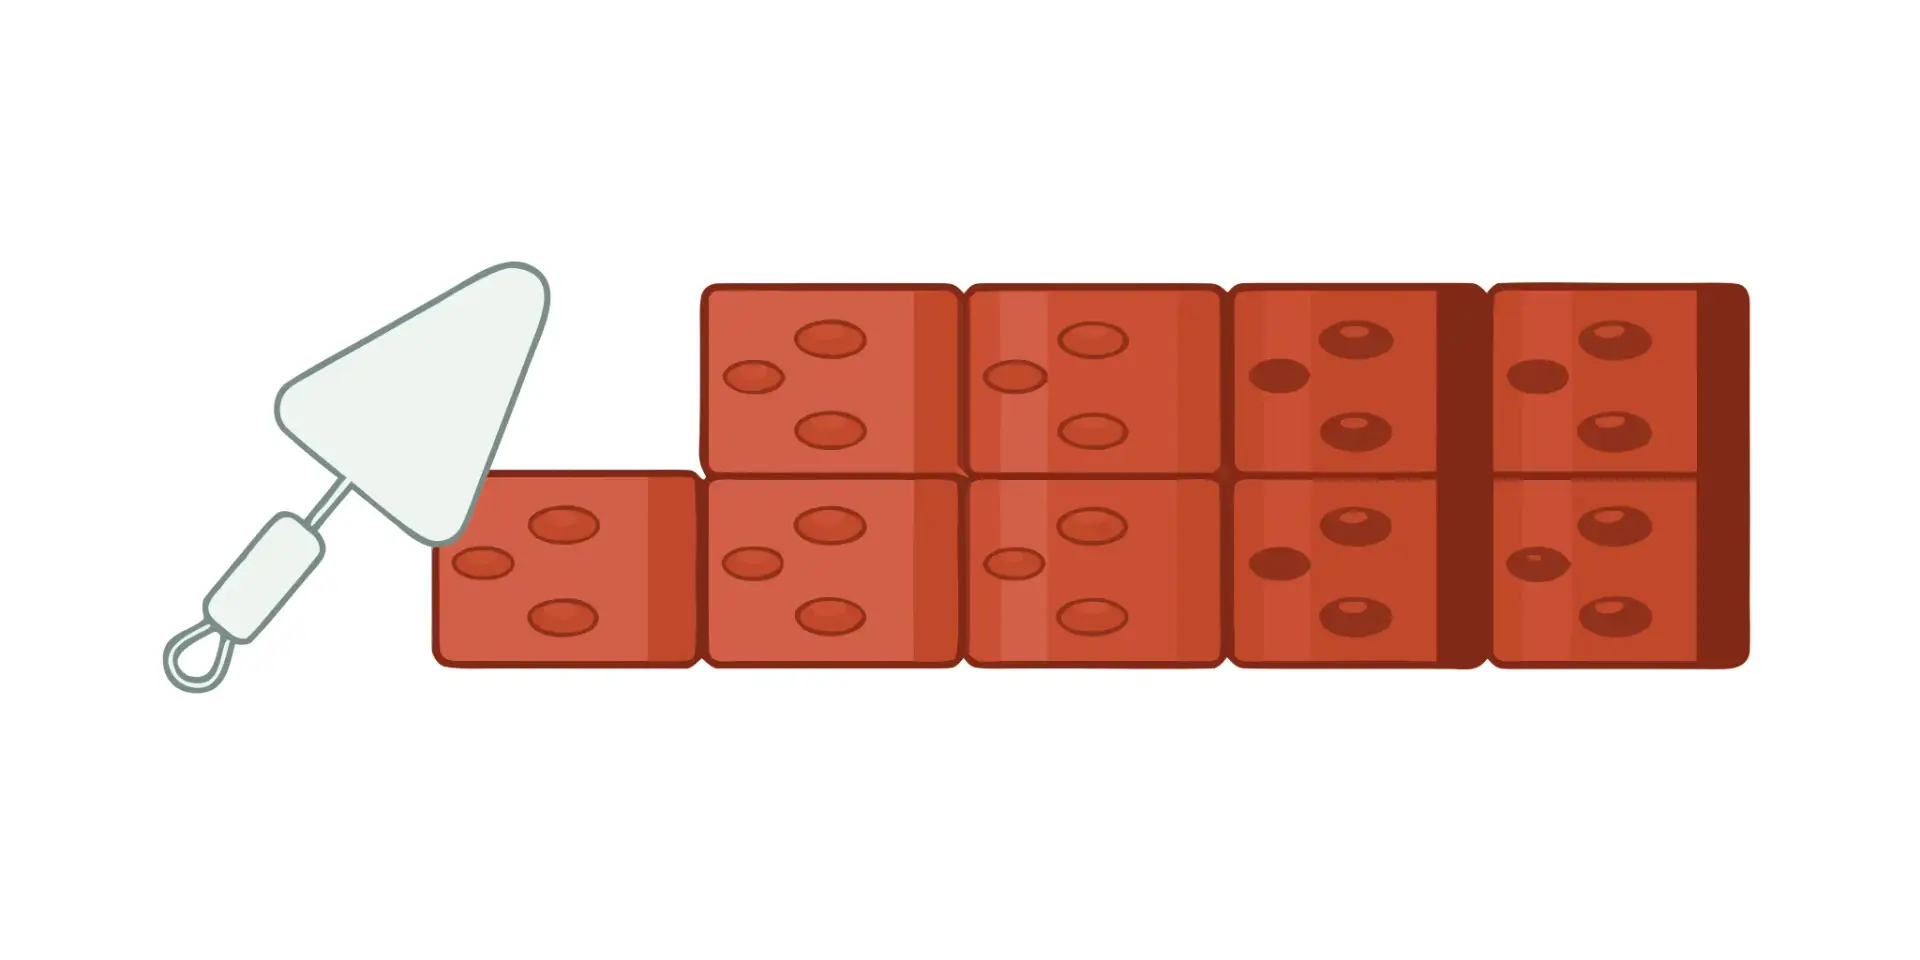
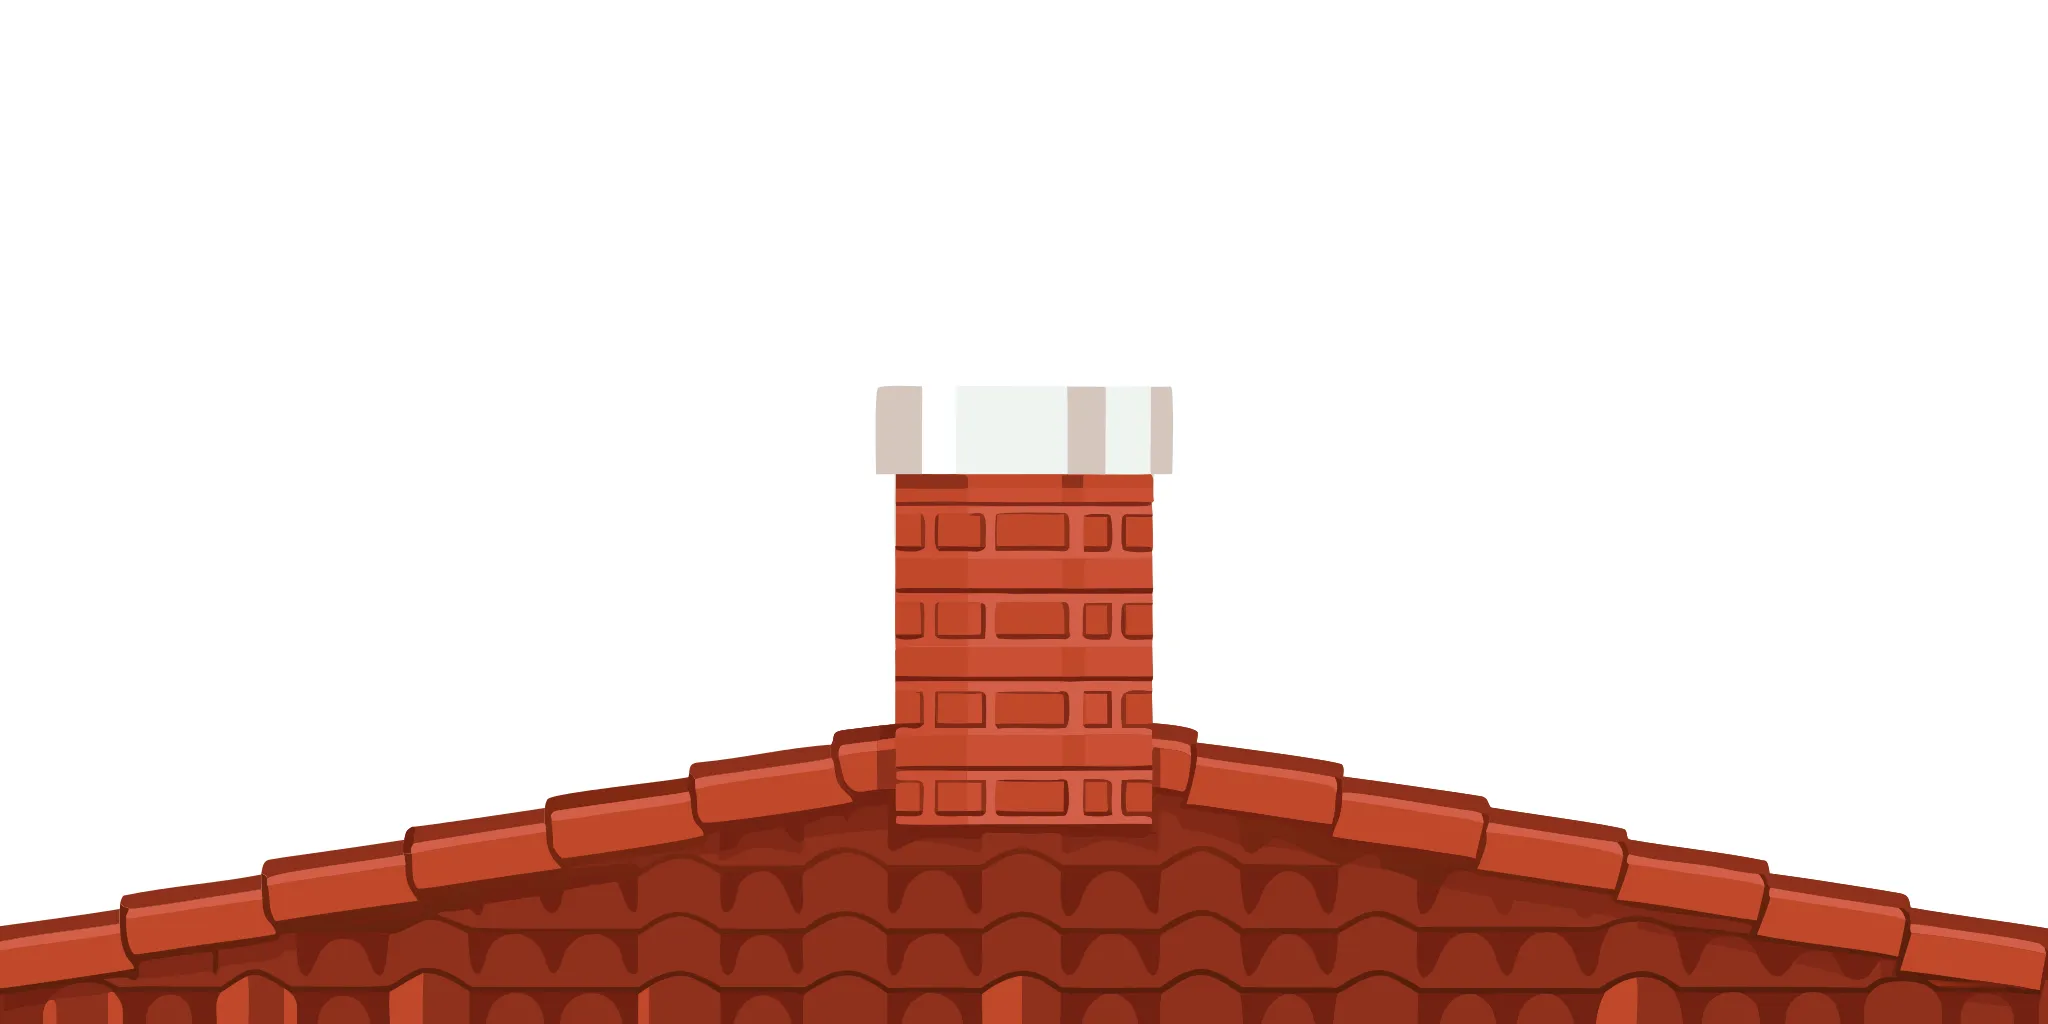
If you’ve noticed your chimney looking a little worse for wear, you’ve probably heard the term “repointing.” So, what is it exactly? Think of the mortar as the glue holding your chimney’s bricks together. Over time, harsh New Jersey weather, changing seasons, and simple aging cause this mortar to crack, crumble, and wear away. Chimney repointing is the process of carefully removing this old, damaged mortar and replacing it with a fresh, new mixture. It’s a crucial maintenance task that restores both the strength and appearance of your chimney, protecting it for years to come.
Why You Need to Repoint Your Chimney
Repointing your chimney isn’t just about making it look better, although it certainly helps with curb appeal. The main reason to repoint is to protect your home’s structural integrity. When mortar fails, it leaves gaps that let water seep into the bricks and potentially into your house, leading to dampness, mold, and costly water damage. Fresh mortar strengthens the entire chimney structure, preventing bricks from becoming loose. Taking care of this early is a smart move that helps you avoid much larger and more expensive chimney repairs down the road. It’s a proactive step that keeps your chimney strong and your home safe and dry.
Signs Your Chimney Needs Repointing
Not sure if your chimney is due for an update? There are several clear signs you can look for from the ground. Grab a pair of binoculars and see if you notice any of these red flags. A professional inspection is always best, but this checklist can help you spot potential trouble.
- Crumbling Mortar: If you can safely reach a joint, try scratching it with a key. If the mortar is soft or crumbles easily, it’s failing.
- Visible Cracks: Any cracks in the mortar joints are an open invitation for water to get in.
- Gaps or Missing Mortar: Obvious holes between the bricks are a definite sign that your chimney needs professional resurfacing.
- Plant Growth: See moss or small plants growing on your chimney? That means the mortar is holding moisture, which is a major problem.
- White Stains: A powdery white substance on the bricks, called efflorescence, indicates that water is soaking through the masonry and leaving salt deposits behind.
How Long Does Chimney Repointing Take?
When you notice crumbling mortar on your chimney, one of the first questions that comes to mind is, “How long will this repair take?” You want to protect your home, but you also need to plan for the disruption. The good news is that chimney repointing is a relatively quick project for a skilled professional. While every chimney is different, most projects fall within a predictable timeframe. Understanding the typical timeline and the factors that can affect it will help you know exactly what to expect when your contractor arrives.
The Standard Project Timeline
For a standard-sized chimney with straightforward access, a professional can typically repoint the masonry in about one to three days. This timeframe covers the entire process, from setting up the work area to grinding out the old mortar and applying the new material. If your chimney is on the smaller side and has only minor mortar deterioration, the job might even be finished in less than a single day. This standard timeline assumes that the weather is cooperative and there are no unexpected structural issues hiding beneath the surface. It’s a good baseline to have in mind as you start planning for your chimney repair.
What Can Extend the Timeline?
Several factors can add time to a repointing project. If your chimney is particularly large or features ornate, decorative brickwork, expect the job to take longer, sometimes up to four or five days. The extra time is needed for the detailed work around the patterns. The extent of the damage also plays a big role. If the mortar is heavily damaged and crumbling throughout, it will take significantly more time to carefully grind out all the old material before new mortar can be applied. Finally, access is a major consideration. If your roof is steep or your chimney is hard to reach, setting up safe and secure scaffolding can sometimes add a full day or two to the project schedule.
What Factors Affect the Timeline and Cost?
While it’s helpful to have a general idea of the timeline, no two chimney repointing projects are identical. The final schedule and cost depend on a few key variables specific to your home. Think of the standard one-to-three-day estimate as a starting point. From there, we need to consider the unique characteristics of your chimney and property.
Understanding these factors will give you a much clearer picture of what to expect for your project. It helps you set a realistic budget and know why a professional might quote a longer timeframe for one job compared to another. The main elements that influence the project’s scope are the chimney’s size and design, the severity of the mortar damage, how easy it is to access the chimney, and the weather during the project. Let’s look at each of these a little closer.
Size and Complexity of Your Chimney
It makes sense that a larger chimney requires more time and materials to repoint than a smaller one. The more surface area there is, the more joints need to be prepared and refilled. But it’s not just about size. The complexity of the brickwork plays a huge role. A simple, straight-stack chimney is fairly straightforward. However, if your chimney has intricate patterns, decorative curves, or multiple flues, the work becomes much more detailed. These ornate designs require a careful, precise hand, and our team takes the time to get it right. This detailed masonry work is a core part of our resurfacing services.
The Extent of Mortar Damage
The condition of the existing mortar is one of the biggest factors in the project timeline. If you only have a few hairline cracks, the prep work is relatively quick. But if the mortar is crumbling, deeply recessed, or falling out in chunks, the process takes much longer. Heavily damaged mortar requires more time to carefully grind or chisel out without harming the surrounding bricks. This step is critical for ensuring the new mortar forms a strong, lasting bond. Widespread damage can also indicate deeper issues with water penetration, which might affect your home’s brickface and stucco and require a more thorough solution.
Access and Scaffolding Needs
Simply getting to the chimney can be a job in itself. A chimney on a single-story home with a gently sloped roof is easy to access. In contrast, a chimney on a three-story home with a steep pitch requires extensive scaffolding to create a safe and stable work platform. In complex cases, just setting up the scaffolding can take a full day or more. This setup is non-negotiable for the safety of our crew and the protection of your property, especially your roofing. While it adds time and cost, proper scaffolding allows the team to work efficiently and deliver high-quality results without cutting corners.
Weather Conditions
Chimney repointing is a weather-dependent job. New mortar needs specific conditions to cure properly and form a durable, water-tight seal. It’s best to avoid repointing in freezing temperatures, high winds, or rain. Frost can cause the water in the fresh mortar to expand and crack, while rain can wash it out before it sets. This is why we carefully plan projects around the forecast. If bad weather rolls in, we may need to pause work for a day or two to protect the integrity of the repair. It’s also a good reminder of how important it is to have functional gutters to direct rainwater away from your home’s masonry in the first place.
How Much Does Chimney Repointing Cost?
Understanding the cost of chimney repointing is a key part of planning your home maintenance budget. While every project is different, you can get a good idea of what to expect by looking at average costs and the factors that influence the final price. The total investment depends on the size of your chimney, the extent of the damage, and whether you need special equipment like scaffolding. It’s always a good idea to get a detailed quote from a professional who can assess your specific situation.
Average Costs and Project Ranges
For the repointing work itself, homeowners can generally expect to pay between $600 and $1,500. This range covers the labor and materials for removing the old mortar and applying the new. Some contractors may also price the job per square foot, which often falls between $3 and $11, depending on the type of mortar used and the complexity of the brickwork. A larger chimney or one with more intricate patterns will naturally be at the higher end of these estimates. The overall cost for repointing a chimney can easily reach $1,250 or more once all factors are considered.
Potential Additional Costs
One of the most significant additional costs is scaffolding. If your chimney is tall or difficult to access, scaffolding is essential for the safety of the crew and the quality of the work. Renting and setting up scaffolding can add anywhere from $600 to over $1,800 to your total project cost. Another factor is the condition of the bricks themselves. If the inspection reveals cracked or spalling bricks that need to be replaced, this will increase material and labor costs. In cases of severe deterioration, a simple repointing might not be enough, and a more extensive chimney resurfacing or partial rebuild could be necessary.
DIY vs. Hiring a Pro: A Cost Breakdown
Tackling chimney repointing yourself might seem like a way to save money, and for a very small, accessible patch, it could be. The basic materials like sand, cement, and plasticizer might only cost around $25, with another $40 to $50 for pointing tools if you don’t already own them. However, this path comes with significant risks, including working at heights and the potential for causing more damage with the wrong mortar mix. Hiring a professional typically costs between $1,250 and $1,875 or more, but that price includes expertise, proper safety equipment, insurance, and the guarantee of a job done right the first time.
The Chimney Repointing Process, Step by Step
Chimney repointing might sound complicated, but it’s a methodical process that professionals follow to restore the integrity of your brickwork. Think of it as a detailed, multi-step treatment to bring your chimney back to health. Each stage, from the initial inspection to the final cure, is essential for a repair that not only looks great but also stands up to New Jersey’s weather for years to come. While the steps are straightforward, the execution requires a skilled hand and an eye for detail. A proper masonry repair ensures your chimney is structurally sound, watertight, and ready to protect your home. It’s about more than just filling cracks; it’s about reinforcing the entire structure to prevent water intrusion, heat loss, and even potential fire hazards. Understanding the process helps you appreciate the craftsmanship involved and gives you confidence that the job is being done right. From carefully removing the old, failed mortar to applying a new, perfectly matched mix, every action is deliberate. Let’s walk through what you can expect when a professional team tackles your chimney repointing project.
Step 1: Inspecting the Chimney
The first thing a professional will do is perform a thorough inspection. This isn’t just a quick glance from the ground. It involves getting up close to examine the state of the mortar joints. Your contractor will look for visible cracks, gaps, or crumbling sections. They may gently scrape at the mortar with a tool like a screwdriver to test its strength. If the mortar is soft and sandy or falls out easily, it’s a clear sign that it needs to be replaced. This detailed assessment helps determine the full scope of the project and ensures that all weak points are identified before the repair work begins.
Step 2: Removing the Old Mortar
Once the problem areas are marked, the next step is to carefully remove the old, failing mortar. Using specialized tools like a plugging chisel and a hammer, a mason will chip away the damaged material from the joints. The goal is to remove the mortar to a consistent depth, typically about one inch. This might seem aggressive, but it’s a critical step. Removing the old material creates a clean, solid channel with enough space for the new mortar to fill and create a powerful bond with the surrounding bricks. It’s the foundation for a long-lasting repair.
Step 3: Prepping Joints and Bricks
With the old mortar gone, the joints are cleaned of any remaining dust and debris. Then comes a step that might surprise you: the mason will lightly spray the area with water. This isn’t to wash the chimney, but to dampen the bricks and the inside of the joints. Why? Dry, porous bricks can pull the moisture out of new mortar too quickly. This rapid drying process, called “flash setting,” can weaken the bond and lead to cracks. Misting the area ensures the new mortar cures slowly and evenly, allowing it to harden properly and adhere securely for maximum strength and durability.
Step 4: Mixing and Applying New Mortar
Now it’s time to apply the new mortar, but not just any mix will do. A professional knows that the right mortar formula is key. For older homes, a softer, lime-based mortar is often used to match the original construction, while modern homes typically require a stronger, cement-based mix. The fresh mortar is placed on a tool called a hawk and then skillfully pushed into the prepared joints with a tuck pointer. The mason carefully packs the mortar in, ensuring there are no air pockets and that the joint is completely filled for a solid, weatherproof seal.
Step 5: Finishing and Curing the Mortar
The final step is all about creating a clean finish and allowing the mortar to cure. Once the mortar has partially set, the mason will “tool” the joints to create a uniform, slightly concave shape that helps shed water. This is what gives the finished job its professional, polished look. Any excess mortar is then brushed off the face of the bricks. After that, the most important thing is patience. The new mortar needs time to cure and harden completely, a process that can take several days. This curing period is essential for the mortar to reach its full strength and provide lasting protection.
Choosing the Right Mortar for Your Chimney
You might think mortar is just the “glue” that holds bricks together, but it’s so much more than that. The type of mortar used on your chimney is just as important as the bricks themselves. Using the wrong kind can cause serious, long-term damage that goes far beyond aesthetics. It’s a bit like using the wrong type of oil in your car; things might seem fine at first, but you’re setting yourself up for major problems down the road. The key is to match the mortar to the age and construction of your home. Let’s break down the main types of mortar and what happens when you get the mix wrong.
Lime-Based vs. Cement-Based Mortar
The two main players in the mortar world are lime-based and cement-based mortars. For older homes, especially those built before the 1930s, lime mortar was the standard. It’s softer and more breathable, designed to work with the softer bricks of that era. This flexibility allows moisture to escape naturally through the mortar joints, which is exactly what you want. Using a modern, hard cement mortar on these older structures is a recipe for disaster. The cement is too rigid and traps moisture inside the bricks. For homes built after the 1930s, cement mortar is usually the right choice, as it’s designed to pair with modern, harder bricks.
How the Wrong Mortar Can Damage Your Chimney
So, what actually happens when the wrong mortar is used? If a hard cement mortar is applied to an older chimney built with soft bricks, it creates a seal that traps water. When that trapped water freezes and thaws, it expands and contracts, breaking the face of the brick apart. This process is called spalling, and it’s what causes bricks to flake, crack, and crumble. Over time, this doesn’t just look bad; it compromises the structural integrity of your entire chimney. The mortar joints are meant to be the weakest point, sacrificing themselves to protect the bricks. Using the wrong mortar flips that relationship, putting your bricks in the line of fire and leading to costly chimney resurfacing and repairs.
Common Chimney Repointing Mistakes to Avoid
Chimney repointing can seem like a simple enough job, but it’s a project where the details really matter. A few common missteps can compromise the repair, leading to more significant problems and expenses down the road. Knowing what to watch out for is the first step in making sure your chimney repair is done right the first time and lasts for years to come. Let’s walk through some of the most frequent mistakes homeowners and even some inexperienced contractors make, so you can avoid them completely.
Thinking It’s Just a Cosmetic Fix
One of the biggest misunderstandings about repointing is seeing it as just a cosmetic touch-up. While fresh mortar certainly looks better, the real purpose of repointing is to address the structural integrity of your chimney. The mortar joints are the first line of defense against water intrusion. When they crack and crumble, it’s not just an aesthetic issue; it’s a sign that your chimney is vulnerable to moisture damage. Simply patching over the surface ignores the root cause. True repointing involves replacing deteriorated mortar to restore the chimney’s strength and weather resistance, making it one of the most important structural repairs you can do for your home.
Skipping Proper Mortar Removal
If you want a repointing job to fail within a few years, just apply new mortar directly over the old, crumbling stuff. This is a critical mistake. For the new mortar to create a strong, lasting bond, the old, damaged mortar must be completely removed. A professional will grind or chisel out the old joints to a depth of at least 15 to 20 millimeters. This creates a clean, solid surface for the new mortar to adhere to. Taking this shortcut is like painting over rust; the underlying problem will quickly reappear. Proper chimney resurfacing always begins with removing the old, failed material, and repointing is no different.
Working in Bad Weather
Mortar needs specific conditions to cure, or harden, correctly. Attempting to repoint a chimney in the wrong weather is a recipe for a weak, ineffective repair. You should never repoint when temperatures are below 5°C (41°F) or if rain is in the forecast. If the weather is too cold, the water in the mortar can freeze, preventing it from setting properly. If it rains, the fresh mortar can be washed out of the joints before it has a chance to cure. A professional contractor will always schedule exterior projects like repointing around the weather forecast to ensure the new mortar sets into a durable, weather-resistant barrier.
Using the Wrong Mortar Mix
This is perhaps the most damaging mistake of all, especially for older homes. Not all mortars are created equal. Older brick homes were often built using a softer, lime-based mortar that allows the structure to breathe and flex. Using a modern, hard cement-based mortar on these structures is a huge error. The new mortar will be stronger and less permeable than the old bricks. This means that when moisture gets trapped, it will escape through the path of least resistance: the bricks themselves. Over 10 to 20 years, this can cause the bricks to spall, crumble, and deteriorate, leading to a much bigger problem. Matching the right materials is key to a successful and long-lasting repair.
How to Prepare for Your Repointing Project
Once you’ve scheduled your chimney repointing, a little prep work on your end can make a huge difference. Taking a few simple steps ensures the project goes smoothly, keeps your property protected, and helps our crew work safely and efficiently. Think of it as setting the stage for a successful renovation. Preparing your home doesn’t take much time, but it helps us get the job done right so you can enjoy a secure, beautiful chimney for years to come. Here’s what you can do to get ready for project day.
Clear the Work Area
Repointing can be a dusty job, so the first step is to clear the area around the base of your chimney. Move any patio furniture, grills, potted plants, and garden decor to a safe spot away from the work zone. It’s also a good idea to park your cars down the street or in the garage to protect them from dust and debris. Creating a clear perimeter not only safeguards your belongings but also gives our team the space we need to set up equipment and scaffolding. A clean and accessible work area is a safe one, allowing us to focus completely on the task of restoring your chimney’s masonry.
Plan Around the Weather
Mortar is picky about the weather. For the new mortar to cure properly and form a strong, lasting bond, it needs the right conditions. We always avoid repointing in freezing temperatures, heavy rain, or high winds. Cold, wet weather can prevent the mortar from drying correctly, leading to a weak finish that won’t last. The ideal time for a repointing project is during a stretch of mild, dry days. Our team will keep a close eye on the forecast to schedule your project during the best possible weather window, ensuring your investment is built to withstand the elements.
Know What to Expect on Project Day
Understanding the project’s flow can help you know what to anticipate. A standard chimney repointing job typically takes about three days, though larger or more intricate chimneys might require four or more. A significant part of the initial work involves setting up scaffolding to safely access the chimney. Depending on your home’s roofline and landscape, this setup alone can take up to a day. You can expect some noise from the tools used to remove old mortar, but our team will work as cleanly and respectfully as possible. This careful preparation is a key part of any masonry resurfacing project and ensures a high-quality, durable result.
Is Chimney Repointing Worth the Investment?
When you see crumbling mortar on your chimney, it’s easy to think of the repair as just another expense. But chimney repointing is one of the most important investments you can make in your home’s health and safety. It’s not just a cosmetic touch-up; it’s a crucial preventative measure that protects your home’s structure, prevents costly future repairs, and maintains your property value. By addressing mortar issues early, you’re choosing a small, manageable cost now over a massive, complex repair bill down the road. Think of it as essential maintenance that keeps your entire home secure, starting from the very top.
Protect Your Home from Moisture Damage
The single biggest reason to repoint your chimney is to protect your home from water damage. Those small cracks and gaps in the mortar are open invitations for rain and moisture to seep into the brickwork. Once inside, water can cause a cascade of problems. It can freeze and expand in the winter, breaking bricks apart from the inside out. This moisture can also travel down the chimney structure, damaging your attic, ceilings, and walls. A professional chimney resurfacing and repointing job seals these entry points, making the entire structure watertight and strong again, effectively stopping damage before it starts.
The Lifespan of a Quality Repointing Job
Not all repointing jobs are created equal, and the results speak for themselves. When done correctly by a skilled professional using the right materials, a repointing job can last an incredible 50 to 100 years. It’s a long-term solution that provides decades of peace of mind. On the other hand, a poor job done with the wrong mortar or shallow application can fail in as little as five years, leaving you right back where you started. Investing in a quality job from a reputable contractor ensures the repair is durable and you won’t have to worry about your chimney mortar again for a very long time.
When Is Repointing Not Enough?
Repointing is the perfect solution when the mortar is damaged but the bricks themselves are still in good shape. It’s designed to fix the joints between the bricks. However, if the damage is more severe, repointing might not be sufficient. If you see large cracks running through the bricks, significant flaking (spalling), or if the chimney is leaning, you’re likely looking at a bigger structural problem. In these cases, a partial or full chimney rebuild may be necessary. A professional inspection is the only way to know for sure what level of masonry repair your chimney needs to be safe and sound.
Related Articles
- What Is Chimney Repointing? A Simple Guide - Garden State Brickface and Siding
- Your Guide to Masonry Chimney Repair & Costs - Garden State Brickface and Siding
- Brick Chimney Repair – Masonry and Repointing Experts | Garden State Brickface
- Chimney Resurfacing | Garden State Brickface
Frequently Asked Questions
My chimney looks fine from the ground. Do I really need a professional to inspect it? It’s amazing what you can miss from a distance. While you might not see obvious cracks from your lawn, a professional can get up close to test the mortar’s strength and spot early signs of water damage that are invisible from afar. An inspection gives you a true picture of your chimney’s health, helping you catch small issues before they turn into major, costly structural problems.
Can I just patch the few bad spots myself instead of repointing the whole chimney? While a small DIY patch might seem like a quick fix, it often does more harm than good. New mortar doesn’t bond well to old, crumbling material, and mismatched patches can trap moisture, accelerating decay. Repointing is about creating a consistent, strong, and weatherproof seal for the entire structure. A professional job ensures all the weak points are addressed for a repair that actually lasts.
What’s the best time of year to get my chimney repointed in New Jersey? The key to a successful repointing job is a stretch of mild, dry weather. In New Jersey, this makes late spring, summer, and early fall the ideal seasons for this kind of work. New mortar needs to cure without the threat of freezing temperatures or being washed out by heavy rain. We always schedule projects carefully around the forecast to ensure the best possible result.
How can I be sure a contractor is using the right mortar for my house? This is a fantastic question to ask, and any true professional will be happy to answer it. A good contractor should be able to explain why they are choosing a specific mortar mix (like lime-based for an older home or cement-based for a modern one) and how it matches your home’s original construction. Their willingness to discuss this shows they care about the long-term health of your brickwork, not just a quick fix.
If my chimney needs repointing, could my roof or siding have issues too? That’s a very smart connection to make. A deteriorating chimney is often a sign that your home’s exterior has taken a beating from the elements. The same water that damages mortar can affect roofing, flashing, and siding. During an inspection, it’s wise to see how all these systems are working together. A healthy chimney is part of a healthy home, from the roof down to the foundation.