How to Install Vinyl Siding on Plywood: A Pro Guide
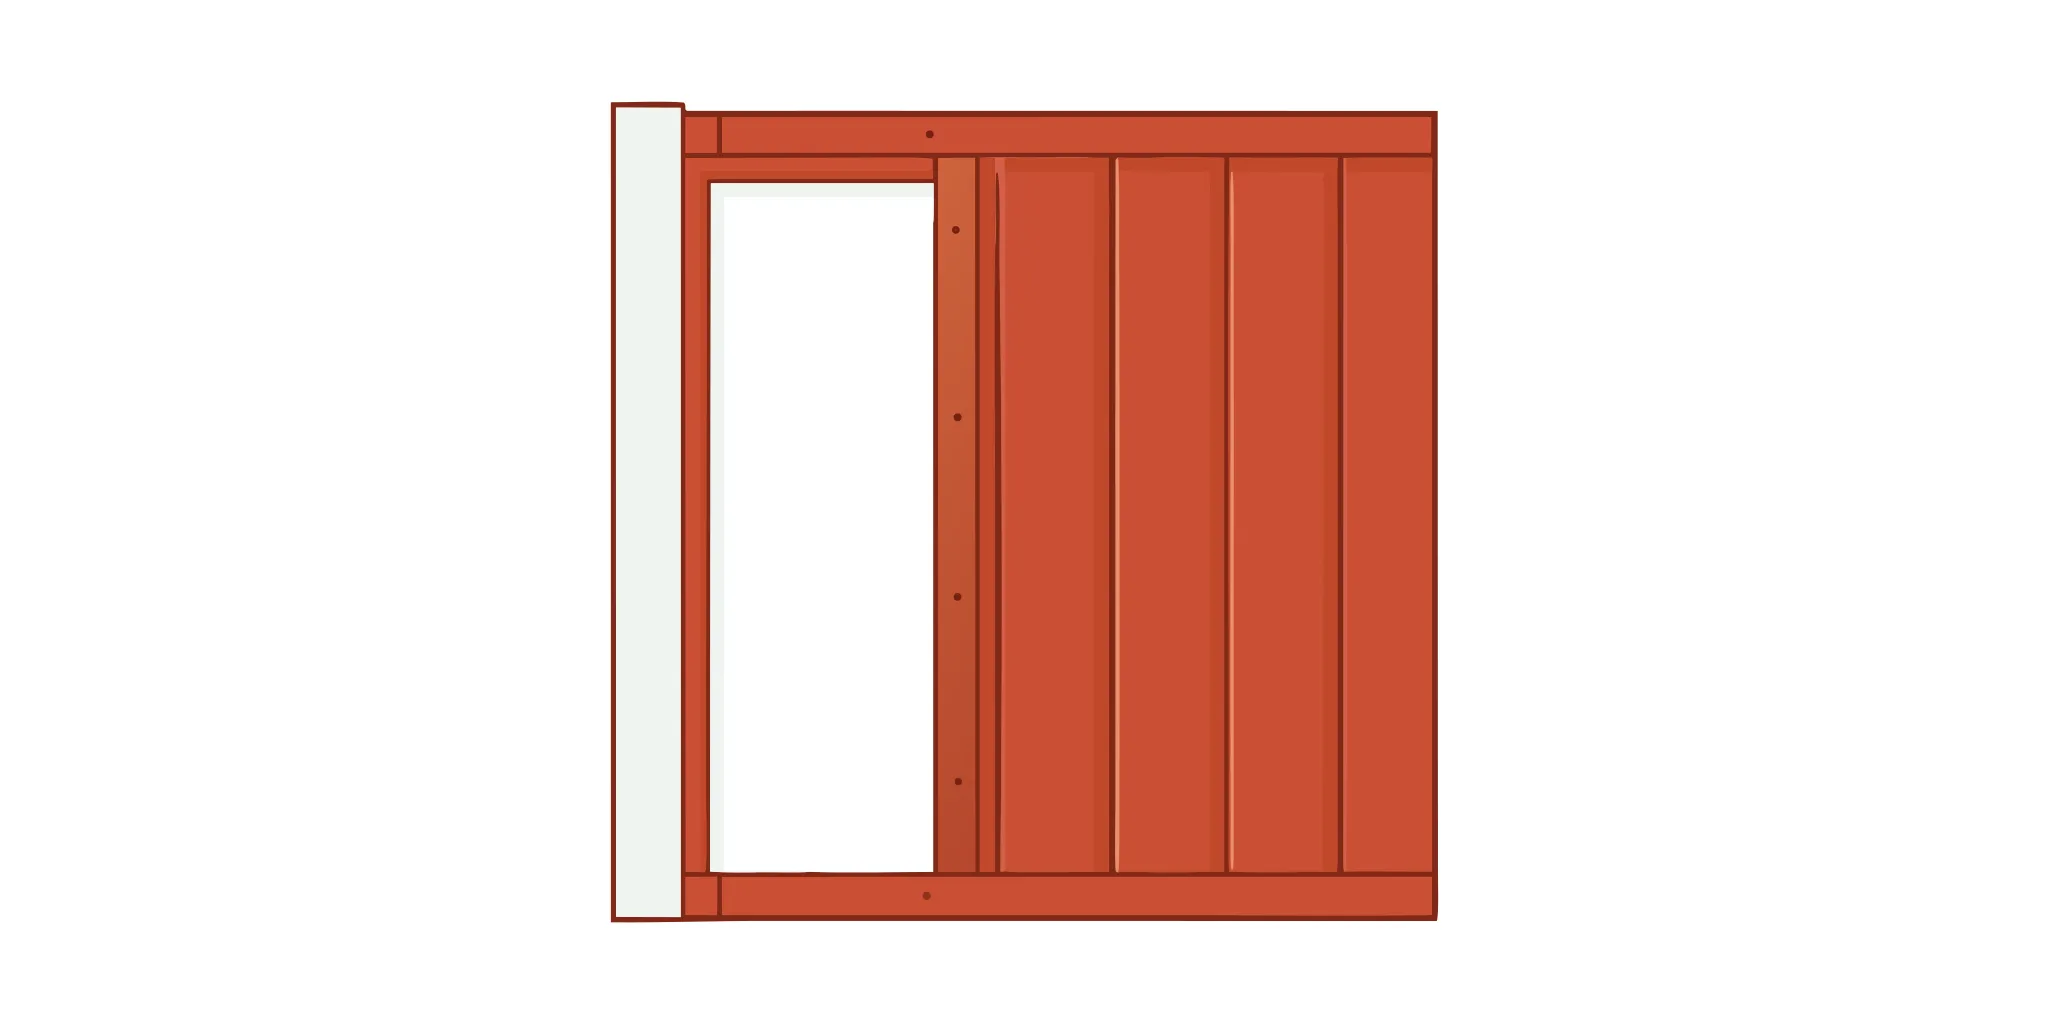
A beautiful siding job begins long before the first panel is hung. The real secret to a professional-looking finish lies in the prep work. Your plywood sheathing is the foundation for your new exterior, and if it isn’t properly prepared, even the highest-quality siding will look wavy and uneven. This guide breaks down exactly how to install vinyl siding on a plywood wall, starting with the most important steps: inspecting the wood, installing a moisture barrier, and creating a perfectly level starting point. We’ll walk you through creating a solid, flat, and protected surface so that when you do start installing the panels, the process is smooth and the results look clean. Get the prep right, and you’re already halfway to a successful project.
Schedule a free siding consultation with Garden State Brickface and Siding, or call us at 908-241-5900.
Key Takeaways
- Your siding is only as good as the wall beneath it: A professional finish depends entirely on proper prep work. Take the time to repair the plywood, install a water-resistive barrier, and make sure your starter strip is perfectly level before hanging a single panel.
- Hang your siding, don’t pin it down: Vinyl siding needs room to move with temperature changes. To prevent buckling, drive fasteners in the center of the nailing slots and leave a small gap between the nail head and the panel.
- Trim and corners are your best defense against water: Finishing pieces like J-channel and corner posts do more than just look good. They are essential for creating a weatherproof seal that protects vulnerable seams and edges from moisture damage.
What Do You Need to Install Vinyl Siding?
Getting a project done right starts with having the right supplies. Before you begin installing your new siding, take the time to gather all the necessary materials, tools, and safety equipment. A little preparation goes a long way in making the installation process smoother and giving you a professional-looking result. Having everything within arm’s reach means you can focus on the task at hand without making extra trips to the hardware store.
Your Materials Checklist
First, let’s talk materials. You’ll need a weather-resistant barrier to install over the plywood sheathing. This acts as a key line of defense against moisture. You’ll also need flashing to go around all windows and doors. Of course, you’ll need your vinyl siding panels. Whether you prefer the classic look of clapboard or the vertical lines of board and batten, choose a style that complements your home. Finally, gather your fasteners. The best options are rust-proof nails, staples, or screws made from aluminum or galvanized steel to prevent corrosion and staining over time.
The Tools for the Job
With your materials ready, it’s time to round up your tools. For measuring, you’ll need a tape measure, a level, and a chalk line to keep your lines straight. When it comes to cutting the siding panels, a circular saw fitted with a fine-toothed plywood blade (turned backward) works best for clean, straight cross cuts. A pair of tin snips is also handy for smaller, more detailed cuts. For fastening, a standard hammer will do the job, but a pneumatic nail gun can speed things up. Just remember to place nails in the center of the nailing slots to allow for movement.
Essential Safety Gear
Never overlook safety. Working with tools and building materials comes with risks, so it’s important to protect yourself. Always wear safety goggles to shield your eyes from flying debris, especially when cutting panels. A good pair of protective gloves will keep your hands safe from sharp edges and splinters. If you’re working on a ladder, make sure it’s stable and on level ground. Wearing sturdy, closed-toe shoes is also a must. Taking these simple precautions helps keep your project injury-free.
How to Prep a Plywood Wall for Siding
Before you can get to the satisfying part of clicking new siding panels into place, you have to handle the prep work. It might not be the most glamorous stage, but it’s the most important. A proper foundation means your new siding will look great, protect your home, and last for decades. Skipping these steps can lead to wavy walls, water damage, and a lot of regret down the line.
Think of it like painting a room; you wouldn’t just slap a new color over cracked, peeling paint. The same principle applies here. Taking the time to properly prepare your plywood walls is the key to a professional-quality finish. It involves three main stages: inspecting and repairing the surface, adding a protective moisture barrier, and making sure you have a perfectly level line to start from. Getting these details right will make the actual siding installation go much more smoothly and give you results you can be proud of.
Inspect and Repair the Plywood
First, give your plywood walls a thorough once-over. You’re looking for any signs of trouble, like rotten spots, soft wood, or loose boards that could compromise the new siding. Make any necessary repairs now, replacing damaged sections to create a solid, secure surface. This is also the time to re-seal the areas around your windows and doors to block any potential water entry points.
Next, remove any fixtures from the wall, such as lights, downspouts, and gutters. You want a completely clear surface to work with. Run your hand or a long, straight board over the walls to check for any high or low spots. If the wall isn’t perfectly flat, you’ll want to nail up furring strips (thin strips of wood) to even things out. This makes sure your siding panels will lie flat and look uniform.
Install a Water-Resistive Barrier and Flashing
With your plywood wall smooth and repaired, the next step is to protect it from moisture. This involves wrapping the sheathing with a water-resistive barrier, often called a house wrap. This material is designed to stop water from getting into your wall structure while still allowing water vapor to escape, which helps prevent mold and rot. Always check your local building codes to make sure you’re using the right materials and installation methods for your area.
After the barrier is up, you’ll need to install flashing. Flashing is a thin, waterproof material (usually metal) that directs water away from the most vulnerable parts of your home. It’s absolutely essential to install it around all of your windows and doors before any siding or trim goes on. This creates another layer of defense against water damage.
Check for a Level Surface
Your final prep step is to establish a perfectly level starting point for your first course of siding. This is where a starter strip comes in. This small piece of trim is installed at the very bottom of the wall and holds the first siding panel in place. If this strip isn’t level, every single panel you install above it will also be crooked.
To get it right, use a long level and a chalk line to snap a straight, crisp line across the bottom of the wall where the starter strip will sit. Take your time with this measurement and double-check your work. A straight start is non-negotiable for a professional-looking finish. This single line will guide your entire installation, keeping every panel aligned from the foundation to the roofline.
Installing Vinyl Siding: A Step-by-Step Guide
With your plywood walls prepped and ready, it’s time for the main event: installing the vinyl siding. This process is all about precision and patience. Taking your time with each step means your siding will not only look great but also stand up to New Jersey’s weather for years to come.
Measure and Plan Your Layout
Before you make a single cut, you need a solid plan. Start by measuring the height and width of each wall to calculate the total square footage you need to cover. Don’t forget to subtract the area of large openings like windows and doors. This will help you purchase the right amount of siding and minimize waste. We recommend adding 10% to your final number to account for any mistakes or miscalculations. An online siding calculator can be a big help during this stage.
Install the Starter Strip
The starter strip is the first piece you’ll install, and it’s arguably the most important. This narrow strip anchors the very first row of siding panels and dictates whether your entire wall will be straight or crooked. To install it, find the lowest corner of the wall sheathing and snap a level chalk line all the way around the house. Align the top edge of the starter strip with this line and fasten it securely to the wall. Getting this piece perfectly level is non-negotiable, as it sets the foundation for a professional-looking vinyl siding installation from the ground up.
Cut and Fit Siding Panels
You’ll need to cut siding panels to fit around corners, windows, and the ends of walls. For straight cuts across a panel, a circular saw with a fine-toothed plywood blade installed backward works best. This method gives you a clean, smooth edge without chipping the vinyl. For longer cuts along the length of a panel, you can simply score it with a sharp utility knife and snap it. Always wear safety glasses when cutting, as small pieces of vinyl can fly off. Remember the old rule: measure twice, cut once.
Fasten Panels Correctly
Proper fastening is key to preventing your siding from buckling or warping over time. Vinyl siding needs room to expand and contract with temperature changes, so you should never nail it down tightly. The trick is to “hang” each panel. Drive your nails into the center of the nailing slots, leaving about a 1/16-inch gap between the nail head and the siding. This tiny space allows the panel to move freely. Space your nails about 16 inches apart on the panels and every 8 to 12 inches on accessories like trim.
Work Around Windows and Doors
Installing siding around windows and doors requires careful attention to detail to keep water out. Before any siding goes on, you must install a weather-resistant barrier and proper flashing around all openings. Next, you’ll install J-channel trim around the perimeter of each window and door. This trim creates a finished edge and a channel for the siding panels to slide into. You’ll need to cut the siding panels to fit snugly within these channels, leaving a small 1/4-inch gap for expansion. This step is essential for protecting your home’s structure and your windows from moisture damage.
How to Handle Corners and Trim
Once the main siding panels are up, it’s time to focus on the finishing touches that truly make the project shine: the corners and trim. This stage is about more than just looks, though it’s definitely what gives your home that crisp, professional finish. Properly installed trim is your home’s best defense against the weather, sealing the seams and edges where moisture could otherwise sneak in. From the vertical corner posts that define your home’s shape to the J-channel that frames your windows and doors, each piece has a specific job. Taking your time to get these details right will make your siding look sharp and last for years.
Install Inside and Outside Corners
Your corner posts are the vertical pieces that cap off the inside and outside corners of your home. When you install them, it’s important to think about temperature changes. Vinyl expands and contracts with the heat and cold, so you need to give it room to move. Make sure you leave a 1/4-inch gap at the top of the post. Hang the post from the top nail slot first, then place the rest of your nails in the center of their slots. This technique allows the post to shift slightly without buckling or warping, keeping your siding looking smooth and straight through every season.
Add J-Channel and Trim
Think of J-channel as the picture frame for your siding. These pieces are used to trim around windows and doors and along the roofline at the gables and eaves. They neatly hide the cut ends of your siding panels, creating a crisp, clean edge. Installing J-channel is a straightforward process, but it requires careful measurement to get a tight fit. You’ll also find that the very last row of siding, usually the one right under the eaves, often needs to be trimmed to fit perfectly. Using a utility trim piece here will help you secure that final panel for a snug, professional finish.
Apply Caulk and Finishing Touches
Before any trim goes on, your home’s first line of defense is the weather-resistant barrier and flashing. Make sure you have proper flashing around all your windows and doors to prevent any water from seeping in behind the siding. Once the trim is in place, a quality exterior caulk can seal any small gaps where the trim meets a window or door frame. This final step is essential for creating a watertight seal. For the last piece of siding at the top of a wall, using utility trim will give you that polished, finished look and hold the panel securely in place.
Common Installation Mistakes to Avoid
Even the best materials can fail if they aren’t installed correctly. A successful vinyl siding project is all about the details, and a few small errors can lead to big headaches down the road, like warping, buckling, or water damage. Knowing what to look out for can make all the difference between a job that lasts for decades and one that needs repairs in just a few years.
Prevent Buckling from Improper Fastening
How you fasten the siding to the plywood is one of the most important steps. If nails are hammered in too deep, they can pinch the panel and cause it to buckle under pressure. If they aren’t driven in far enough, the siding will be loose and can rattle in the wind or even detach. The placement of the nail in the slot matters, too. You should always drive the fastener in the center of the nailing slot to allow for movement. Taking the time to fasten each panel correctly keeps the siding secure and smooth, preventing unsightly waves and warps from appearing later on.
Allow for Expansion and Contraction
Vinyl is a resilient material, but it does expand and contract with temperature changes. A single 12.5-foot panel can expand by as much as half an inch from the coldest winter day to the peak of summer heat. If you nail the panels down too tightly, there’s no room for this natural movement, which is a primary cause of buckling. To prevent this, leave a small gap, about the thickness of a dime, between the fastener head and the vinyl. This tiny bit of breathing room is essential for the siding to adjust to the weather without warping, keeping it flat against your home year-round.
Address Moisture and Ventilation
While vinyl siding is excellent at shedding water, it isn’t completely waterproof. Wind-driven rain can sometimes find its way behind the panels. If that moisture gets trapped against your plywood sheathing, it can lead to mold, mildew, and rot. That’s why installing a weather-resistant barrier before the siding goes on is a non-negotiable step. Proper flashing around windows and doors is also essential to direct water away from vulnerable areas. These moisture management steps help any water that gets behind your siding drain out, keeping your home’s structure safe and dry.
Not sure if your home needs a professional touch? Request a free estimate from Garden State Brickface and Siding, or call 908-241-5900 to talk to an expert.
Choosing the Best Siding for Plywood Walls
With your plywood walls prepped and ready, you can move on to the most exciting part: choosing your new siding. The material and style you select will define your home’s character for years to come, so it’s worth taking the time to explore your options. Your choice affects not just curb appeal but also your home’s energy efficiency and durability against the New Jersey weather.
Explore Your Siding Style Options
Vinyl siding offers a wide range of styles, so you can find the perfect match for your home’s architecture. You can go for a classic look with traditional clapboard siding, which features long, horizontal planks. For a more modern or rustic feel, board and batten siding uses vertical panels with thin strips covering the seams, creating a clean, layered look. If you love the charm of cedar, vinyl shakes and shingles mimic that textured, rustic appearance without the high maintenance. You can even mix and match different siding profiles or add accents like stone veneer to create a custom design that’s uniquely yours.
Understand the Benefits of Insulated Siding
If you want to improve your home’s energy efficiency, insulated vinyl siding is an excellent choice. This type of siding has a layer of rigid foam insulation fused to the back of each panel. This insulation helps reduce thermal bridging, which is when heat escapes through the wall studs. By creating a continuous blanket of insulation, it helps keep your home warmer in the winter and cooler in the summer. According to the Department of Energy, adding insulation to your walls is a key step in making your home more comfortable and can help lower your heating and cooling costs over time.
Consider Siding Thickness and Quality
When comparing siding products, pay attention to their thickness. Siding thickness is measured in mils, and a thicker panel is generally more durable and impact-resistant. It also creates a more rigid surface, which can help hide minor imperfections in the plywood sheathing underneath. However, the quality of the material is only half the battle. Even the best siding won’t look good or last long if it’s not installed correctly. A professional installation from an experienced contractor like Garden State Brickface and Siding makes sure each panel is properly fastened and has room to expand and contract with temperature changes, preventing warping and buckling down the road.
How to Maintain Your New Vinyl Siding
Your new vinyl siding is designed to be very durable, but that doesn’t mean you can forget about it completely. A little attention throughout the year will keep your siding looking brand new and protect your home effectively. Following a few easy steps can preserve your home’s curb appeal and the siding’s longevity for years to come.
Clean and Inspect Siding Regularly
An annual wash is one of the best things you can do for your siding. All you need is a soft-bristled brush, a bucket of soapy water, and a garden hose. Start cleaning from the top and work your way down, rinsing thoroughly to prevent streaks. While you’re at it, give your siding a close look. Check for any small cracks, chips, or loose panels. Catching these minor issues early is key, as a small breach can allow moisture to get behind the panel. For more detailed cleaning tips, see our guide on how to clean vinyl siding.
Complete Seasonal Maintenance
A quick seasonal check-in can make a world of difference for your siding. In the spring, walk around your house to spot any damage that winter storms might have left behind. During the summer, make sure to trim back any trees or shrubs that are touching the house; this prevents scratches and allows air to circulate, which helps keep the siding dry. In the fall, the main goal is to clear away fallen leaves that can pile up against your foundation and trap moisture. This is also the perfect time to clean your gutters, since clogged gutters can overflow and cause water stains on your siding.
Know When to Replace Damaged Panels
While vinyl is tough, it’s not indestructible. For very small cracks, a repair might be possible, but for anything more significant, replacement is the safest bet. Look for large cracks, panels that are warped or buckling, or sections that have come loose. These are signs that the panel is no longer protecting the wall underneath from water. If you notice damage, it’s important to address it quickly to prevent moisture from seeping in. Check out our siding repair tips for guidance on when a fix is enough and when replacement is the better call. If several panels are damaged or severely faded, it might be time to think about replacing a larger section.
Know When to Call a Professional
Tackling a home project yourself can be rewarding, but sometimes, handing the reins over to an expert is the smartest move. Knowing your limits is key, especially with a project that protects your home from the elements. While installing vinyl siding on a small, simple wall can be a manageable DIY task, larger jobs or tricky layouts often require a professional touch. The goal is a beautiful, durable finish that lasts for decades, and a seasoned contractor is your best guarantee of that outcome.
For Complex or Large-Scale Projects
If your home has multiple stories, complex angles, or numerous windows and doors to work around, the project’s difficulty increases significantly. What seems straightforward on a flat, simple wall becomes a complicated puzzle of precise cuts and careful fitting. This is where experience truly matters. Professional siding contractors like Garden State Brickface and Siding bring decades of expertise to the job, with in-house crews who handle everything from simple re-siding to complex multi-story projects. With 200+ five-star Google reviews and more than 70 years serving New Jersey homeowners, they’re equipped to handle unexpected challenges, like discovering hidden rot or structural issues, which can save you from costly mistakes.
When Weather and Timing Are a Factor
Vinyl siding is sensitive to temperature. It expands in the heat and contracts in the cold, and installing it in the wrong conditions can lead to warping, buckling, or cracking. The ideal time for installation is during mild weather, typically when temperatures are between 50 and 70 degrees Fahrenheit. For many homeowners, finding a long enough stretch of perfect weather that also fits their personal schedule can be tough. A professional crew can work efficiently to get the job done within the best weather window, managing the schedule around the forecast so your siding has the best possible start for a long, durable life.
Ready to get started on your vinyl siding project? Contact Garden State Brickface and Siding for your free estimate, or call 908-241-5900 today.
Related Articles
- Your Step-by-Step Vinyl Siding Installation Guide
- NJ Vinyl Siding Guide
- Vinyl Siding Installation: Upgrade Your Home’s Exterior
- Vinyl Siding Cost: A Complete Price Breakdown
- How to Choose Between Brickface, Stucco, EIFS, and Vinyl Siding
Frequently Asked Questions
Can I install new vinyl siding directly over my old siding?
While it might seem like a convenient shortcut, it’s generally not the best approach. For your new siding to look great and last, it needs a solid, flat surface underneath. Installing over old siding can trap moisture, hide underlying rot you need to address, and create an uneven finish that leads to wavy walls. The most professional and long-lasting results come from starting with a clean slate: the plywood wall sheathing.
What’s the single most important step in the whole process?
If we had to pick just one, it would be a tie between two things: getting the starter strip perfectly level and fastening each panel correctly. The starter strip is the foundation for the entire wall, so if it’s even slightly crooked, every panel above it will be too. Proper fastening, which means hanging the panels instead of pinning them tightly, is what prevents ugly buckling and warping as the seasons change.
How can I tell if I’m nailing the siding correctly?
It’s all about feel. After you drive a nail in the center of the slot, you should be able to slide the siding panel back and forth by about half an inch. The nail head shouldn’t be pressing hard against the vinyl; instead, leave a tiny gap, about the thickness of a dime. This gives the panel the room it needs to expand and contract with temperature changes.
Is insulated siding really worth the extra cost?
Think of it as an investment in your home’s comfort and long-term energy bills. The rigid foam backing on insulated siding helps create a thermal blanket around your house, which can keep your home warmer in the winter and cooler in the summer. Beyond potential energy savings, it also makes the panels more rigid and impact-resistant, giving your home a more solid feel and a smoother appearance.
What’s the biggest sign that I should stop and call a professional?
The best time to call for help is when you feel overwhelmed or discover a problem you aren’t equipped to fix. If you remove the old siding and find significant wood rot on the sheathing, that’s a job for an expert. Likewise, if your home has very complex architecture, like multiple stories with dormers or bay windows, the number of precise cuts and flashing details can quickly become a major challenge. A professional makes sure those tricky spots are handled correctly to prevent future leaks.
How much does it cost to have vinyl siding professionally installed?
Vinyl siding installation typically costs between $4.50 and $8.20 per square foot, depending on the style and thickness of the panels. For a typical 2,000-square-foot home, that means a total project cost of around $9,000 to $16,400. Garden State Brickface and Siding offers free estimates with no obligation. Get your free quote or call 908-241-5900 to discuss your project.