How to Pick the Best Masonry Repair Mortar
Picking the right material for a home repair is everything. You wouldn’t use wood glue to fix a ceramic vase, and the same logic applies to your home’s exterior. When you spot a crack in your brick or stone, your first instinct might be to grab any bag of concrete patch from the hardware store, but that can cause more harm than good. The secret to a lasting, invisible fix lies in choosing the right masonry repair mortar: one that matches your existing masonry in color, texture, and strength.
Need professional masonry repair? Contact Garden State Brickface and Siding at 908-241-5900 for a free estimate. We’ve been repairing and restoring masonry across New Jersey for over 70 years.
This guide walks you through everything you need to know to select the right mortar, apply it correctly, and recognize when a project calls for professional help.
Key Takeaways
- Choose compatibility over strength: A mortar that is slightly softer than your existing bricks prevents them from cracking over time and helps you achieve a long-lasting repair.
- Preparation and curing make or break the job: Always start with a clean, damp surface, and keep the new mortar moist for at least 48 hours after application so it hardens correctly.
- Call a professional for structural warning signs: While you can handle minor patches, issues like large step-pattern cracks, bulging bricks, or persistent moisture damage require an expert to address the root cause.
How to Choose the Right Masonry Repair Mortar
Picking the right mortar is a lot like choosing the right adhesive for a project. The wrong product can make the problem worse, leading to cracks, water damage, or a patch that stands out against the original work. Your goal is to find a mortar that matches the look of your existing masonry and has the right properties to create a strong, lasting bond without damaging the surrounding brick or stone.
What Are the Different Types of Mortar?
At the hardware store, you’ll see mortar bags labeled with letters: N, S, M, and O. Each serves a different purpose.
| Mortar Type | Compressive Strength (PSI) | Best For | Flexibility |
|---|---|---|---|
| Type N | 750 | General above-grade exterior work, repointing | High |
| Type S | 1,800 | Below-grade, load-bearing walls, retaining walls | Medium |
| Type M | 2,500 | Foundations, heavy load-bearing structures | Low |
| Type O | 350 | Interior non-load-bearing walls, historic restoration | Very High |
For most home repairs like fixing cracks in a brick wall or repointing a chimney, Type N mortar is the standard choice. It offers a solid balance of strength and flexibility, making it ideal for above-ground exterior work. Understanding the basics of mortar selection helps you avoid grabbing a product that’s too strong or too weak for your needs.
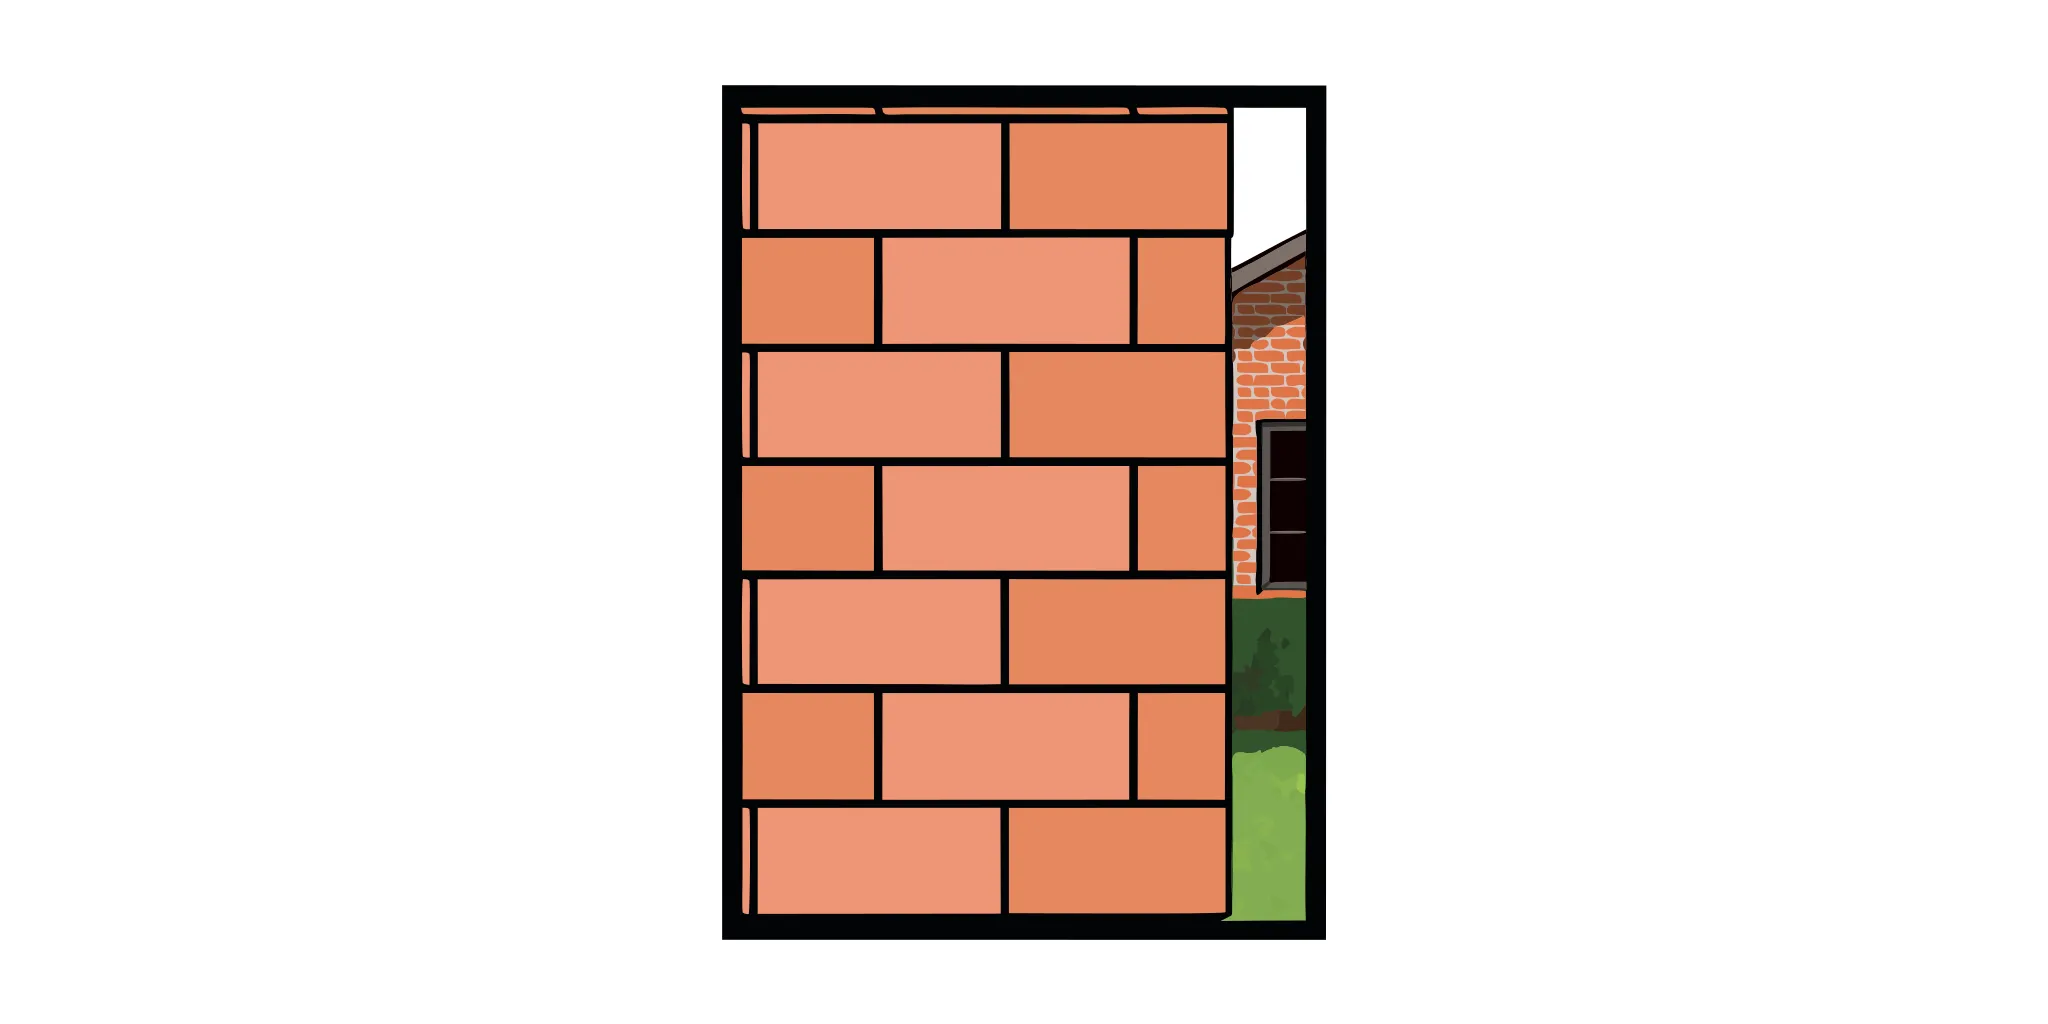
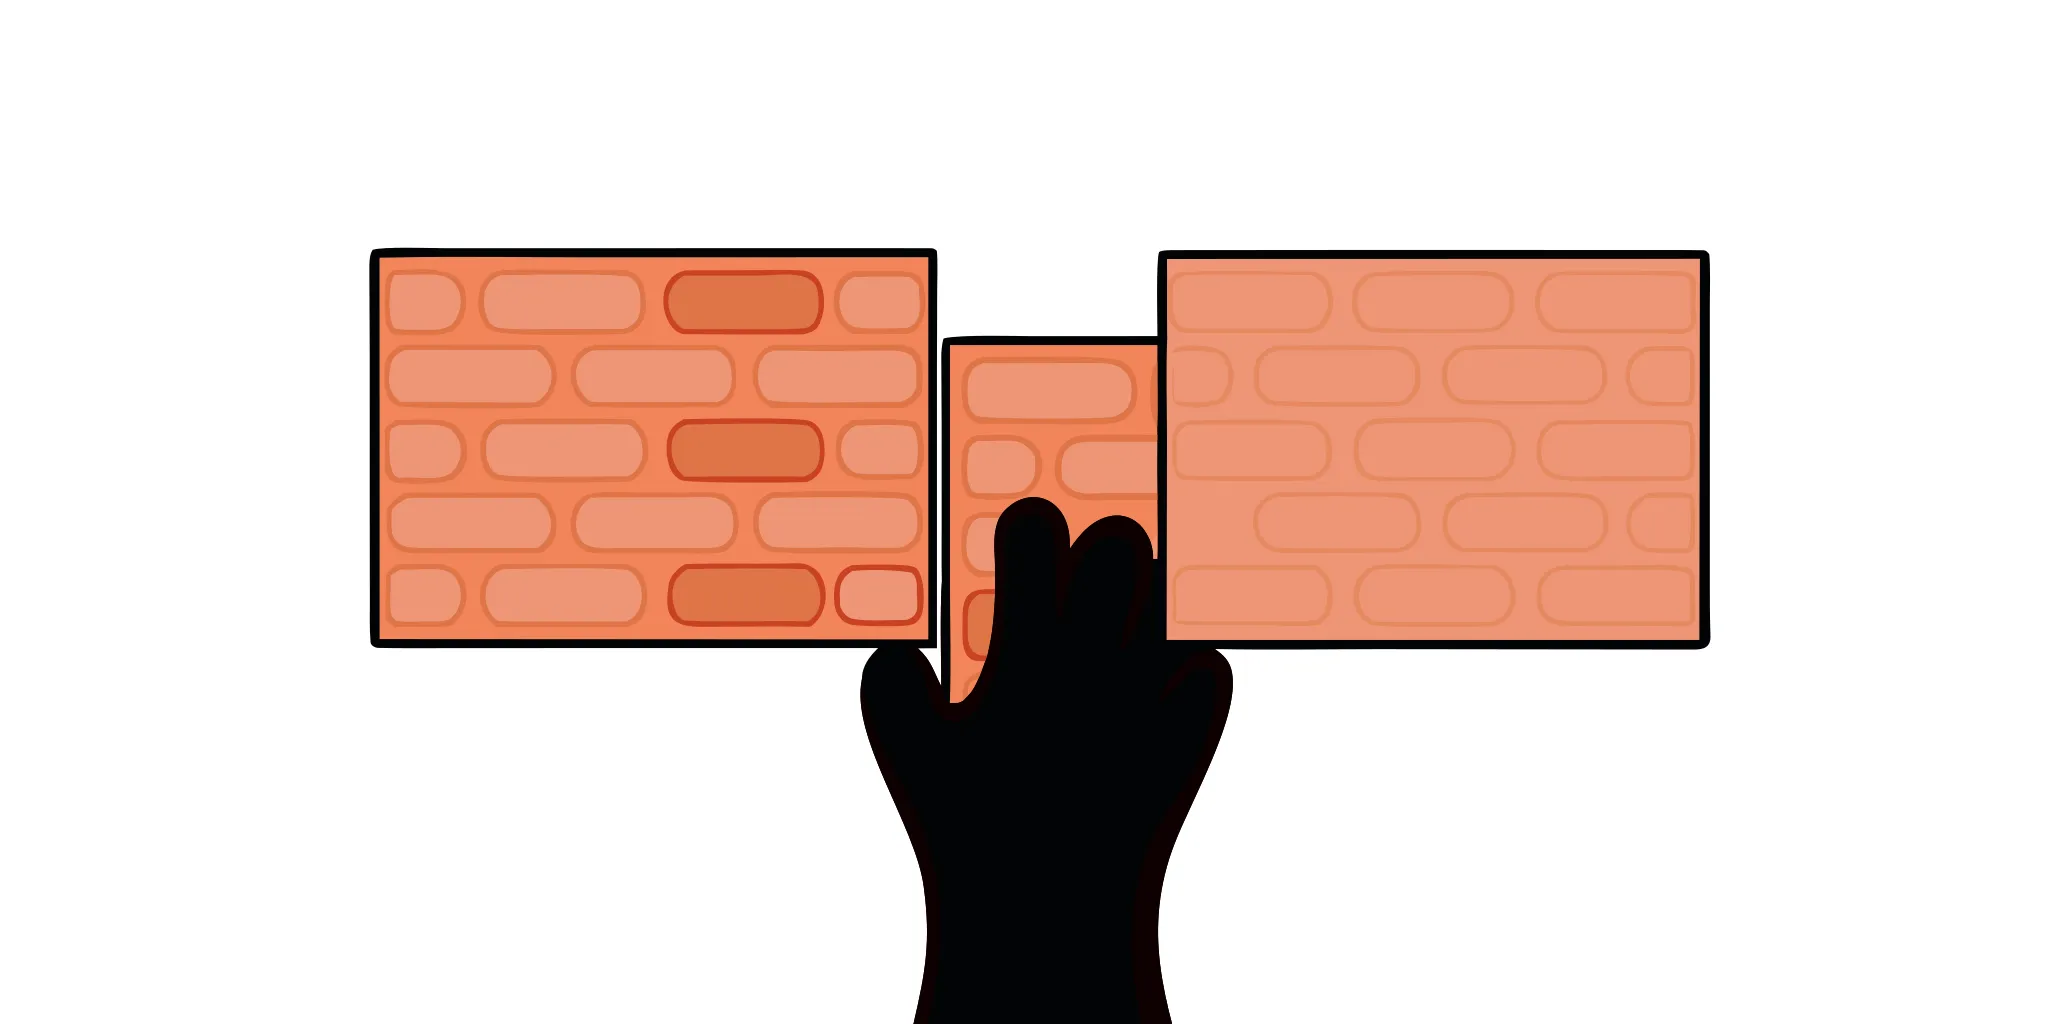
Match Your Mortar to Your Masonry
For a repair to blend in, the new mortar needs to match the old in more than just color. Examine the existing mortar closely: note the color, texture, and even the size of the sand grains. A repair that you can’t see is a successful one. An obvious patch hurts your home’s curb appeal, and a mortar that’s chemically incompatible with your existing masonry can cause structural problems down the road.
A practical tip: take a clear, well-lit photo of your existing mortar, or carefully chip out a small sample to bring with you for comparison. This step makes the difference between a professional-looking finish and an eyesore.
What to Look for in a Quality Mortar
It’s easy to assume that stronger mortar is better mortar. In masonry, that’s not the case. You should select a mortar with the lowest compressive strength that still meets the project’s requirements. If the repair mortar is harder than the surrounding bricks, it forces the bricks to absorb stress that the mortar should handle, causing them to crack and spall over time. The mortar should be the “sacrificial” element of the wall, meaning it’s softer than the masonry units it connects.
Beyond strength, look for a quality repair mortar that has good workability (easy to apply and shape) and bonds well to existing surfaces.
Common Mortar Selection Mistakes to Avoid
One of the biggest mistakes homeowners make is choosing mortar based on convenience or price alone. A few common errors:
- Using modern Portland cement mortar on historic brick: High-strength modern mortar can trap moisture and cause older, softer bricks to deteriorate.
- Ignoring the wall system: Bricks, mortar, and flashing work together to manage moisture and support loads. The wrong mortar disrupts this balance.
- Skipping color and texture matching: A structurally sound repair that looks wrong is still a failed repair in terms of property value.
Avoiding these common masonry problems starts with selecting the right materials for your specific home and repair needs.
What Are the Top Masonry Repair Mortars?
The number of mortar options at a home improvement store can feel overwhelming. The best choice always depends on your specific repair, but some products consistently perform well across common projects. Let’s look at the most reliable options, whether you’re patching a small crack or handling a more significant resurfacing project.
Go-To Mortar Recommendations
For quick, sturdy repairs on brick, stone, or concrete, a product like ProMason Fast-Repair Mortar works well. It’s a single-component mix (just add water), sets in minutes, and handles small-scale fixes like chipped steps, walkway cracks, and damaged bricks. Its main advantage is speed and simplicity. Keep in mind that it’s designed for patching, not for thin surface applications.
Top Brands and What They Do Best
Professional masons tend to rely on a handful of trusted brands:
- Sika: Offers a wide range of specialized repair mortars engineered for specific applications (vertical walls, overhead surfaces, large slabs).
- Quikrete: Widely available, reliable, and user-friendly for general repairs. A solid choice for homeowners.
- Sakrete: Another dependable option with good color consistency and adhesion.
Choosing a reputable brand gives you confidence that the product has been tested and proven in real-world conditions.
Price vs. Value: What to Consider
Grabbing the cheapest bag on the shelf is tempting, but the true value of a mortar lies in how long the repair lasts. A slightly more expensive product might offer better color consistency, stronger adhesion, and greater resistance to cracking, saving you from redoing the work in a few years. For repairs on critical masonry areas, investing in a quality mortar is always the smarter move.
What Do Customer Reviews Say?
Reviews from both DIYers and professional contractors can help you understand real-world performance. Epoxy-based mortars tend to receive high marks from professionals because they create strong, long-lasting bonds with minimal downtime. For homeowners, reviews often highlight ease of mixing and application, which matters for any DIY project. Look for reviews that describe a project similar to yours for the most relevant guidance.
How to Apply Masonry Repair Mortar
Once you’ve picked the right mortar, proper application determines whether the repair lasts five years or fifty. Here’s a step-by-step approach.
Step 1: Clean and Prep the Surface
Mortar won’t bond to a dirty surface. Use a stiff wire brush to scrub away loose debris and old mortar. This also roughs up the surface for better grip. Right before applying new mortar, lightly dampen the area with a spray bottle. This prevents the brick from pulling moisture out of the mix too fast, which weakens the bond. Thorough surface prep is the foundation of every lasting masonry repair.
Step 2: Mix Your Mortar Correctly
You’re aiming for a consistency like smooth peanut butter: firm enough to hold its shape, wet enough to spread easily. Follow the manufacturer’s instructions, adding water gradually. Too dry and it won’t stick. Too wet and it will sag, creating a weak patch. Only mix small batches you can use within an hour to keep the mortar workable.
Step 3: Apply Mortar for Different Repairs
Work the mortar deep into the joints with a pointing trowel. Pack it firmly to eliminate air pockets that could weaken the repair. For repointing brick, use a mortar that is slightly softer than the bricks themselves so the building can shift and settle naturally without cracking. More complex jobs, like repairing stone veneer, require careful technique to ensure a solid repair that protects your home long-term.
Step 4: Finish and Cure for Lasting Results
Curing is where patience pays off. Mortar gains strength through a chemical reaction that requires moisture, not by drying out. If it dries too fast, it becomes weak and crumbly. Keep the new mortar damp for at least 48 hours by gently misting the area with water a few times a day, especially in warm or windy conditions. This step ensures your masonry mortar repair holds up for years.
Common Mortar Application Challenges
Even with the right mortar, several factors can affect the quality and durability of your repair. Understanding these challenges helps you avoid common mistakes.
Dealing with Adhesion and Moisture
Getting new mortar to bond securely to old masonry is the most common challenge. When the surface is too dry, brick sucks moisture out of the mortar before it can set. When the surface is too wet, the mortar becomes soupy and difficult to shape. The fix: make sure the surface is clean, free of dust, and dampened (not soaked) before you begin. This simple step makes the difference between a solid bond and a repair that falls apart in a year.
Working Around Weather and Temperature
Temperature directly affects mortar performance. Hot, sunny days cause the mix to dry too fast, making it brittle. Temperatures below freezing cause water in the mortar to expand, forming cracks before it cures. The ideal range for masonry work is between 40 and 90 degrees Fahrenheit. If you must work in heat, stay in the shade and mist the area to slow drying. If cold weather is coming, cover the repair with insulating blankets.
Solving Compatibility Problems
Using a mortar that is stronger than the masonry it’s repairing is one of the most damaging mistakes you can make. Different materials expand and contract at different rates with temperature changes. A rigid repair mortar puts stress on surrounding brick or stone, causing cracks and spalling. This is especially important for older homes where the original bricks are softer than modern materials. Proper brickface and stucco work requires careful material selection to avoid long-term damage.
Getting the Curing Conditions Right
Curing is the most overlooked step in DIY masonry repair. The mortar needs to stay damp for at least 48 hours to develop full strength. If it dries too fast (common in summer), the curing reaction stops and the repair will be weak and crumbly. Mist the repaired area with a spray bottle several times a day for the first two days. Cover it with damp burlap if conditions are particularly hot or windy.
Dealing with masonry damage beyond a simple patch? Check our current specials or call Garden State Brickface at 908-241-5900 for a free assessment. Our in-house masonry crews handle everything from chimney repointing to full exterior resurfacing.
When to Call a Professional for Masonry Repair
While small cracks and minor touch-ups are manageable DIY projects, masonry repair gets complicated fast. Knowing when to call a professional protects your home’s structural integrity and saves you from expensive fixes later.
Signs That Need a Professional
Certain damage patterns indicate problems beyond a simple mortar patch:
- Step-pattern cracks: Cracks that follow the mortar joints in a staircase pattern usually point to foundation settlement or structural stress.
- Bulging or displaced bricks: Bricks pushing outward signal internal pressure from moisture, failing ties, or structural movement.
- Efflorescence (white powder): This chalky deposit means water is moving through the masonry and carrying salts to the surface.
- Persistent dampness or dark patches: Moisture behind the brick can lead to rot, mold, and serious deterioration.
Ignoring these signs or attempting a surface-level patch can lead to more expensive resurfacing projects later.
Know the Limits of a DIY Repair
The biggest risk with DIY masonry repair is getting it wrong the first time. The wrong mortar type can cause surrounding bricks to crack and spall over time. Mortar that fails to bond properly creates weak joints that compromise your wall’s strength. A failed DIY repair often means a professional has to undo the work before starting the proper fix, which adds to the total cost. Regular inspections are valuable, but a trained mason can spot subtle issues you might miss.
The Benefits of Professional Masonry Work
Professional masons understand the science behind how different materials interact. They know how to match new mortar to existing masonry for durable repairs that are virtually invisible. For example, professional chimney repointing involves carefully removing damaged mortar and replacing it with material that restores both strength and appearance.
Garden State Brickface and Siding has been performing masonry repairs across New Jersey since 1953. Our in-house crews specialize in chimney repair, masonry restoration, and our proprietary brickface stucco technique. With 200+ five-star Google reviews and over 70 years of experience, we deliver repairs that last.
Related Articles
- DIY Masonry Mortar Repair: A Beginner’s Guide
- What Is Refractory Mortar? A Simple Guide
- Complete Guide to Masonry Chimney Repair
- Chimney Mortar Repair Cost: What to Expect
- Common Masonry Repair Issues and How to Fix Them
Frequently Asked Questions
Is stronger mortar always the best choice for repairs?
No. Your repair mortar should be slightly softer than the bricks or stones it holds together. A building naturally shifts and settles over time, and the mortar is designed to absorb that movement. If the mortar is too hard and rigid, it forces the surrounding bricks to take the stress, which causes them to crack. Choose a mortar that’s compatible with your existing masonry, not one that overpowers it.
How can I make sure my mortar patch blends in?
Matching requires attention to detail. Before buying anything, take a clear, well-lit photo of your existing mortar or chip out a small sample to bring to the store. You need to match the color, texture, and sand grain size. These details separate an invisible repair from an obvious patch that hurts your home’s appearance.
What’s the biggest mistake people make when applying mortar?
Rushing the prep work and skipping the curing process. Mortar won’t bond to a dirty or dusty surface, so you have to scrub the area clean with a wire brush first. Dampening the brick before application is equally important because it prevents the brick from pulling water out of the mix too fast. After the repair, keeping the mortar moist for at least 48 hours lets it develop full strength.
Can I do masonry work in the winter or on a very hot day?
The ideal temperature range for mortar work is 40 to 90 degrees Fahrenheit. Below freezing, water in the mortar can freeze and expand, ruining the repair before it sets. On very hot days, the mortar dries too fast, which stops the curing reaction and leaves you with a brittle, weak patch. If you must work in warm weather, stay in the shade and mist the area with water to slow the drying process.
My brick wall has a long, stair-step crack. Can I fix it myself?
A stair-step crack along mortar joints usually signals a foundation problem or structural stress. Filling the crack with mortar treats the symptom but not the cause. For this type of damage, have a professional assess the situation before attempting any repairs. Contact Garden State Brickface for a free evaluation of structural masonry issues.
What is the difference between repointing and tuckpointing?
Repointing involves removing old, deteriorated mortar from joints and replacing it with new mortar. Tuckpointing is a decorative technique where two colors of mortar are used to create the illusion of fine joints. Most home repairs are technically repointing. For more details, read our chimney repointing guide.