Siding Replacement Preparation: Your Complete Home Guide

A siding replacement is easier on your household when access, outdoor spaces, and daily routines are planned before the first panel comes off. Small preparations, such as moving patio furniture, taking down wall-mounted fixtures, and identifying a clear path for materials, can help crews work safely and keep the project organized.
Siding replacement preparation usually includes clearing access around the home, protecting or relocating landscaping. Securing outdoor items, planning for children and pets, and confirming where materials and tools will be placed. Your contractor should also review fixtures, utility connections, weather timing, and any coordination with windows, gutters, or other exterior work before installation begins.
For New Jersey homeowners, thoughtful preparation is especially useful when changing weather can affect the work schedule. A clear plan with an experienced, in-house crew helps you protect your property while keeping the renovation moving. Start with the areas immediately around your home, then work through the practical details that support a safe installation.
How to Prepare Your Property for a Siding Replacement
Good siding replacement preparation gives the installation crew a clear, safe work area and helps protect the parts of your property that are not being renovated. For Central and Northern New Jersey homeowners, that often means planning around seasonal foliage, wet ground, and the way shrubs or trees have grown around the exterior walls.
Clear access around the house
Move patio furniture, grills, planters, decorations, hoses, and other outdoor items away from the walls. Store them in a garage, shed, or another location that will not interfere with ladders, staging, material delivery, or cleanup. Also look for gates, narrow side yards, and other access points that the crew may need to use. Mention any tight areas during the project consultation so the installation plan accounts for them.
Make one electrical outlet available for contractor tools. A clear outlet on a 20-amp circuit is preferred, according to project preparation guidance. Do not run extension cords through areas where children, pets, or visitors could trip. If you are unsure which outlet is on the appropriate circuit, ask your contractor or a qualified electrician rather than guessing.
Prepare landscaping for crew access
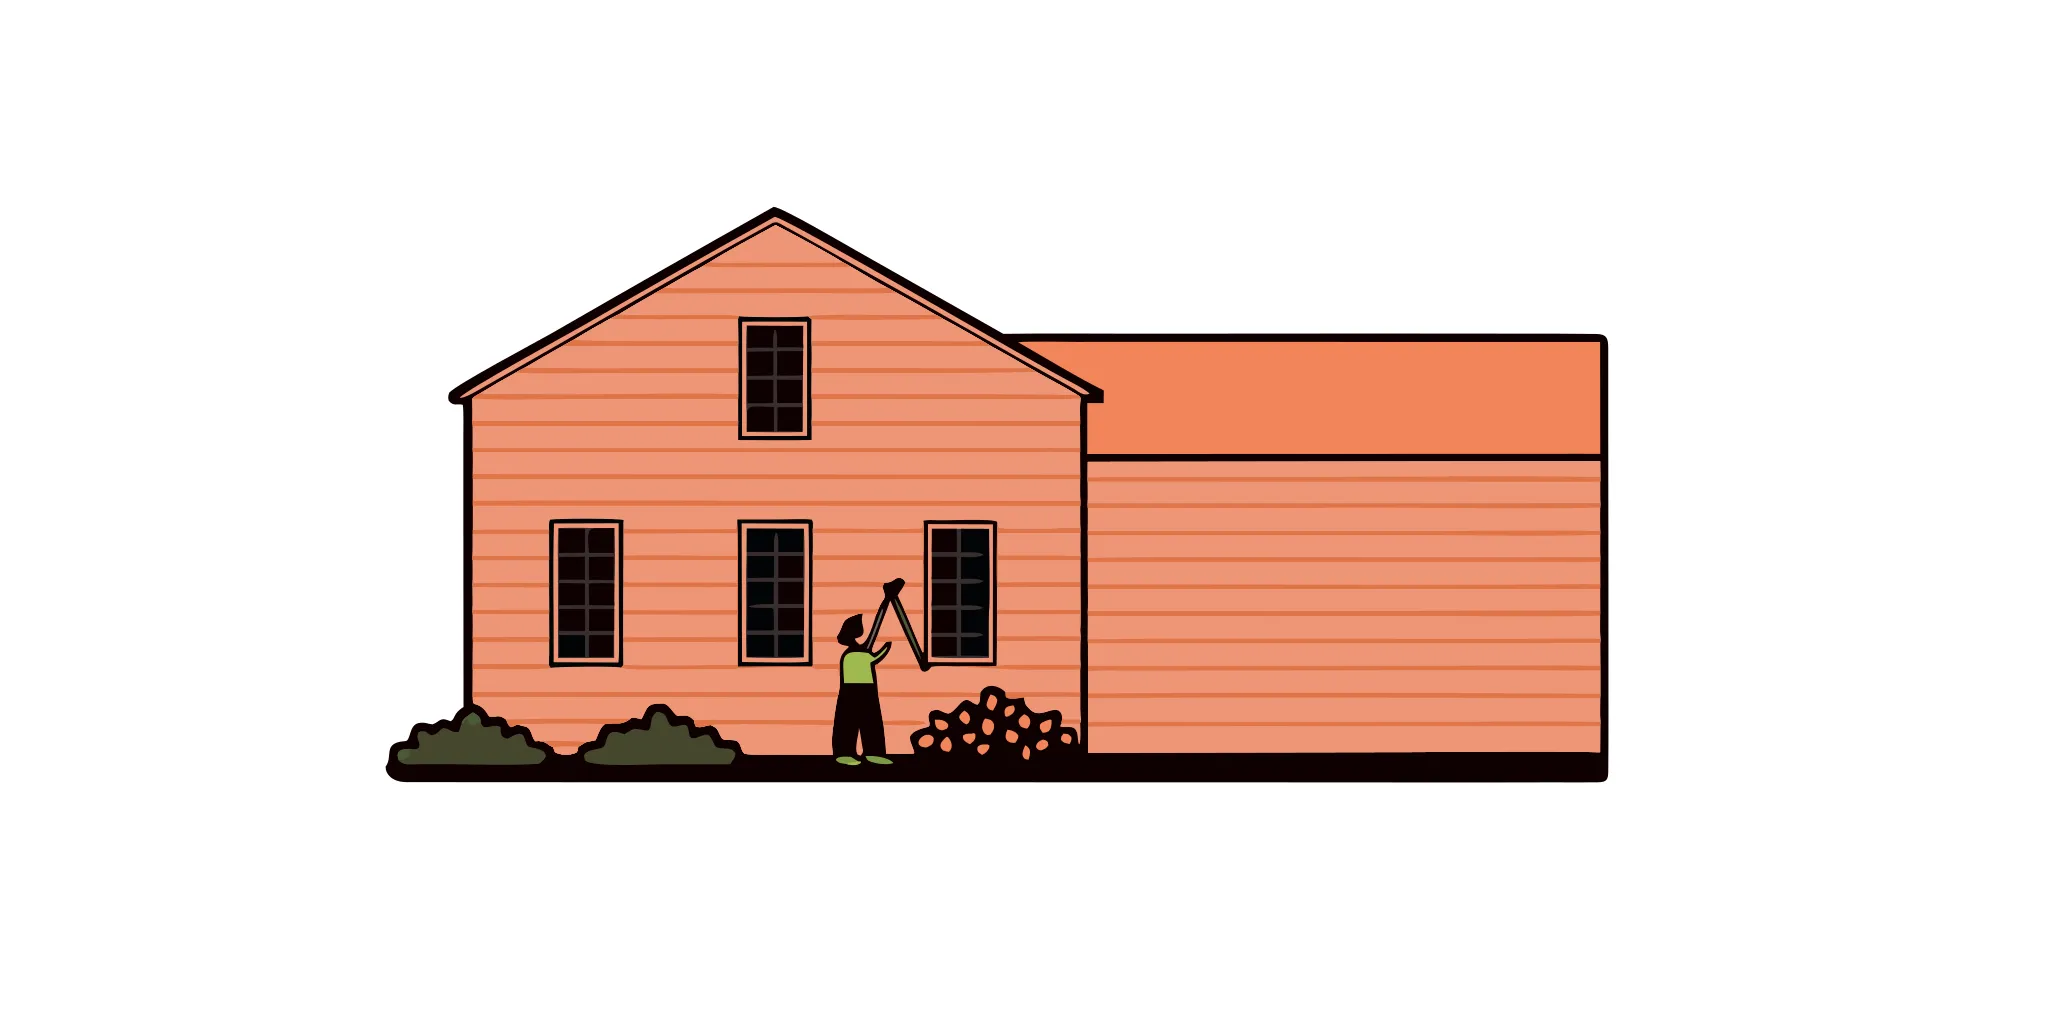
Trim branches and shrubs that press against the siding or block ladders and walkways. The University of Kentucky notes that renovation access may require pruning shrubs or roots, and in some situations removing a plant that obstructs large equipment. Prune thoughtfully, especially when Central or Northern New Jersey trees are carrying spring growth or dense summer foliage. Avoid cutting major roots or removing established trees without discussing the approach with a qualified professional.
Cover nearby plants with breathable sheets or light tarps before work begins. This can reduce exposure to falling debris and construction materials while still allowing light and air to reach the plants. Keep coverings secure, but remove them when the workday ends if weather conditions make heat or moisture buildup a concern.
Finally, protect vulnerable beds and root zones by cordoning them off with stakes and temporary fencing. Workers can unintentionally trample plants, and equipment traffic can compact soil. Mark these areas clearly for the crew, then review the protection plan before installation starts. Garden State Brickface & Siding can also help you evaluate the best access plan as you review its siding services.
What Interior Tasks Should You Complete Before Siding Installation
Siding replacement preparation is not limited to the outside of your home. Because crews may work directly against exterior walls, vibration, dust, and noise can affect rooms on the other side. A short interior checklist can help protect your belongings and make the installation less disruptive.
Clear rooms along the exterior walls
Move furniture several feet away from walls that will be re-sided, especially bookcases, lamps, framed art, and fragile decorations. Remove pictures, mirrors, shelves, and other wall-mounted items that could shift when crews remove old siding or secure new panels. Take down curtains, blinds, and other window treatments if the installation will involve window trim or work immediately around the openings.
Cover remaining furniture and valuables with protective sheets, and place delicate items in a room that is farther from the work area. Ask the contractor whether any interior access is expected, then protect floors and nearby belongings accordingly. Preparing both interior and exterior areas is a normal part of planning for a siding project, not an indication that something has gone wrong.
Plan for noise, dust, and household routines
Installation can involve steady hammering, cutting, movement of materials, and vibration during working hours. If you work from home, schedule important calls away from the affected rooms or arrange a temporary workspace elsewhere. Families with infants, sensory-sensitive children, or pets should plan a quieter location in advance. Keep children and animals away from active work zones, and consider arranging childcare, pet care, or a short visit elsewhere during the noisiest days. Planning for family and pet needs is specifically recommended as part of siding preparation. Learn more about family and pet planning.
Coordinate deliveries and inspect windows
Before work begins, confirm where siding, trim, tools, and equipment will be delivered and stored. Clear the agreed access route, driveway area, or staging space so materials can arrive without blocking essential entrances. Discuss delivery timing with the contractor, particularly if you need regular access to your garage.
For New Jersey homeowners, the disruption can also be a useful time to assess nearby windows. Look for drafts, condensation between panes, sticking sashes, or deteriorated frames, and ask whether window replacement should be coordinated with the siding project. Addressing related exterior work together may simplify trim and flashing decisions, but your contractor should confirm what is appropriate for the home.
Timeline and Weather Considerations for NJ Siding Projects
Most residential siding projects take about one to two weeks, although the actual schedule depends on the size and shape of the home. The material selected, site access, and any repairs discovered after the old siding is removed. During siding replacement services, weather can affect both the daily work schedule and how materials perform after installation.
Choose a workable season
For homeowners in Central and Northern New Jersey, spring and fall are often practical seasons for exterior renovation. Moderate temperatures make it easier for crews to work consistently, while homeowners can avoid some of the extreme heat of midsummer and the harsh conditions of winter. Spring is also a common time to begin home improvement projects, but demand can increase as the season gets underway.
That does not mean every spring or fall day is suitable. Heavy rain can make surfaces wet, complicate installation, and delay tasks that require dry conditions. Winter brings additional challenges, including freezing temperatures, frost, and freeze-thaw cycles. Repeated movement caused by freezing and thawing can make installation and sealant work less predictable, so a contractor may recommend postponing certain steps until conditions stabilize.
Account for the siding material
| Material | Temperature Sensitivity | Moisture Needs | Best Season in NJ |
|---|---|---|---|
| Vinyl | Expands in heat, contracts in cold; install with movement allowances | Not moisture-sensitive during installation | Spring through fall; avoid extreme cold that makes panels brittle |
| Fiber-cement | Minimal thermal movement | Must stay dry before installation; store under cover | Spring and fall when dry conditions are predictable |
| Engineered wood | Moderate expansion and contraction | Requires dry storage and installation to prevent warping | Late spring through early fall |
| Brickface stucco | Minimal thermal movement once cured | Requires dry curing window; temperature-specific application | Late spring through early fall; moderate temps preferred |
Your contractor should confirm the material-specific requirements and the weather window before work begins.
Schedule early and plan for flexibility
Because weather can change quickly in New Jersey, schedule the consultation and material planning well ahead of your preferred installation date. Early coordination gives the contractor more opportunity to reserve the right crew, arrange delivery, review access around the home, and build reasonable weather flexibility into the timeline. Ask how rain, frost, or an unexpected cold snap will affect the schedule, and make sure you know who will communicate any changes.
Siding replacement is a significant improvement that can enhance a home’s appearance, energy efficiency, and overall value. Thoughtful timing helps protect that investment and gives the crew a better chance to complete the work cleanly and efficiently.
What to Expect During the Siding Installation Process
- Confirm the plan with an initial consultation. The project begins with a review of your home’s exterior, the siding material, colors, trim, access points, expected schedule, and any permit or property concerns. National Contractors identifies initial consultation and strategic project planning as the preparation phase for a siding replacement project. A clear plan helps the crew work efficiently and gives you a defined point of contact if questions arise.
- Stage materials and equipment. Siding, trim, tools, ladders, protective materials, and waste containers are brought close enough to the work area for practical access without unnecessarily obstructing driveways, walkways, or landscaping. Before work begins, clear a 20-amp power outlet for the crew’s tools, as recommended in James Hardie’s project guidance.
- Protect the property and remove the old siding. Professional crews take measures to protect plants, windows, doors, walkways, and other vulnerable areas before dismantling the existing siding. Some falling debris and construction noise are normal, but organized staging and protective coverings help limit disruption. The old material is then removed carefully so the underlying wall can be evaluated.
- Inspect the exposed surface. Once the old siding is off, the crew checks the sheathing and wall surface for rot, moisture damage, or other conditions that were not visible beforehand. A siding replacement guide identifies old siding removal and surface inspection for rot or damage as core parts of the installation process. Any issue that changes the scope should be explained before corrective work proceeds.
- Install the weather-resistant barrier. The exposed wall is prepared for a weather-resistant barrier, which adds a layer of protection against water intrusion behind the siding. Proper detailing around openings, seams, and transitions matters as much as the visible panels.
- Install the new siding and finish the details. The crew installs the siding, trim, corners, flashing, and accessories according to the approved plan. In-house crews, such as Garden State Brickface’s, provide a consistent quality-control structure compared with a model that relies on changing subcontractors. That continuity can make it easier to maintain workmanship standards and resolve questions during the job.
- Complete cleanup and review. At the end of the work, the crew removes discarded materials, collects debris, checks the finished installation, and reviews any care or maintenance guidance with you. Walk around the property together so remaining questions can be addressed before the project is closed.
Protecting Your Landscaping During a Siding Replacement
Established neighborhoods throughout Central and Northern New Jersey often have mature shade trees, foundation plantings, and carefully maintained beds close to the house. Include those areas in your siding replacement preparation plan so the crew has safe access without unnecessarily stressing the landscape.
Shield plants from debris and create clear boundaries
Cover low plants and delicate shrubs with lightweight sheets during demolition and installation. Sheets can help protect foliage from falling debris, construction materials, and chemicals while still allowing some light and air through, according to the University of Kentucky Cooperative Extension. Remove covers promptly when work pauses so plants do not overheat.
For larger shrubs and trees that cannot be moved, mark a no-traffic zone with stakes and temporary fencing. This gives workers and equipment a visible boundary and protects more of the area around the plant, not just the trunk. Self-attaching vines, including English ivy, should be tied away from the work area or cut back before installation. They can regrow, but siding crews need a clear wall surface.
Move smaller plants carefully
Some smaller plants can be relocated before work begins. Dig them up with as much of the root system as practical, bundle the roots in burlap, and keep the burlap moist while the renovation is underway. The University of Kentucky notes that plants may survive this way for several weeks. Larger shrubs and trees are different. Have a professional landscaper move them with proper lifting equipment and heel them into a prepared bed rather than attempting the relocation yourself.
Protect tree roots from traffic and digging
Heavy machinery can compact soil and damage root systems, a leading cause of tree decline during and after construction. Keep vehicles, material storage, and repeated foot traffic outside the tree’s critical root zone whenever possible. Do not assume roots are limited to the area beneath the canopy.
When excavation or utility work must pass near valuable roots, tunneling or careful hand-digging can reduce disruption compared with traditional trenching. For mature, high-value, or unusually close trees, involve an ISA-certified arborist during planning. Texas A&M Forest Service recommends early arborist involvement because small changes in access or project design can determine whether an important tree survives. Discuss fencing, access routes, and any plants requiring relocation with the siding contractor before the start date.
Post-Installation Care and Coordinating with Other Exterior Projects
Once the crew finishes, walk around the house with the project lead and review the details in good daylight. Look for clean, even seams, secure trim, consistent color, and properly installed flashing around windows, doors, rooflines, and other transitions. Flashing should direct water away from vulnerable joints rather than leaving gaps or exposed edges. If something looks uneven or does not match the agreed scope, document it and ask about it before the crew leaves.
Care also includes protecting the new siding from avoidable damage. If you have light-colored vinyl siding, do not apply a dark paint over it without confirming that the product and color are approved for that use. Dark paint absorbs more heat than the panel is designed to handle, which can cause vinyl to warp, according to Lowe’s siding guidance. Use the manufacturer’s care instructions for cleaning products, pressure, ladders, and future touch-ups.
Plan windows and gutters at the right time
Siding replacement can create a useful coordination point for other exterior work. In New Jersey. Homeowners often plan window replacement or gutter upgrades around the same project because the existing siding may need to be removed to access the surrounding walls. Trim, and attachment points. Planning these projects together can reduce duplicated setup, avoid disturbing newly installed materials, and produce cleaner transitions between the siding, windows, roof edge, and drainage system.
Before work begins, ask whether window installation, roofing, or gutter work should happen before, during, or after siding installation. Garden State Brickface & Siding offers complete exterior services, including siding, windows, roofing, and gutters, so homeowners can coordinate a multi-project renovation through one planning process. For a broader look at the return and curb-appeal considerations involved in investing in siding replacement, review the related guide before finalizing your scope.
Frequently Asked Questions
What should I know before replacing siding?
Confirm the project scope, material choice, access plan, expected schedule, and who handles permits before work begins. Walk the property with your contractor to identify fragile landscaping, exterior obstacles, delivery space, and any areas that may need repair after the old siding is removed.
How do I prepare my house for a siding replacement?
Clear furniture and stored items away from exterior walls, remove decorations and planters, secure loose objects, and provide an unobstructed path for the crew. Cover vulnerable plants and discuss protection for trees, shrubs, outdoor equipment, children, and pets before installation starts. Also confirm where materials will be delivered and stored.
What is done to the exterior before installing new siding?
The crew generally removes the existing siding, inspects the exposed surface for rot or other damage, and addresses underlying problems before installing the new system. Ask how the contractor will handle the weather-resistant barrier, trim, flashing, vents, and penetrations so water-management details are clear before installation.
Do I need to be home during siding replacement?
Not usually, because most work takes place outside. You should still provide clear instructions for property access. Identify the location of the electrical outlet and water source if needed, and establish how the crew will communicate with you. Arrange another plan for children and pets during noisy or disruptive work.
Will my property be damaged during siding installation?
Construction creates noise, vibration, dust, and falling debris, but careful planning can reduce avoidable damage. Cover plants with lightweight sheets, cordon off larger landscaping with stakes or fencing, and keep vehicles and personal items away from the work zone. Discuss concerns with the contractor before the project begins.
Ready to Plan Your Siding Replacement?
A careful plan can help you protect your home, coordinate access, and approach the project with fewer surprises. For guidance specific to your property and goals, schedule a free consultation with Garden State Brickface & Siding. Visit the contact page to discuss your siding replacement preparation questions and determine the next practical step.